V102 Multifunctional FHD Video Recorder
Multifunctional FHD Video RecorderUser ManualREAD THIS INSTRUCTIONS CAREFULLY BEFORE USE AND STORE IN A SAFE PLACE FOR FUTURE REFERENCE
Quick start guide1. Insert SD card or U disk (format of FAT32 , maximum capacity of 128G) and connect the device to the “DC/ Type-C” power port via USB cable, and insert HDMI signal source into HDMI IN port or insert CVBS signal source into AV IN port, and then long press the ” ” power button for 3 seconds to turn on the power and enter the recording mode. (See page 5-7 of the User Manual for details.)2. After turning on the power to enter the recording mode, short press the ” ” PREV button to quickly switch HDMI input and CVBS input. Select the corresponding input and then short press the ” ” recording button to start recording. To stop recording, short press the ” ” recording button again.(See page 10-11 of the User Manual for details.)3. To play recorded video, short press the ” ” MODE button to switch to the play mode, then short press the “OK” button to start playing video, and short press “OK” button to suspend play again. If there are multiple videos recorded, short press the ” ” PREV button to switch to last video, short press the ” ” NEXT button to switch to the next video. If want go back to the recording mode, short press the ” ” MODE button again.(See page 12-13 of the User Manual for details.)4. To adjust the volume, short press the ” ” Button to increase the volume and short press the ” ” Button to decrease the volume.5. To output images to a large-screen display, just plug the HDMI cable into the HDMI OUT port or use the CVBS cable to plug in the AV OUT port.(See page 14 of the User Manual for details.)6. If want to view recorded videos on the computer, can connect the product to the computer via a USB cable. After starting up, just press the ” ” menu button to enter the setting, and select the USB mode as” MSDC “, and then press the “OK” button to confirm to connect to the computer. (See page 15 of the User Manual for details.)1
Thanks for purchasing Multifunctional FHD Video Recorder. With a large 5-inch OLED screen, user-friendlyoperationinterfaceand rich video interfaces, the Multifunctional FHD Video Recorder can record and play 1080P HD videos directly from AV ports or HDMI ports (such as set-top boxes,computers, game consoles, etc.) without computer operation. The following guides you how to set up. Hope this device will bring you nice digital experience.Safety Information1. Carefully read and follow the manufacturer’s instructions in this manual and save the manual for future reference.2. Clean with a dry cloth only. 3. Do not use the product close to any heat source. 4. Unplug the product from the wall socket during lightning storms or when it is notbeing used. 5. Do not expose the product to moisture, as this poses a risk of fire or electricalshock. 6. If the product is damaged, please refer all repairs to qualified personnel. N.B.! Do not connect the audio output from a high-power amplifier to the product’s audio input. N.B.! Charge before first use. When the battery is completely depleted, it will need approximately 3 hours for a full charge.2
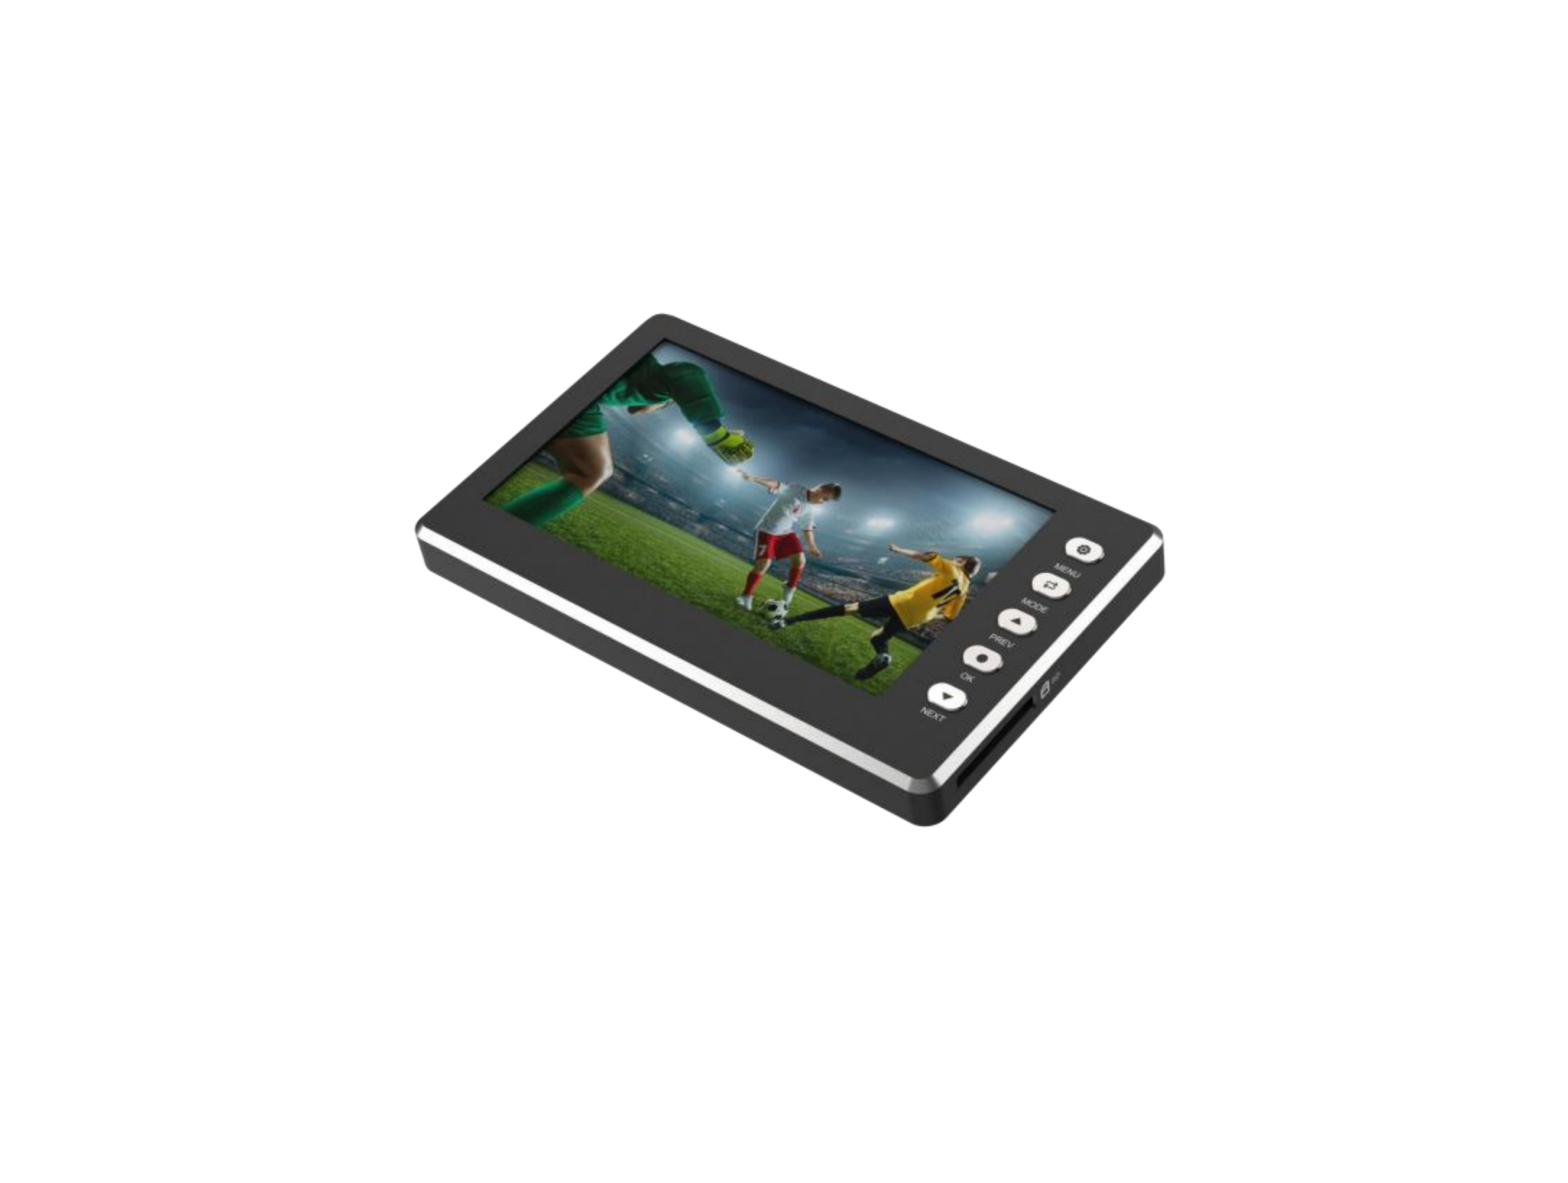
Features1. A large 5-inch OLED screen. 2. Full stereo speakers. 3. Aluminum alloy housing. 4. Built-in large capacity battery 5. Support the input and output of 1080P HD video signal . 6. Support the input and output of AV and HDMI HD video signal. 7. Support recording and playback of 1080P hd video signals 8. Support for the plug-in USB/SD ports 9. Type-c 5V±5% power data interface is supportedInterface function:1. HDMI OUT–HDMI video output port 2. HDMI IN–HDMI video input port 3. AV OUT–3.5 mm video output port 4. AV IN–3.5 mm video input port 5. DC/TYPE-C–power and data ports 6. USB–USB port 7. SD–SD card port3
Button function1. Volume up button — short press to increase the volume, the setting status of the menu to short press is the left button function.2. Volume down button–short press to reduce the volume, the setting status of the menu to short press is the right button function.3. Power button–long press for 3 seconds to turn on/off the power. 4. Menu button–Short press to open/close menu settings. 5. MODE button–Short press to switch between recording mode and playbackmode. 6. PREV button– press short to switch to input signal source in the recording mode,short press to switch to the prev one in other states. 7. OK button–short press to record video in the recording mode, short press toconfirm in other states. 8. Next button–press short to close the status bar in the recording mode, shortpress to switch to the next one in other states.4
Charge the productBefore the first use, the product should be fully charged. The internal battery of the product can be charged by two ways: 1. Through the power adapter.2. Through the computer’s USB port.When the battery is completely depleted, it will need approximately 3 hours for a full charge.5
Install the storage deviceThe storage device can use USB flash disk or SD card (format of FAT32 , maximum capacity of 128G). For best results, it is recommended to use an SD card with aspeed level of 10 or above.
In order to remove the SD memory card, gently press inward and then carefully remove the card.
Connecting a Video Source:
Connect your Multifunctional FHD Video Recorder to the video source in one of the following ways:
CVBS
White
Red
AUDIO OUT L
AUDIO OUT – R
HDMI OUT
6
Start the Multifunctional FHD Video Recorder
1. Make sure it is connected to the power supply or the battery is fully charged and
the memory card is in place. Long press the ” turn on the power supply, and long press the ” turn off the power supply.
” power button for 3 seconds to ” Power button for 3 seconds can
2. Turn on the power and enter the recording mode, and the following information will be displayed on the screen:
N.B.! If no memory card is in place, the message No Card appears on the display. 7
Settings in the Video Recording ModeShort press the ” ” menu button to access the settings.Short press the ” ” PREV button and the ” ” NEXT button can scroll between the various menu options.Short press the “OK” button to confirm the selection. Short press the ” ” menu button to exit the Settings.8
Set the time and dateShort press the ” ” menu button to open the settingsshort press the ” ” NEXT button to the option to scroll the time and date, short press the ” OK ” button to confirm the setting, short press the ” ” left button to increase the value, short press the ” ” Left button to reduce the value, short press the ” ” NEXT button to scroll to the next selection, after correct adjustment, short press the ” OK ” button to confirm saving the setting.9
Other settingsThe other settings in the video menu are the same as the time and date. The available settings: Language: 8 languages available. Time and Date: date input refer to the previous page. Date stamp: time and date watermarks can be displayed on recorded videos. The video quality: the video qualityoptional. Video source: can choose HDMI input or AV input. TV Out: can choose NTSC or PAL Standard TV format output. Automatically stop recording: can set the automatic stop recording time. USB mode: can choose to charge or connect to the computer. Default storage device: when using usb flash disk and SD card at the same time, can choose to use USB flash disk or SD card as the default storage device. Timing recording: can set the time and date of timing recording. Restore factory settings: You can restore the settings to the factory default state. Formatting: can format the storage devices. Firmware version: can display firmware version.RecordingConnect your Multifunctional FHD Video Recorder to the video source. Turn on your Multifunctional FHD Video Recorder According to the inputted video source, press the ” ” PREV button to switch to select HDMI input or AV input.When the video picture appears, press the ” ” recording button to start recording.10
The counter in the top right-hand corner of the screen turns red. Short press the ” ” NEXT button to close the status bar and display the full screen, and short press the ” ” NEXT button again can restore the displa of status bar.Short press the ” ” recording button again to stop recording.11
Play recorded video1. In recording mode, press the ” ” MODE button to switch to play mode.2. Press the “OK” button to start to play the video, and then press the “OK” button to pause the video.3. If you have recorded multiple videos, you can switch to the previous video by pressing the ” ” PREV button and to switch to the next video by pressing the ” ” NEXT button.12
4. Long press the ” ” PREV button can fast backward the video, long press the ” ” NEXT button can fast forward the video, and short press” OK ” can restorethe normal speed to play the video.5. Short press the ” ” menu button to stop the play.6. Press the ” ” MODE button again to return to the recording mode.The following settings can be made in play modeProtect prevents the films from being deleted. You can select single films, all of them or select from the miniatures that are displayed. Protected files are indicated with a padlock. Delete recorded videos, you can choose to delete one or all of them.13
Showing Recordings on TV
You can connect your Multifunctional FHD Video Recorder to a TV receiver via the AV cable or by using an HDMI cableCVBS IN
White
Red
AUDIO IN L
AUDIO IN – R
HDMI IN If you want to connect to the HDMI on your TV,use the accompanying HDMI cable.Multifunctional FHD Video Recorder now turns black and you will see the film on the TV screen instead.Connect to the computerBy connecting your Multifunctional FHD Video Recorder to a computer,you can process your recorded films and images on the computer itself. A drive routine will automatically be installed onto your computer the first time you connect the device to your computer. Your Multifunctional FHD Video Recorder then appears as a removable disc drive on the computer, so you can copy and rename, or delete your films.
14
How to copy your recordings onto your computer1. Start the Multifunctional FHD Video Recorder, then press the ” ” menu button to enter the settings, select the USB mode as” MSDC “, and then press the “OK” button to confirm the connection to the computer.2. Connect your Multifunctional FHD Video Recorder to the computer by using the USB cable.3. Your Multifunctional FHD Video Recorder now appears as a removable disc drive on the computer.N.B.! Connecting to the computer only supports reading SD card, please insert the U disk directly into the computer.15
Troubleshooting1. Before pressing the REC button of the product, please make sure the input sources (such as set-top boxes, set-top boxes, computers, game consoles, etc) is turned on and can provide audio or video signal to the product.2. Make sure that the cables are securely connected to both the input sources and the device.3. If the product crashes, please use a needle to push the mini hole at the back of the product to reset the product.4. Please use a SD card whose transfer speed is Class 10 or above. 5. If the Video Grabber’s software seizes up, the system can be reset by inserting apin or similar object into the small hole found on the back of the device. 6. If the screen remains black in spite you having pressed the On/Off Menu buttonfor a protracted period, the battery may be dead. Connect the charger and try again. 7. If you do not succeed in recording video material to your Multifunctional FHD Video Recorder, the cables may be incorrectly connected or be connect too loosely.16
Screen Symbols
1. Recording mode symbol 2. Play mode symbol 3. SD card storage symbol 4. USB storage symbol 5. HDMI input symbol 6. AVinput symbol 7. Timed record symbol 8. Video quality symbol
9. Recording time symbol 10. Maximum recording time symbol 11.Batterycapacitysymbol 12.Volume mark symbol 13.Fastbackwardsymbol 14. Pause symbol 15. Fast forward symbol
17
Technical Specifications
Connections
Interface Video Input
USB 2.0 HDMI,AV
Audio Input Video Output
HDMI,AV HDMI, AV, 5″ OLED
Audio Output
HDMI, AV, Speaker
Hardware Information Dimensions Weight
142.2×85.9×12.6mm 215g
Package ContentsDevice Others
Multifunctional FHD Video Recorder5 V power adapter, HDMI cable, TYPE-C USB Cable,AV cable, User Manual
Specifications System RequirementResolutionMaximum storage capacity Record Quality Record Format Max File BatteryDC/USB Power Input
No Computer Required To Record/Playback To Transfer Videos To Computer: PC (Windows) or Mac RequiredInput / Pass-through: 720 x 480 (60p), 720 x 576 (50p), 1280 x 720p(60p),1920 x 1080 (50i), 1920 x 1080 (60i), 1920 x 1080 (50p), 1920 x1080 (60p)128G 1080P, 60 FPS MOV 4 GB1800mAh (lasts approximately 1 hour recording; 2 hours playing back)5V 1A
 report this ad
18
[xyz-ips snippet=”download-snippet”]