DOLBY DMT-200HD Cable One All Digital User Guide
The world is going All Digital and so is Cable ONE. With the switch from analog to digital technology, Cable ONE will be able to add new channels, especially more HD channels, and provide even better picture quality. In All Digital systems, to receive cable TV service, all televisions will need a CableCARD, or a Motorola receiver, or DVR, or TiVo or a new All Digital Device.
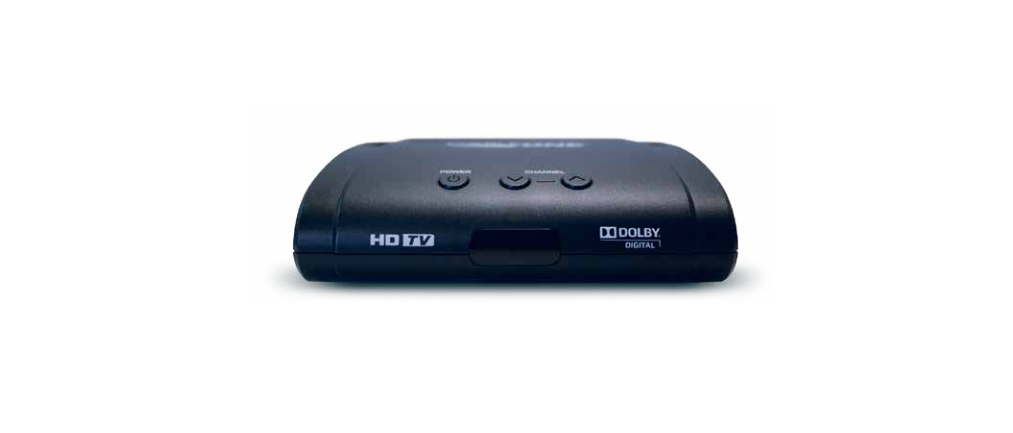
Cable ONE’s All Digital Device, the ADD-Vantage, is small — just 5″ x 1″ x 4.5″ — and can be mounted out of sight behind your television. Both Standard and High-Definition television signals are delivered through the All Digital Device. Customers with an HDTV will receive HD versions of the SD channels they subscribe to when Cable ONE offers that channel in HD. The All Digital Device also comes with an on-screen program guide.
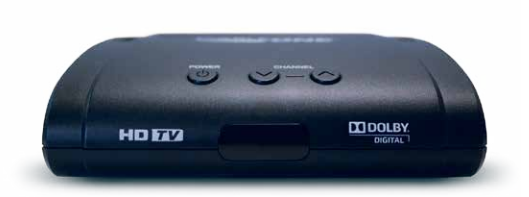
DMT-200HDAll Digital Device
CONNECTING YOUR ALL DIGITAL DEVICE
Connecting the All Digital Device is quick and easy.
- Some devices have an external Smart Card. If your device came with a Smart Card, insert the Smart Card into the slot in the back panel of the All Digital Device. If you are connecting multiple devices, only the Smart Card included with the All Digital Device will work with that device. If no Smart Card is included and there is no horizontal slot on the back of the device, skip this step.
- Find the coaxial cable coming from the wall to your television. Leave the coaxial cable connected to the wall but disconnect the end of the cable attached to your TV. Connect this end to the CABLE IN input on the back of the All Digital Device. Make sure the coaxial cable connections to your All Digital Device and the wall are finger tight.
- Connect the AC adapter to a power outlet.
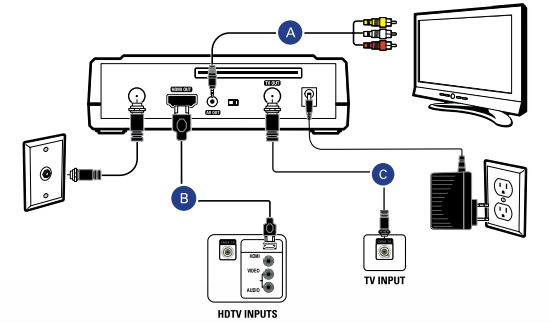
- You’re now ready to connect the All Digital Device to your TV. There are three options for connecting the All Digital Device to your television. Choose A, B or C.

NOTE: Only the Smart Card enclosed with this All Digital Device will work with this device. Follow the directions printed on the Smart Card.
![]()
You can use the Mini-to-RCA connector included with the All Digital Device. Connect the single end to the AV OUT on the back of the All Digital Device and connect the yellow video and the red and white audio connectors to the inputs for video and audio on your TV.
![]()
If you have an HDTV, using an HDMI cable is the way to go. Connect one end of the cable to the HDMI input on your television and connect the other end to the HDMI OUT on the back of the All Digital Device.
![]()
Use a coaxial cable. Connect one end of the cable to TV OUT on the All Digital Device and connect the other end to CABLE IN on the back of your TV.
IMPORTANT NOTE:
Connect your all digital device to your TV only.Do not connect to a VCR, DVD player or gaming console.

- Next, insert the batteries into the remote control. Turn on your TV and adjust the input or source on your TV until the Livewire start-up screen appears on your TV.
- After 30 seconds to a minute, press MENU on the All Digital Device remote and select Cable ONE Connect from the Main Menu.
- If you will be connecting more than one All Digital Device, connect all of the All Digital Devices before moving to the activation step. Once all the All Digital Devices are connected, you’re ready to activate the Device(s) and begin watching cable TV.
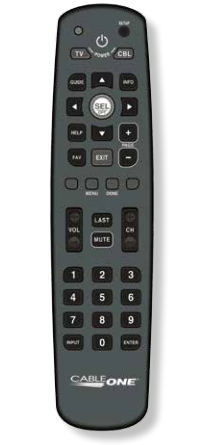
DMT-200HD REMOTEInsert 2 AAA batteriesinto the back of theremote control
ACTIVATING THE ALL DIGITAL DEVICE
Activating the All Digital Device is quick and easy.
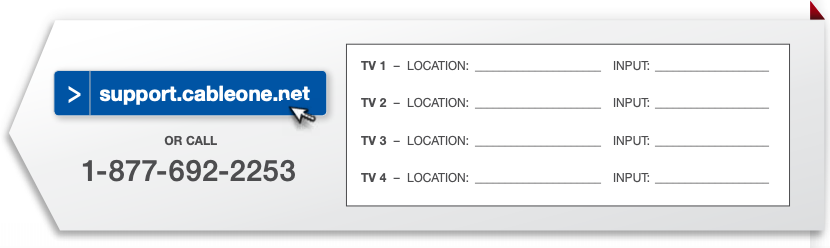
Go to support.cableone.net/alldigital or call 1-877-692-2253 and follow the instructions to authorize your All Digital Device(s). You will need your account number from your billing statement plus the device serial number and the Smart Card serial number from the installation screen to complete authorization. After you complete the activation steps, the All Digital Device(s) will be activated within 2 to 20 minutes. Once they have been activated, you’re ready to sit back and watch TV.
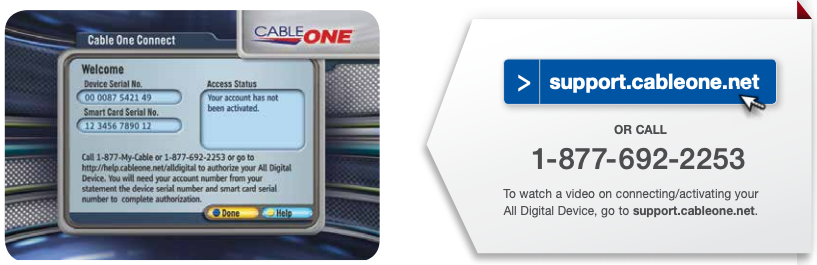
After connecting the All Digital Device(s), you’re ready to activate the Device(s). Initially you will see the screen above.
IR RECEIVER CONNECTION
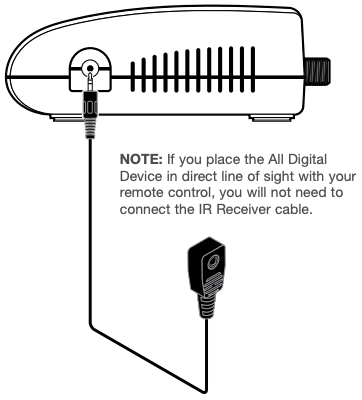
If you choose to place the All Digital Device out of sight, you will need to connect the IR Receiver cable included with the All Digital Device.
Plug the IR Receiver cable into the IR IN on the right side of the All Digital Device. Place the IR Receiver lens in direct line of sight where your remote control is used.
REMOTE CONTROL SETUP
![]()
Turn on your television.
![]()
Press and hold SETUP on the All Digital remote until the red LED blinks twice.
![]()
Enter 9-9-1.
![]()
Press CH+ repeatedly until the TV turns off.
![]()
To save the working code, press and hold SETUP until the LED blinks twice.

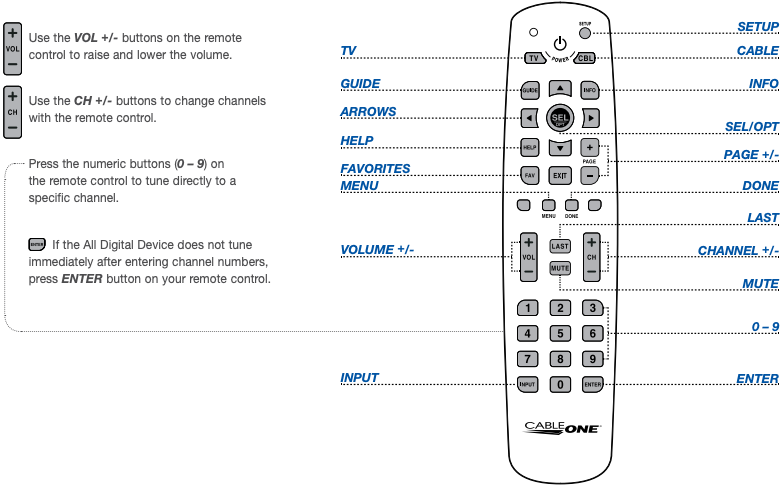
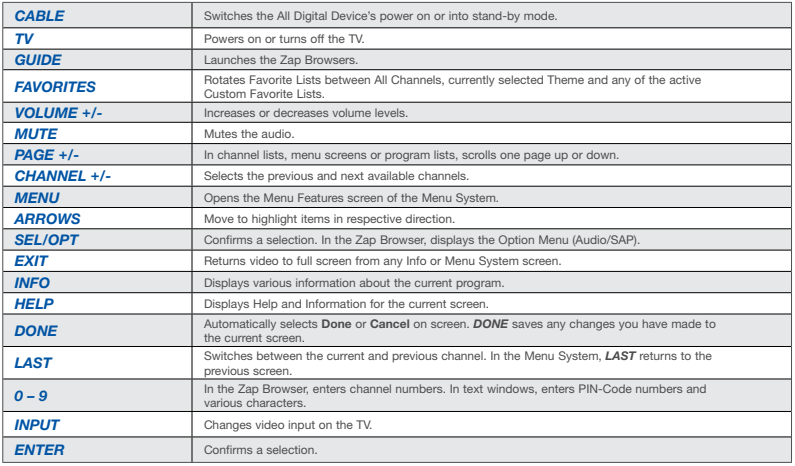
REMOTE CONTROL
GUIDE
The All Digital Device provides a built-in now/next guide, allowing you to find your favorite shows quickly and easily
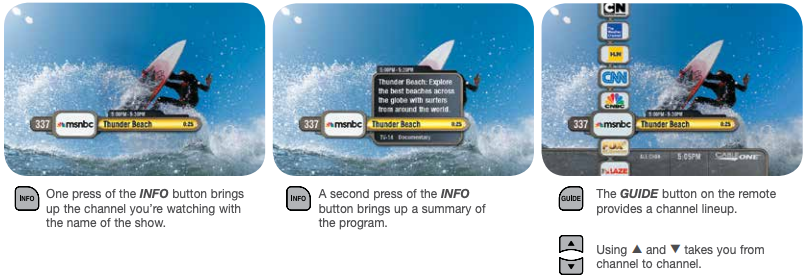

Your selection will highlight in yellow.
![]()
Press MENU on your remote control to access the menu system.
![]() Use ▲ and ▼ on your remote to navigate through the menu items.
Use ▲ and ▼ on your remote to navigate through the menu items.
![]()
Press SEL/OPT on your remote control to select a menu item or option.
![]()
Press DONE on your remote to automatically select Done on any screen that has the Done button.
![]()
Press HELP on your remote while in any menu screen to launch the Help and Information screen.
![]()
Press LAST on your remote to go to the previous menu screen.
FAVORITES/THEMES

- Select Favorites from the Main Menu.
- Select a Channel Theme.
- Select Channel Themes to set the channel lineup.
- Use ▲ and ▼ on your remote to choose a theme.
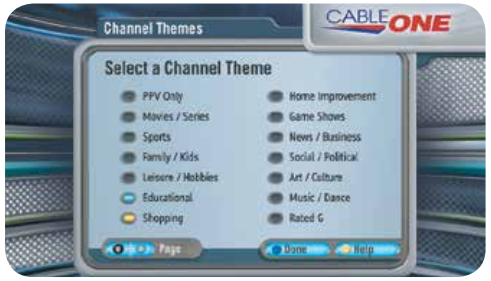
- Press SEL/OPT to toggle an on-screen button on or off.
- Press PAGE +/- if there is more than one Channel Themes page.
- Select Done when you have finished making your choices.
PARENTAL CONTROLS
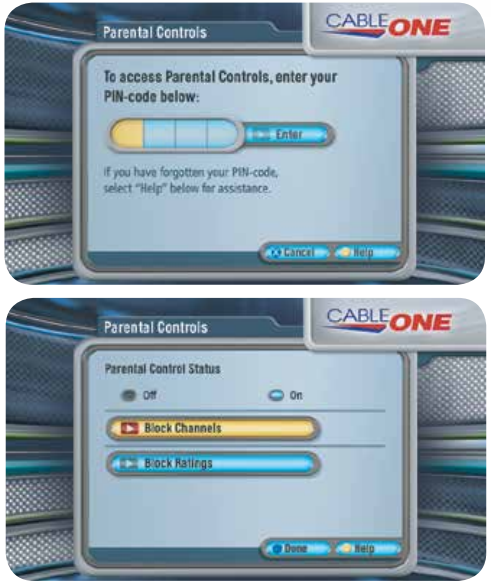
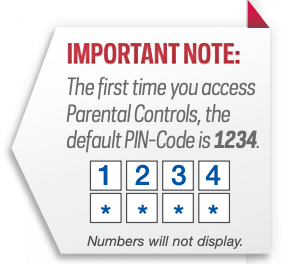 Select Parental Controls from the Main Menu. Enter your 4-digit PIN-Code to access Parental Controls using the numbers on your remote.
Use Parental Controls to do the following:
- Toggle Parental Controls On or Off.
- Select Block Channels to make a channel require PIN-Code entry.
- Select Block Ratings to choose ratings to block.
- Select Done on screen to save your selections.
CLOSED CAPTIONING
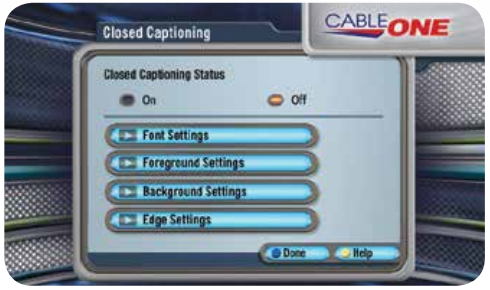
- Select Closed Captioning from the System Settings Menu.
- Use ▲ and ▼ to navigate through the menu options.
- Select On and press SEL/OPT to turn on Closed Captioning.
- Select Off and press SEL/OPT to turn off Closed Captioning.
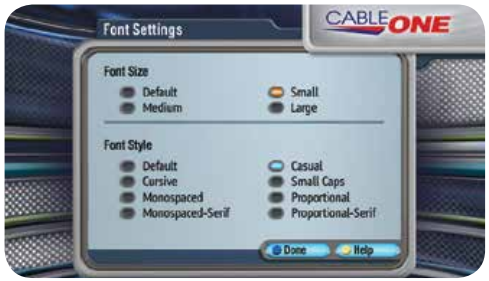
- Select Font Style to choose size and style.
- Select Foreground Style to choose color and opacity.
- Select Background Style to choose color and opacity.
- Select Edge Style to choose color and style.
HOW TO UPDATE YOUR PIN-CODE
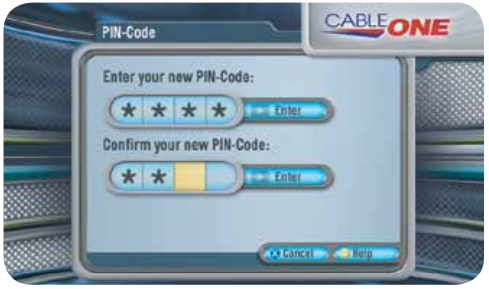
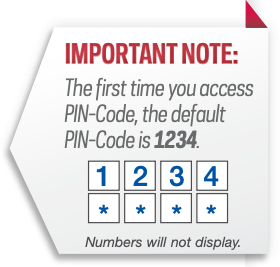
- Select PIN-Code from the System Settings Menu.
- Enter your 4-digit PIN-Code using the numbers on your remote and press SEL/OPT to continue.
- Enter your 4-digit PIN-Code using the numbers on your remote and press SEL/OPT to enter a new PIN-Code and select Enter on screen.
- Enter your new 4-digit PIN-Code a second time and select Enter on screen.
ALL DIGITAL CABLE TROUBLESHOOTING
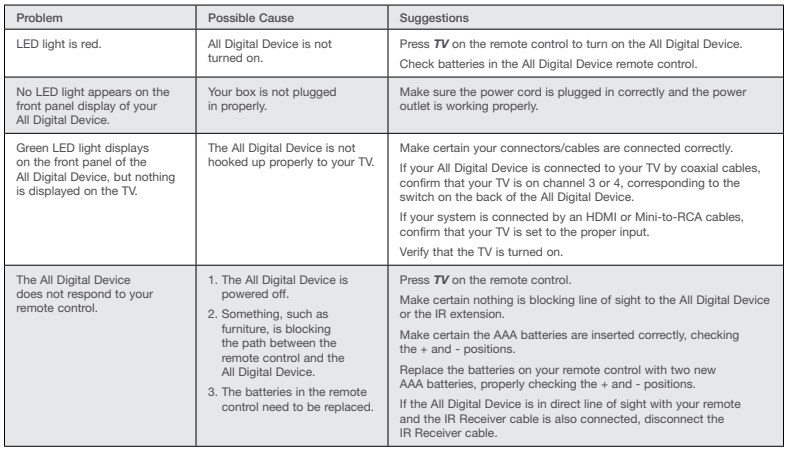

Additional Help
If you need help installing your All Digital Device or have questions after reviewing this booklet, call 1-877-692-2253.
DOLBY DMT-200HD Cable One All Digital User Guide – DOLBY DMT-200HD Cable One All Digital User Guide –
[xyz-ips snippet=”download-snippet”]