
SYSTEM REQUIREMENTS
- DoorBird IP Video Door Station D10x/D11x/D20x/D21x-Series
- Avycon HN5xx-Series Network Video RecorderADDITIONAL INFORMATIONThe following guide will take you through the steps of setting up a DoorBird IP Video Door Station in connection with an Avycon Network Video Recorder.Please make sure that the Avycon Network Video Recorder receives an IP address and is connected to the same local network your DoorBird IP Video Door Station is connected to. Please also make sure that your DoorBird is online, using this service:https://www.doorbird.com/checkonlineThe local IP address of your DoorBird is available from the same page.FIRMWARE INFORMATIONThis manual was tested using the following firmware versions:DoorBird IP Video Door Station: 000122Avon NVR: 1.3.3.2020B180831.N0K.U1
- SETTING UP THE DOORBIRD IP VIDEO DOOR STATIONFor the DoorBird IP Video Door Station to be properly recognized by the Avycon Network Video Recorder, the “NVR”setting of the DoorBird IP Video Door Station must be activated.1. Open the DoorBird App and log into the administration area under “Settings → Administration” using the administrator user and password credentials from the “DIGITAL PASSPORT” document that was shipped with your DoorBird IP Video Door Station.2. Find the “External video service (NVR)”-toggle under “DOORBIRD CONNECT” from the main menu and switch it on.


SETTING UP THE AVYCON NETWORK VIDEO RECORDER
To make use of the DoorBird IP Video Door Station’s camera, it needs to be added and configured within the Avycon Web Client.
- Make sure the Avycon Network Video Recorder is running and connected to your local network.All companies, logos, and product names are registered trademarks of the respective companies.Errors and omissions excepted – Last Update 10/2020- Copyright © 2019 – Bird Home Automation GmbH – www.doorbird.com
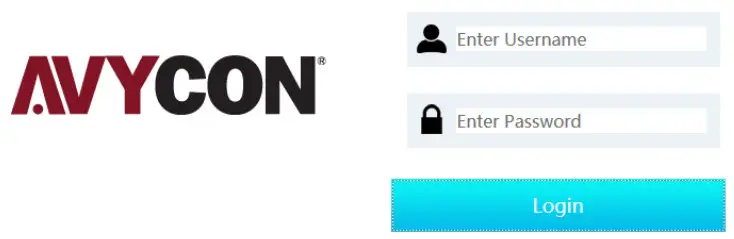
- Open the Avycon Web Client by typing the IP address of the Avycon Network Video Recorder into the address field of your browser.
- Log in to the Avycon Web Client using your admin credentials for the Avycon Network Video Recorder.4.
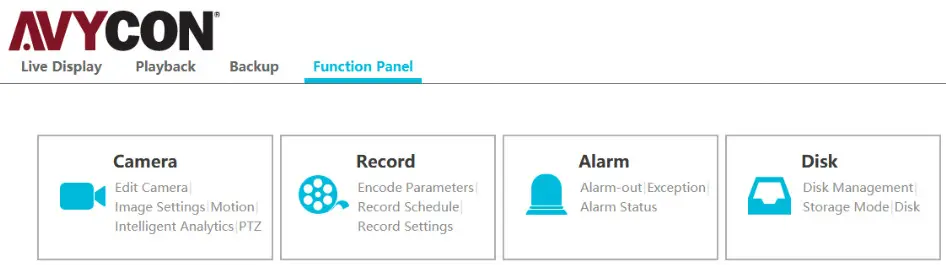
- On the main screen, click on “Function Panel” to get to the settings screen.
- Click on “Camera” and in the subsequent screen, click the “Add Camera” button in the menu on the left.
- From the list of preconfigured devices., select the one whose IP address matches that of your DoorBird IP Video Door Station and click on “Add”.
- This will bring you back to the “Edit Camera” screen, which should now list your DoorBird IP Video Door Station with an “Offline” status.
- Scroll to the right, if necessary, to get to the “Edit” column and click on your DoorBird IP Video Door Station’s corresponding “Edit” button to open its camera settings.

All companies, logos, and product names are registered trademarks of the respective companies.Errors and omissions excepted – Last Update 10/2020- Copyright © 2019 – Bird Home Automation GmbH – www.doorbird.com
![]()
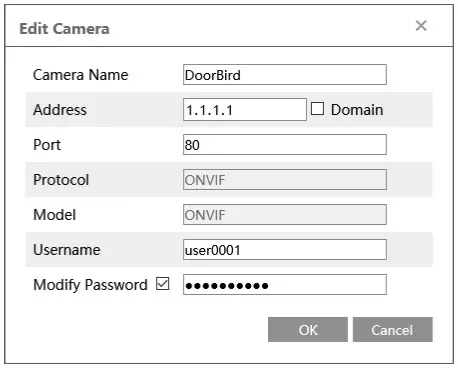
9. Enter an appropriate name for your DoorBird IP Video Door Station in the “Camera Name” field, e.g.“DoorBird”. Enter the app user (e.g. user0001) and corresponding password into the “Username” and “Modify Password” fields, respectively. Click “OK” to store the settings.
10. The “Status” indicator of your DoorBird IP Video Door Station’s device entry should switch to “Online”, indicating that the setup of your DoorBird IP Video Door Station was successful. If not, make sure the “External video service (NVR)” setting in the DoorBird app is active and that username and password were entered correctly.For questions and problems regarding the product “Avycon Network Video Recorder” please contact the manufacturer online: https://avycon.com/technical-support/For questions and problems regarding our devices (DoorBird IP Video Door Station) please use the contact form to get In touch with our technical support: https://www.doorbird.com/contact
All companies, logos and product names are registered trademarks of the respective companies.Errors and omissions excepted – Last Update 10/2020- Copyright © 2019 – Bird Home Automation GmbH – www.doorbird.com
References
[xyz-ips snippet=”download-snippet”]