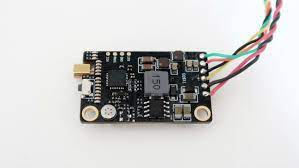
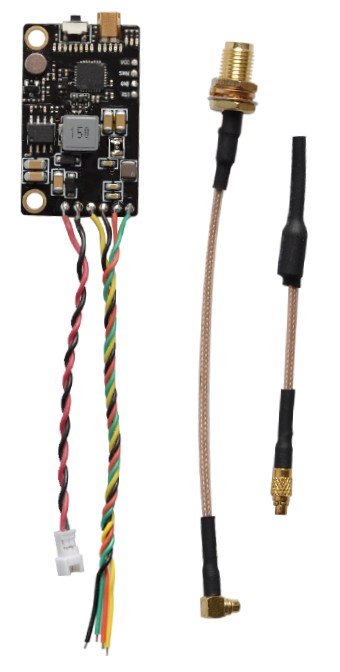
Eachine TX805S Transmitter Instruction
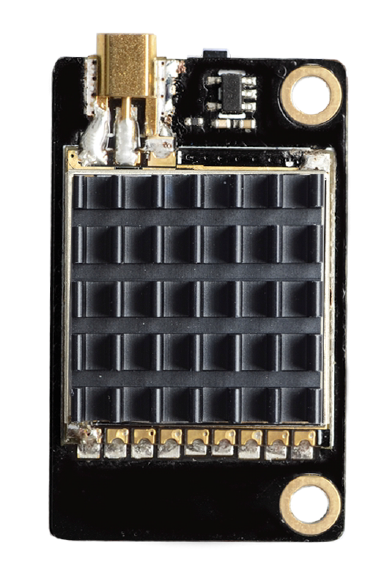
PRODUCT SPECIFICATION
Specification and Parameters:
- Input voltage: 7V to 24V
- 5V camera supply: 220mA(MAX)—(Type)
- 5V camera supply: 470mA(MAX)—(Type)
- 5V camera supply: 550mA(MAX)—(Type)
- 5V camera supply: 830mA(MAX)—(Type)
- Cable connector: Solder pads
- Dimensions: 36mm*22mm*5mm,30.5 stackable hole
- Weight: 1 l.3g (excluding antenna)

Select channels by simple short presses.Blue LED light on stands for CH l ,short presses to change 8 channels sequentially.For CH2/3/4/5/6/7 /8. Blue LED flicker once, it won’t light on. Notice: Blue LE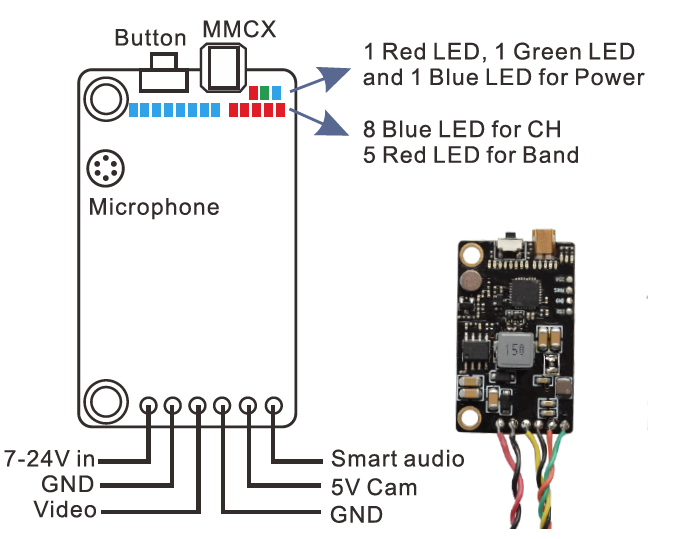
Power select
Press button for 4S,Red LED will flash,then select power by simple short presses to select 25m W /500m W /I 000m W sequentially,For 500mW, Green LED flicker once it won’t light on;For 1 000m W Blue LED flicker once, it won’t light on . Press the button again, Red LED, Green LED and Blue LED lights together, Represents the highest power 1600m W.Notice: Red LED only light on for 25mW.
Pit Mode(0.0lmW)
While in Pit Mode you can change channels and set power levels but none of these changes will take effect until you quit Pit Mode. By default, Pit Mode will send a very weak signal.
Two ways to exit pit mode:
Press Button 12S until all 16 LED turned off and light on again to exit pit mode, or you can exit pit mode via Betaflight OSD.Notice: The VTX has memory for settings, To change the settings ,please repeat steps as above.
Frequency and channel frequency table:
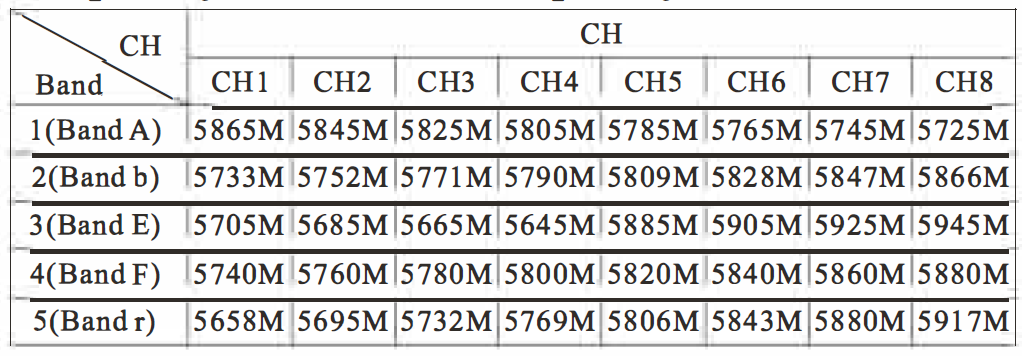
Eachine TX805S Transmitter Instruction Manual – Eachine TX805S Transmitter Instruction Manual –
[xyz-ips snippet=”download-snippet”]

