EcoDim Smart Dimmer Schakelaar 200W LED User Manual
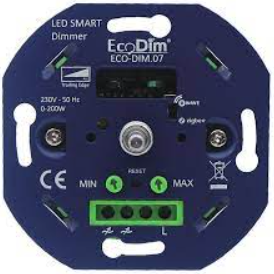
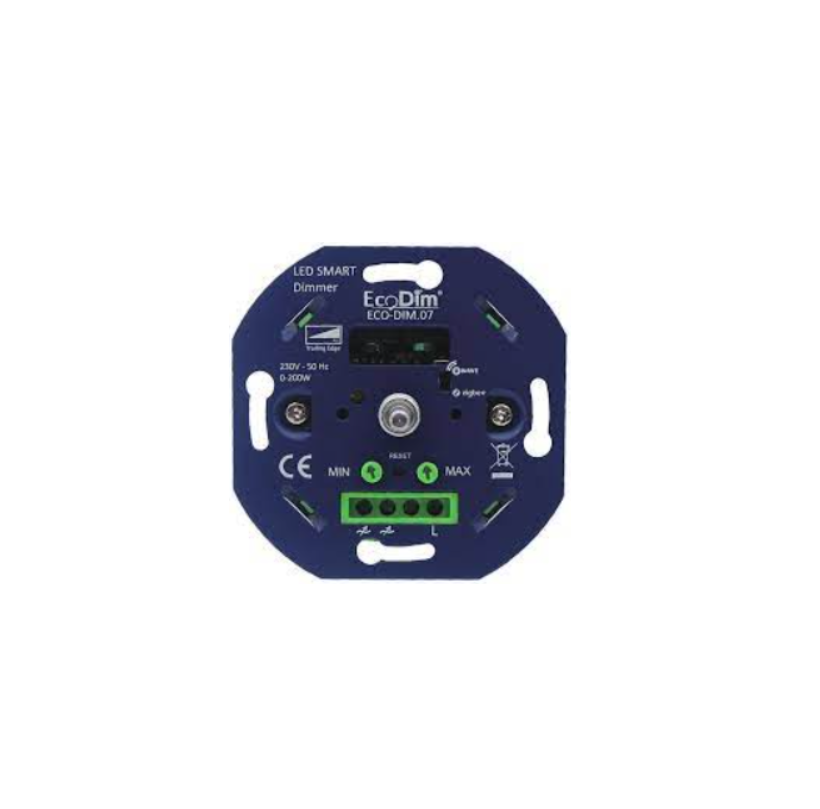
Smart Dimmer Schal?elaar 200W LED Item No. Eco.Dim-07 Zigbee

1. Specifications
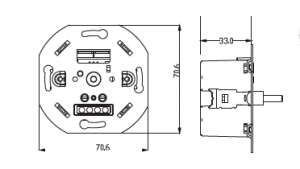
Input voltage 220-240 Vac, 50HzPower (load) 0-200W LEDSuitable for Led-, halogen-, light bulbsType dimmer R,C Phase cutWorking temperature 35 ·cOperation Push / turn buttonDimensions 70.6×70.6x33mmWeight 49,98g
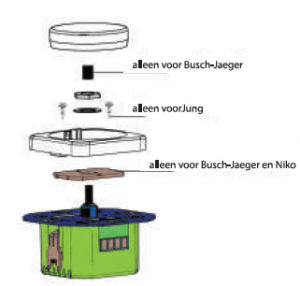
Suitable brands of cover material:
,J Berker by Hager,J Busch-Jaeger,/Gira✓ JUNG✓ Kopp,J Merten by Schneider✓ Niko✓ PEHA
2. Installation
Step 1: Remove the knob and the cover plate.Step 2: Always make sure that the electricity is switched off during installation. Then connect the wires as indicated in the ‘Connection diagram’.Step 3: Now install the dimmer in the mounting box. Use screws or tighten the screws of the mounting clamps.Step 4: Switch the electricity back on. Switch on the connected lights by pressing the dimmer shaft. Now adjust the ‘MIN/MAX adjustment, as described under ‘MIN/MAX installation’Step 5: Optionally you may connect the dimmer to your SMART home system as indicated under the heading “Connecting home automation/ apps”Step 6: Place back the cover plate and dimmer knob.
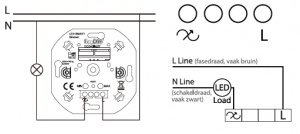
3. Connection diagram
4. MIN/MAX adjustment
 4. MIN/MAX adjustment
For the SMART dimmer to work optimally, you can adjust the lights to the dimmer with the MIN and MAX adjustment. As soon as you start turning MIN and MAXadjustment, the dimmer will automatically go to the minimum and maximum light range. MIN adjustment: Switch on the lights with the push/ turn button. When the lights are on, insert a screwdriver in MIN and turn to the left. When the light becomes unsteady, turn slightly back to the right so that the light remains steady. MAX adjustment: Switch on the lights with the push/ turn button. When the lights are on, insert a screwdriver in MAX and turn to the right. When the light becomes unsteady, turn slightly back tothe left so that the light remains steady.
5. Connecting home automation/opp
Step 1: Switch on the dimmer (lights are on). The dimmer is already in “pairing mode”. You can also do this by pressing the reset button on the dimmer twice.Step 2: Make sure that the pairing mode of your controller is on during the previous step. You will find this in the manual of your controller.Step 3: The dimmer will be visible in your app and the previously set MIN/ MAX position will be stored there . Other manuals concerning the connection of the EcoDim smart dimmer with various known controllers can be found on this page: www.ecodim.nl/downloads-srnart-dimrner.
6. Settings
1.Factocy settingsPress the reset button for at least 5 seconds, the indicator will stay in red for 1 Os. Please note that all configuration parameters will be reset after the device is reset or remove from the. nflwllrk.
2. Pairing mode
a. Remove the device from previous Zigbee Network if it has already been added to, otherwise pairing will fail.b. Press reset button twice. The indicator will start blinking blue and stay solid for 1 Os when pairing succeed, timeout 15mins.
3. Remove: There are two methods to remove the device from the Zigbee Network.
Method 1. From your Zigbee hub interface, choose to delete or reset the device as instructed.Method 2. Press the reset button for 3 times, the indicator will start blinking purple and stay solid for 1 Os when remove finished, timeout 3mins.
4. TouchUnk: Reset the dimmer if they are included in a Zigbee Network.
a. Press the reset button for 4 times, the indicator will start blinking green and stay soild for 1 Os, timeout 3mins.b. Bring the remote controller within l 0cm of the smart dimmer and set the remote controller into Touchlink comminssioning. Please note: Touch I ink will be effectived when both device not added to a Zig bee Network each device can link with one remote
5. Find and Bind: Please make sure the device and remote already added to the same Zigbee Network .
a. Press the reset button for 5 times, the indicator will start blinking yellow and stay soild for 1 Os.b. Set the remote controller into find and bind mode and enable it. Refer to corresponding remote .
The installation of the dimmer on 230 V mains power must be carried out by a qualified specialist in compliance with local regulations. Make sure that the power supply is switched off during all work.


Suitable for most home automation/ apps:
,/ Google AssistanVGoogle Home,J Amazon Alexa✓ Philips Hue✓ HOMEY./Domoticz./Trust✓ WINK
Read More About This Manual & Download PDF:
[xyz-ips snippet=”download-snippet”]