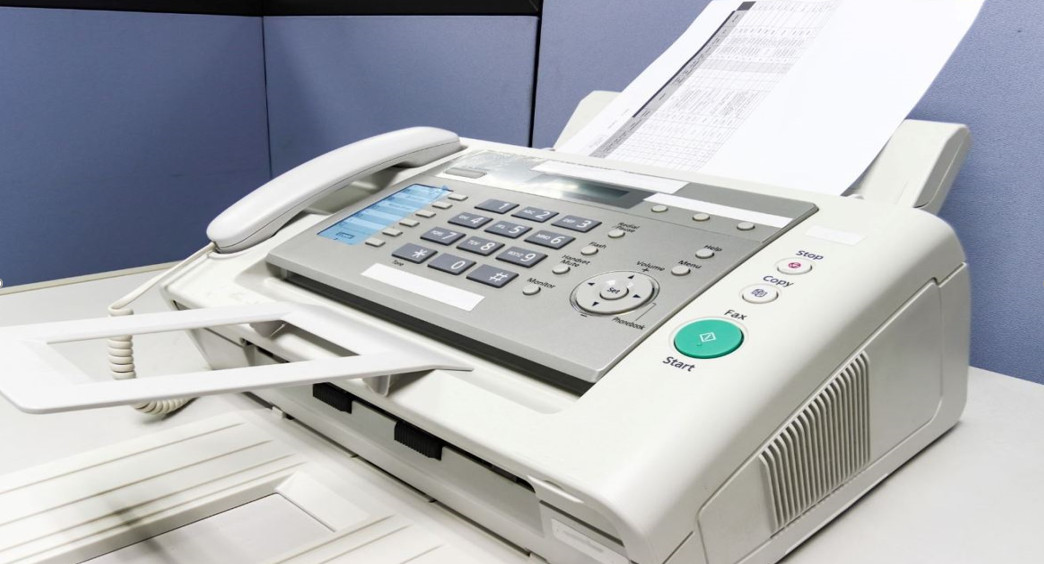
 Desktop Fax Reference Guide


Sending a Fax (Email to Fax)To send a fax from Microsoft Outlook, simply address an email message to the recipient’s fax number and attach the documents you wish to fax.
- Open Microsoft Outlook and create a new message.
- In the To: field, enter the fax number followed by @efaxsend.com. For example, [email protected].
- All U.S. and Canada fax numbers must be eleven digits. Always use the “1” in front of the ten-digit fax number. Do not include any prefix you normally dial to get an outside line (such as 9).
- For International fax numbers, only the city and country codes are needed. For example, if faxing to a number in the UK, address the email to[email protected].
- Attach the document(s) that you want to fax by selecting File > Insert (refer to the Attaching Documents section).
- Add a cover page if needed (refer to the Using Cover Pages section).
- Send the email.
Attaching DocumentsYou can fax up to ten documents in one email. They will be faxed in the order they were attached. The aggregate size for all attachments is 25 Mb.eFax Corporate® supports most popular file formats including .doc/.docx, .xls/.xlsx, .ppt/.pptx, .pdf, .txt, .rtf, .tiff, .gif, .jpg, .png, .snp, and .html.eFax does not support password-protected files.Note: The email body counts as an attachment. If you include text in the email body for your cover page, then you will only be able to attach up to nine files to your fax.
Sending Faxes to Multiple RecipientsTo send a fax to more than one recipient simultaneously, add additional fax numbers in the To: field. Separate each number using a semicolon (or the default delimiter mandated by your mail client). Do not use the CC: orBCC: fields.For example: [email protected]; [email protected].
Using Cover PagesWhen sending a fax by email you can control whether to include a cover page.

Any text you type into the body of the email appears in the Cover Message area of the cover page. Text typed into the Subject: field of the email appears in the RE: line of the cover page.To fill in the TO, FAX NUMBER, and COMPANY lines on the cover page type your information in the following format in the To: field of the email: “John Doe{Company}” <[email protected]>In this example, the fax cover page will automatically fill in John Doe’s name, company name, and fax number.To suppress the creation of a cover page do not type any text into the email body.Note: If your account Administrator has uploaded and assigned a custom cover page, then that page will be used with your fax by default, overriding any text you include in the email body.Fax Delivery ConfirmationAfter you send a fax, you will receive a detailed transmission receipt by email. In most cases, this receipt arrives a few minutes after you send yourfax. The receipt includes the fax page count, total transmission time, and, in the event of failure, the failure reason.Receiving a Fax (Fax to Email)When someone sends a fax to your eFax Corporate number, it arrives in your email inbox as an email with a file attachment. The Subject: field in the email will contain the sending fax number if available. For example, “eFax Corporate fax from 13238171155.”The file attachment is the fax, not the email itself. You must open the file attachment to view your fax. Do so by double-clicking the attachment. The document opens automatically in either eFax Messenger® or Adobe Acrobat.Printing and Saving FaxesOnce opened, you can print and save your faxes as you would any document, using the applicable Print and Save functions in the software you are using to view the fax.SupportIf you have any questions about your eFax Corporate Account, contact our 24-hour Customer Support team at (833) 753-2563 or [email protected].

Contact j2 Global about meeting any of the requirements outlined in this paper. Visit us at www.j2global.com, or contact our enterprise sales team at 833-753-2563© 2013 j2 Global, Inc. All rights reserved. eFax Corporate is a registered trademark of j2 Global, Inc. • 02213CREFC544RD
References
[xyz-ips snippet=”download-snippet”]

