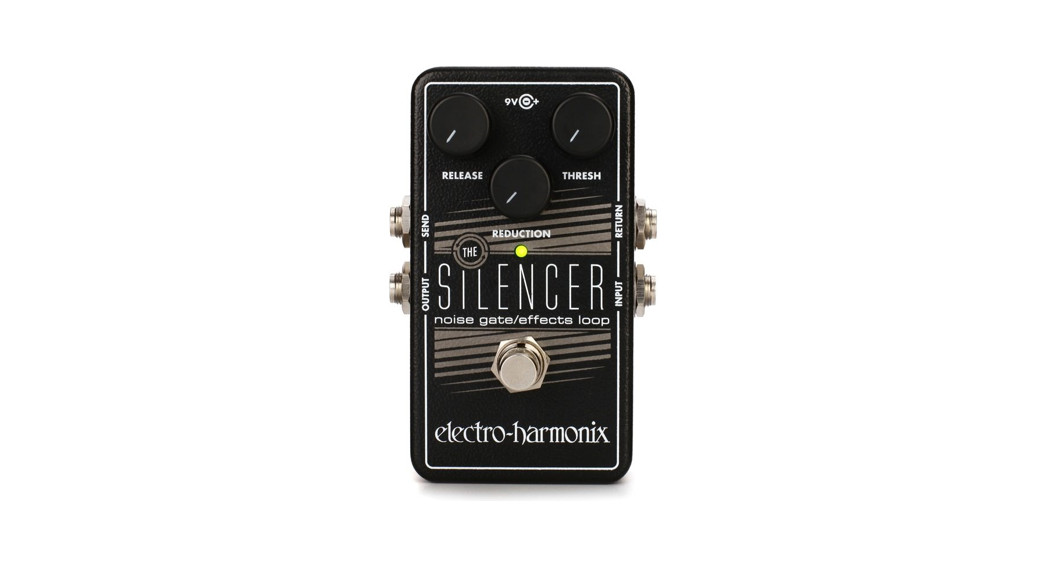
THE SILENCERNoise Gate/Effects Loop
Congratulations on your purchase of The Silencer, a sophisticated noise gate with a gated effects loop from Electro-Harmonix. The Silencer can be used as an inline noise gate or it can gate an entire effects loop. Whether you play with a single distortion pedal, or an entire board of effects, noise can be a problem. With control over threshold, noise reduction, and release time, The Silencer can be fine-tuned to fit your system, instrument, and playing style to remove unwanted noise.
– CONTROLS –
THRESHOLD Knob Controls how much level is needed to open the noise gate and allow your signal to pass through. At full counter-clockwise, the gate remains open and passes all signals through. As you turn THRESHOLD clockwise more level is needed to open the gate.To tune the THRESHOLD knob, we recommend you start with THRESHOLD set to its minimum position, REDUCTION set to maximum, RELEASE set to minimum, and The Silencer’s LED lit. Turn up the volume knob on your guitar but hold the strings to stop any feedback. You should hear noise coming through your amplifier. Turn up the THRESHOLD knob until the noise disappears, then continue to turn it up just a little more; this setting makes for a good starting point.REDUCTION Knob Controls how much the gated signal will be reduced. Reduction is variable between -70dB at full clockwise (for maximum noise reduction) to +4dB at full counter-clockwise (yes you can boost the noise instead of reducing it if you like). You may find setting REDUCTION between 12 o’clock and 3 o’clock produces a more natural gating effect than it does at maximum.RELEASE Knob Controls the speed of the envelope signal that closes the gate after the input signal drops below the THRESHOLD setting. RELEASE time varies from a quick 8ms at full counter-clockwise to a slow 4 seconds at full clockwise. Start with a RELEASE setting of 12 o’clock for a natural sounding gate effect.FOOTSWITCH and LED The Footswitch selects whether The Silencer is engaged or in buffered bypass mode. When the gate is engaged, the LED is lit. The effects loop remains in your signal path while The Silencer is bypassed.INPUT Jack Plug your instrument into this ¼” jack which is the main audio input for The Silencer. The input impedance is 2M. OUTPUT Jack The OUTPUT jack is The Silencer’s main audio output. The gated signal exits through the OUTPUT jack. The output impedance is 300.SEND Jack Connect the SEND jack to the beginning of your effects loop. The output impedance is 300. The SEND jack outputs a buffered version of the signal present at the INPUT jack at all times. If you do not need to use the Silencer’s effects loop, the SEND jack could also be used to split the input signal. RETURN Jack Connect the end of your effects loop to the RETURN jack. The signal preset at the RETURN jack is gated by The Silencer. The input impedance is 1M. If you are not using the effects loop and prefer to use The Silencer as an inline gate, do not plug anything into the RETURN jack.9V Power Jack Although The Silencer accepts 9V Batteries, it can also be powered from an Electro-Harmonix 9.6DC-200BI power supply. Plug the output of the AC adapter into the 9V power jack located at the top of the Silencer. The Silencer draws 22mA at 9VDC with a center-negative plug. The Silencer accepts Boss® and Ibanez® style AC Adapters.– REMOVING BOTTOM COVER/CHANGING THE BATTERYTo change your 9-volt battery, you must remove the 4 screws on the bottom of The Silencer. Once the screws are removed, you can take off the bottom plate and change the battery. We recommend 9V alkaline batteries. Please do not touch the circuit board while the bottom plate is off or you risk damaging a component.
– WARRANTY INFORMATION –
Please register online at http://www.ehx.com/product-registration or complete and return the enclosed warranty card within 10 days of purchase. ElectroHarmonix will repair or replace, at its discretion, a product that fails to operate due to defects in materials or workmanship for a period of one year from the date of purchase. This applies only to original purchasers who have bought their product from an authorized Electro-Harmonix retailer. Repaired or replaced units will then be warranted for the unexpired portion of the original warranty term.If you should need to return your unit for service within the warranty period, please contact the appropriate office listed below. Customers outside the regions listed below, please contact EHX Customer Service for information on warranty repairs at [email protected] or +1-718-937-8300. USA and Canadian customers: please obtain a Return Authorization Number (RA#) from EHX Customer Service before returning your product. Include with your returned unit: a written description of the problem as well as your name, address, telephone number, email address, and RA#; and a copy of your receipt clearly showing the purchase date.The United States & CanadaEHX CUSTOMER SERVICEELECTRO-HARMONIX c/o NEW SENSOR CORP.47-50 33RD STREETLONG ISLAND CITY, NY 11101Tel: 718-937-8300 Email: [email protected]EuropeJOHN WILLIAMSELECTRO-HARMONIX UK13 CWMDONKIN TERRACE SWANSEA SA2 0RQUNITED KINGDOMTel: +44 179 247 3258Email: [email protected]This warranty gives a purchaser specific legal rights. A purchaser may have even greater rights depending upon the laws of the jurisdiction within which the product was purchased.To hear demos on all EHX pedals visit us on the web at www.ehx.com Email us at [email protected]
FCC COMPLIANCE
Note: This equipment has been tested and found to comply with the limits for a Class B digital device, pursuant to part 15 of the FCC Rules. These limits are designed to provide reasonable protection against harmful interference in a residential installation. This equipment generates, uses, and can radiate radio frequency energy and, if not installed and used in accordance with the instructions, may cause harmful interference to radio communications. However, there is no guarantee that interference will not occur in a particular installation. If this equipment does cause harmful interference to radio or television reception, which can be determined by turning the equipment off and on, the user is encouraged to try to correct the interference by one or more of the following measures:
- Reorient or relocate the receiving antenna.
- Increase the separation between the equipment and receiver.
- Connect the equipment into an outlet on a circuit different from that to which the receiver is connected.
- Consult the dealer or an experienced radio/TV technician for help.
Modifications not expressly approved by the manufacturer could void the user’s authority to operate the equipment under FCC rules.
References
[xyz-ips snippet=”download-snippet”]