![]()
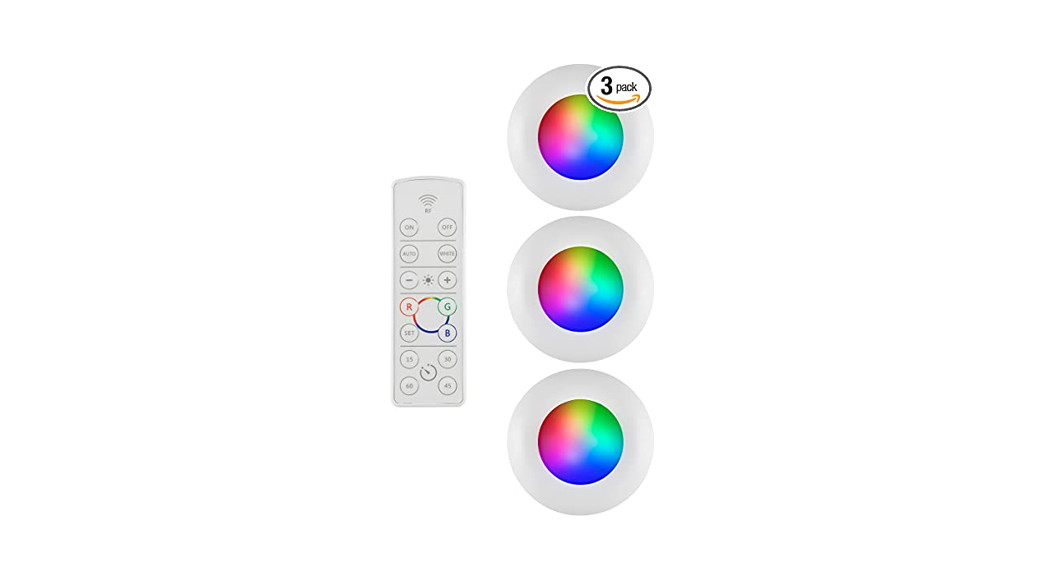
Wireless Color-Changing Puck Lights
BATTERY INSTALLATION
Puck: To open, twist back cover of puck light counterclockwise and remove. Insert 3 AAA batteries per puck (noting polarity). To close, replace the cover and twist clockwise.
IMPORTANT: Different types of batteries or new and used batteries should not be mixed. Exhausted batteries should be removed from the fixture and disposed of properly.
Remote: To replace the exhausted battery, remove the screw and battery cover, on the back of the remote. Insert 1 CR2032 battery, noting polarity. Replace the cover and screw back in.
Note: Remove the battery isolation tab before first-time use.
MOUNTING INSTRUCTIONS:
- Remove the battery cover and use pre-installed double-sided tape to mount in the desired location.
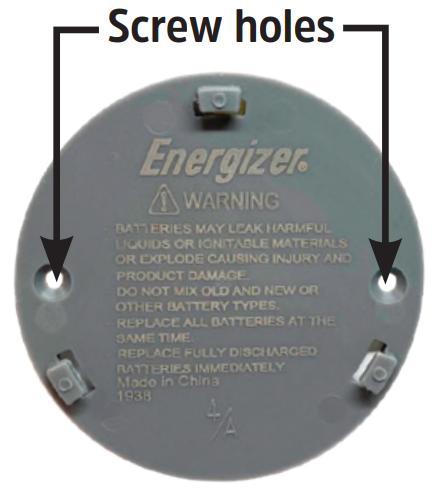
 Note: For a more permanent installation, screw through the two holes using countersunk screws.Note: Ensure one of the two wireless icons remains unobstructed and facing the desired direction for the remote to reach the interior sensor. The remote will work better with direct line of sight access to the wireless icons .
 - Reattach light to mounted battery cover by aligning tabs and twisting clockwise.Note: Battery door may remain mounted when changing batteries.
 Note: For a more permanent installation, screw through the two holes using countersunk screws.Note: Ensure one of the two wireless icons
 REMOTE OPERATION:
- On the remote, press the ON button to turn the lights on or press the OFF button to turn them off. The default setting is white.
- Pressing the FADE button will slowly cycle through the spectrum of colors. Press again to stop on the current color.
- Press the WHITE button to switch the lights back to white.
- Use the + and – buttons to brighten or dim the lights.
- The R, G, and B buttons stand for red, green, and blue. These buttons allow you to either select one of these colors or blend them to select the desired color. a. Hold the R, G, or B button for three seconds to go directly to that color. b. Press and release the buttons repeatedly to move through the RGB spectrum one color at a time. c. Press and release the R, G and B buttons in any combination to create custom colors.
- The SAVE button allows you to quickly return to your favorite color. Once the desired color is found, hold the SAVE button until the backlight flashes. The color will now be easily selectable by pressing the SAVE button. Once the color is set, you can turn off the product and hit SAVE to turn it back on to the set color.
- The 10min, 30min, 60min, and 120min buttons automatically turn the lights off after the number of minutes indicated on the button.

Note: When using the remote, point directly at the puck for proper connection.
MANUAL OPERATION:
 report this ad
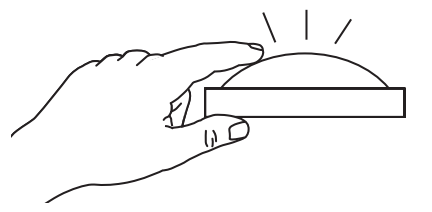
- First press: turns the light on in white
- Second press: color-changing mode
- Third press: stops on the current color
- Fourth press: turns the light off Functional range may be adversely affected by one or more of the following factors: weather, radio frequency interference, low battery, or obstructions between the transmitter and receiver.
 https://byjasco.com/hep-et/20000-99999/50014/manual
MADE IN CHINA/HECHO EN CHINA
©2020 Energizer. Energizer and certain graphic designs are trademarks of Energizer Brands, LLC, and related subsidiaries and are used under license by Jasco Products Company, LLC. All other brand names are trademarks of their respective owners. Neither Jasco Products Company, LLC nor Energizer Brands, LLC is affiliated with the respective owners of their trademarks. Contact our U.S.-based Consumer Care at 1-800-654-8483 between 7 AM-8 PM CST. 90-day warranty. Visit www.byjasco.com for warranty details.
READ INSTRUCTIONS OR WATCH EASY-TO-FOLLOW VIDEOS. SCAN QR CODE OR VISIT HTTP:/ / BIT.LY/ 3ATKYKH50014 EnSp Manual v1 06/10/2020
References
[xyz-ips snippet=”download-snippet”]