Safety and Installation Instructions
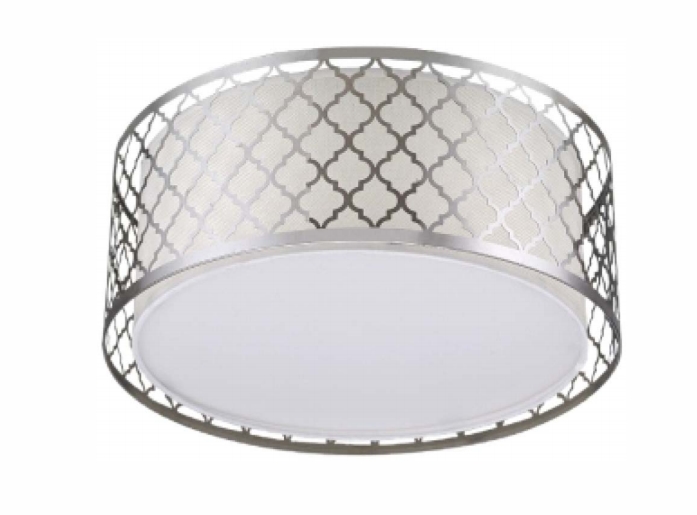
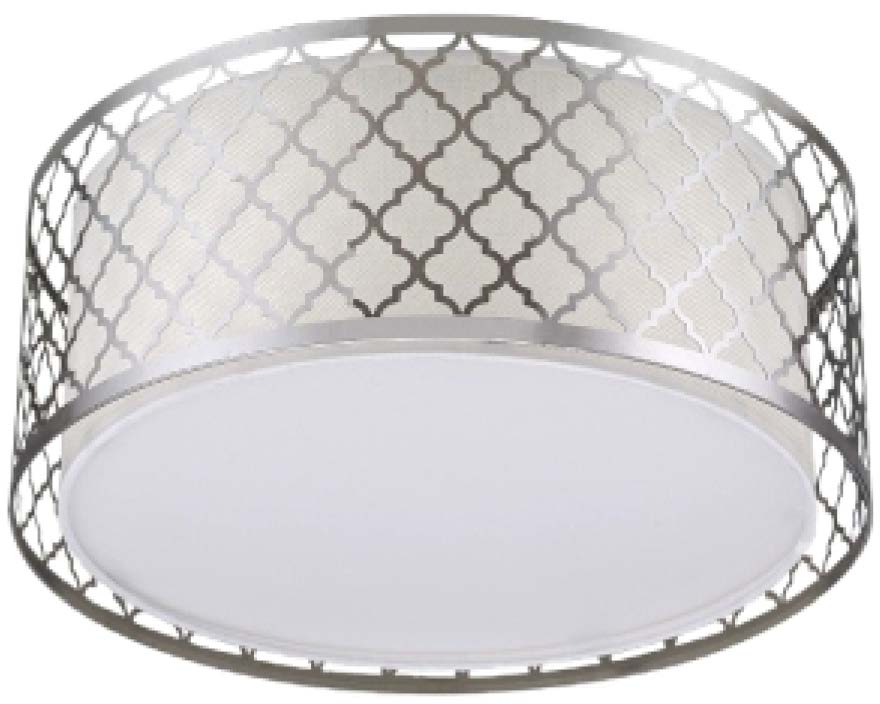
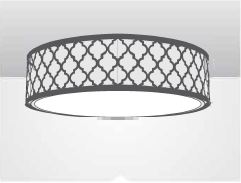
15″ LED Flush mount light drum With Integrated Dimmable Driver
Thank you for purchasing our product. This fixture has been manufactured from components with advanced optoelectronics to ensure high reliability and long life. Before assembling please read this Operation Manual carefully and save in a safe place for future reference. Please note that all electrical connections must be in accordance with local and National Electrical Code standards as well as local building codes. In case you are not familiar with proper wiring connections and building codes, consult a qualified electrician.
Safety recommendations
- RISK OF ELECTRIC SHOCK – THIS PRODUCT MUST BE INSTALLED IN ACCORDANCE WITH APPLICABLE INSTALLATION CODES BY A PERSON FAMILIAR WITH MENTIONED ABOVE CODES AND HAZARD INVOLVED. DISCONNECT POWER AT CIRCUIT BREAKER OF FUSE BEFORE INSTALLING OR SERVICING.
- BEFORE USE OF THE PRODUCT CAREFULLY READ THE WHOLE OPERATION MANUAL.
- THE PRODUCT IS PURPOSED FOR INTERIOR USE ONLY, SUITABLE FOR DAMP LOCATIONS.
- PROTIECT THE PRODUCT AGAINST DIRECT CONTACT WITH WATER.
- ASSEMBLE THE PRODUCT ONLY WITH THE USE OF PARTS PROVIDED AND THE HOUSING; IMPROPER ASSEMBLY MAY RESULT IN DEVICE FAILING WHICH COULD DAMAGE THE PRODUCT, PERSONAL PROPERTY OR CAUSE INJURY.
- ASSEMBLY SHALL FOLLOW WITH ACCESSORIES DELIVERED WITH THE SET ONLY.
- THE DEVICE IS NOT A TOY, KEEP OUT OF REACH OF CHILDREN.
Specifications
Operating Voltage:120 VACPower consumption: 12.5W/20WColor Temp.: 2700K/3000K/4000K/5000K
Dimming
This product is compatible with most LED rated type dimmers available on the market.The dimming performance will depend on kind of dimmer and dimmer settings.Visit www.satco.com for an up to date list of compatible dimmers.
Cleaning
- Clean with a soft or damp cloth. While cleaning with the damp cloth make sure the power is QEE.
- Do not clean with liquids or abrasives.
5 Year limited warranty
The purchased product is covered with a 5 year warranty with respect to any defect in material or workmanship after purchase date.We shall bear no responsibility on account of guarantee, as well as shall bear no liability for any faults, in case of improper operation, use, negligence, accident or exposure to any natural hazard, or excessive use over the limits specified for the unit, or if any unauthorized alteration or repair was made after purchase.
Installation
Step 1
Turn-off/ disconnect power at circuit braker.
Step 2
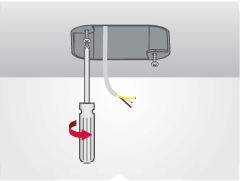
- For 3″ & 4″ Jbox, install install 2 long screws (provided) to Jbox leaving minimum 1/2″ space to ceiling.
- For 2.75″ Jbox, Do Not install screws until later, Step 5.
Step 3
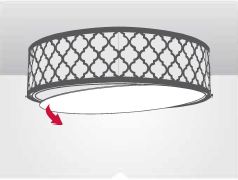
Take the diffuser out from drum.
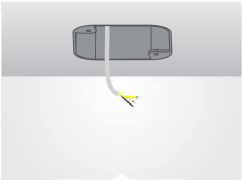
Step 4
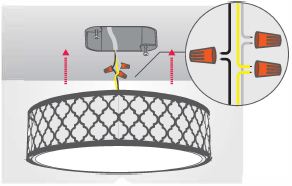
Make ground connection. Attach black AC wire from fixture to black AC wire from Jbox.Connect white wire from fixture to white wire from Jbox.
Step 5
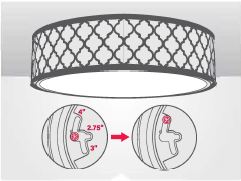
- For 3″ & 4″ Jbox, align the holes on the base of the fixture with the pre-installed screws from the Jbox using the proper slots as indicated in theabove diagram.
- For 2.75″ Jbox, install base of the fixture to the Jbox by attaching 2 screws (provided) as shown in the diagram.
Step 6
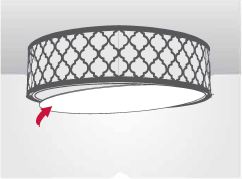
Install the diffuser into the drum.
Step 7
Fixture installed. Enjoy your light!
Satco 15″ LED Flush Mount Light Drum Installation Manual – Satco 15″ LED Flush Mount Light Drum Installation Manual –
[xyz-ips snippet=”download-snippet”]