EnGenius Cloud To-Go app Instruction Manual
- Download the Cloud To-Go app
- Create an EnGenius Cloud account.
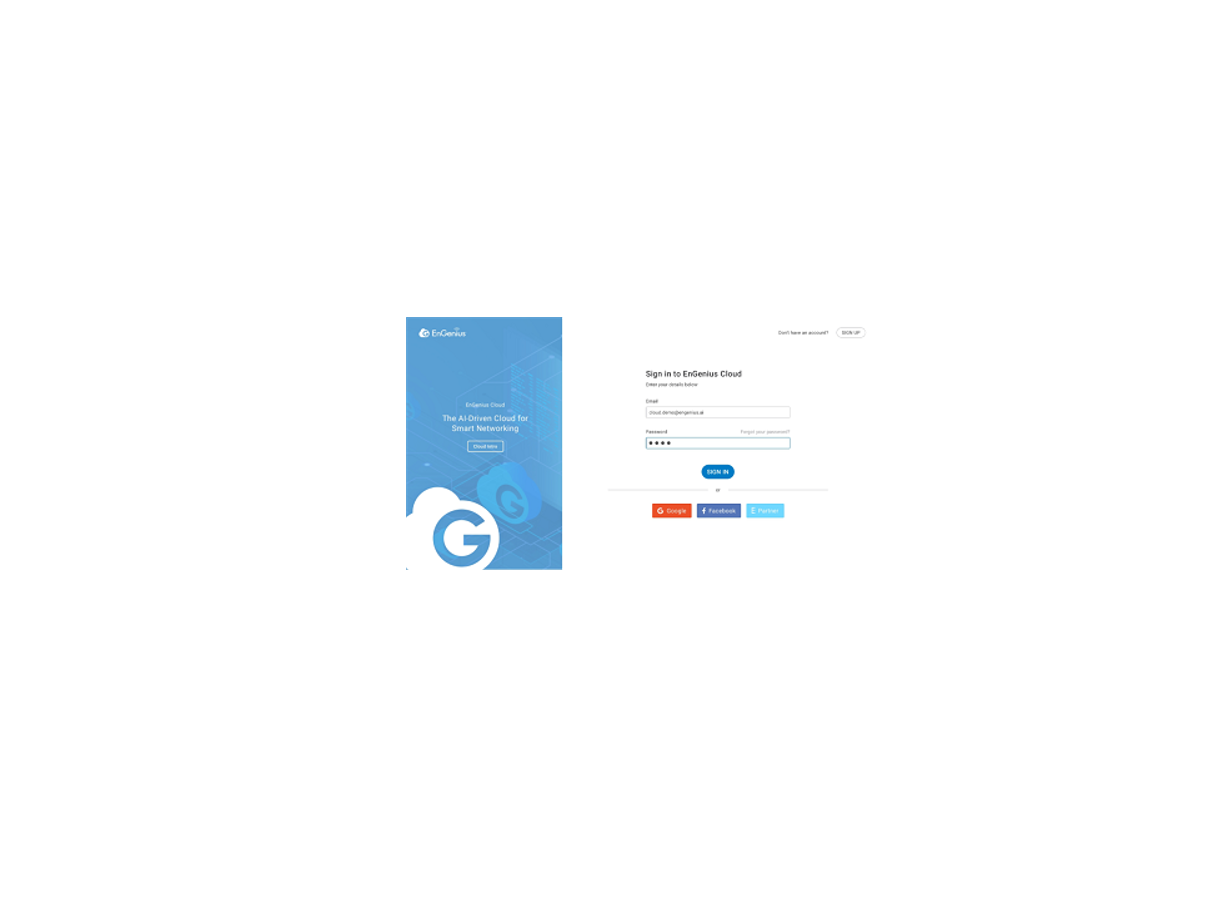
- Sign in to your EnGenius Cloud account.
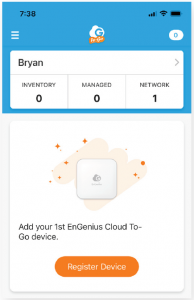
- If needed, tap on the organization and/or network name to register device.
- Tap Register Device.

- Locate and scan the QR code on the back of device.
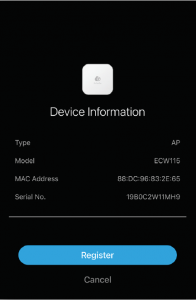
- Confirm device information and tap Register.

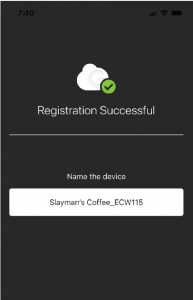
- Name your device. NOTE: Some users name their devices after the location of the device (for example, Outdoor Cafe AP, Store Front AP, or Break Room AP). Some users add the model number (for example, Kitchen ECW115). If you don’t name your device, the app will use the model number as the default.

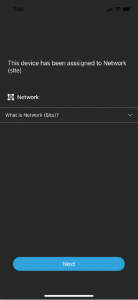
- Assign the device to your network. NOTE: If you don’t want to assign the device to your network right away, the device will sit unassigned among your list of devices. Until you assign it to your network, you won’t be able to use the device.

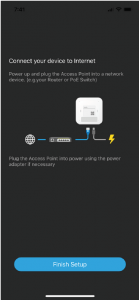
- Plug in your network device to a port connected to the internet.
- Tap on Finish Setup.

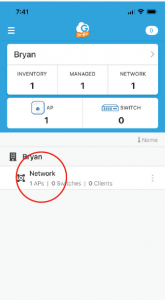
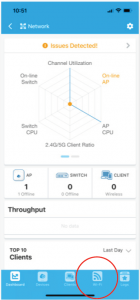
- Tap on “Network.”

- Tap on the Wi-Fi icon at the bottom of the screen.

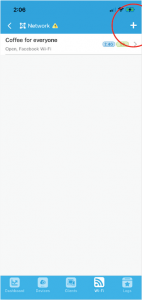
- Tap on the PLUS (+) symbol to create a new Wi-Fi name (SSID).

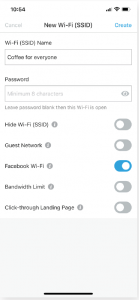
- Enable “Facebook Wi-Fi.”
- Tap Create in the upper right-hand corner.

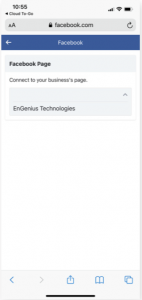
- Log into your business Facebook page as the admin. You will be directed to Facebook
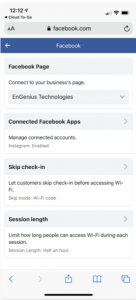
- Choose the Facebook business page you want your customers to connect to.

- Select “Connected Facebook Apps” to enable Instagram users.
- Select “Skip Check-in” to allow users to bypass a Facebook/Instagram login altogether or to use a standard Wi-Fi code to access your network.
- Select “Session length” to limit how long people can access the Wi-Fi during each session.

You have now completed setting up your Facebook Wi-Fi!Please note: You can access the Cloud To-Go app if you would like to make additional changes such as changing security settings or creating another Wi-Fi network.
Read More About This Manual & Download PDF:
[xyz-ips snippet=”download-snippet”]

