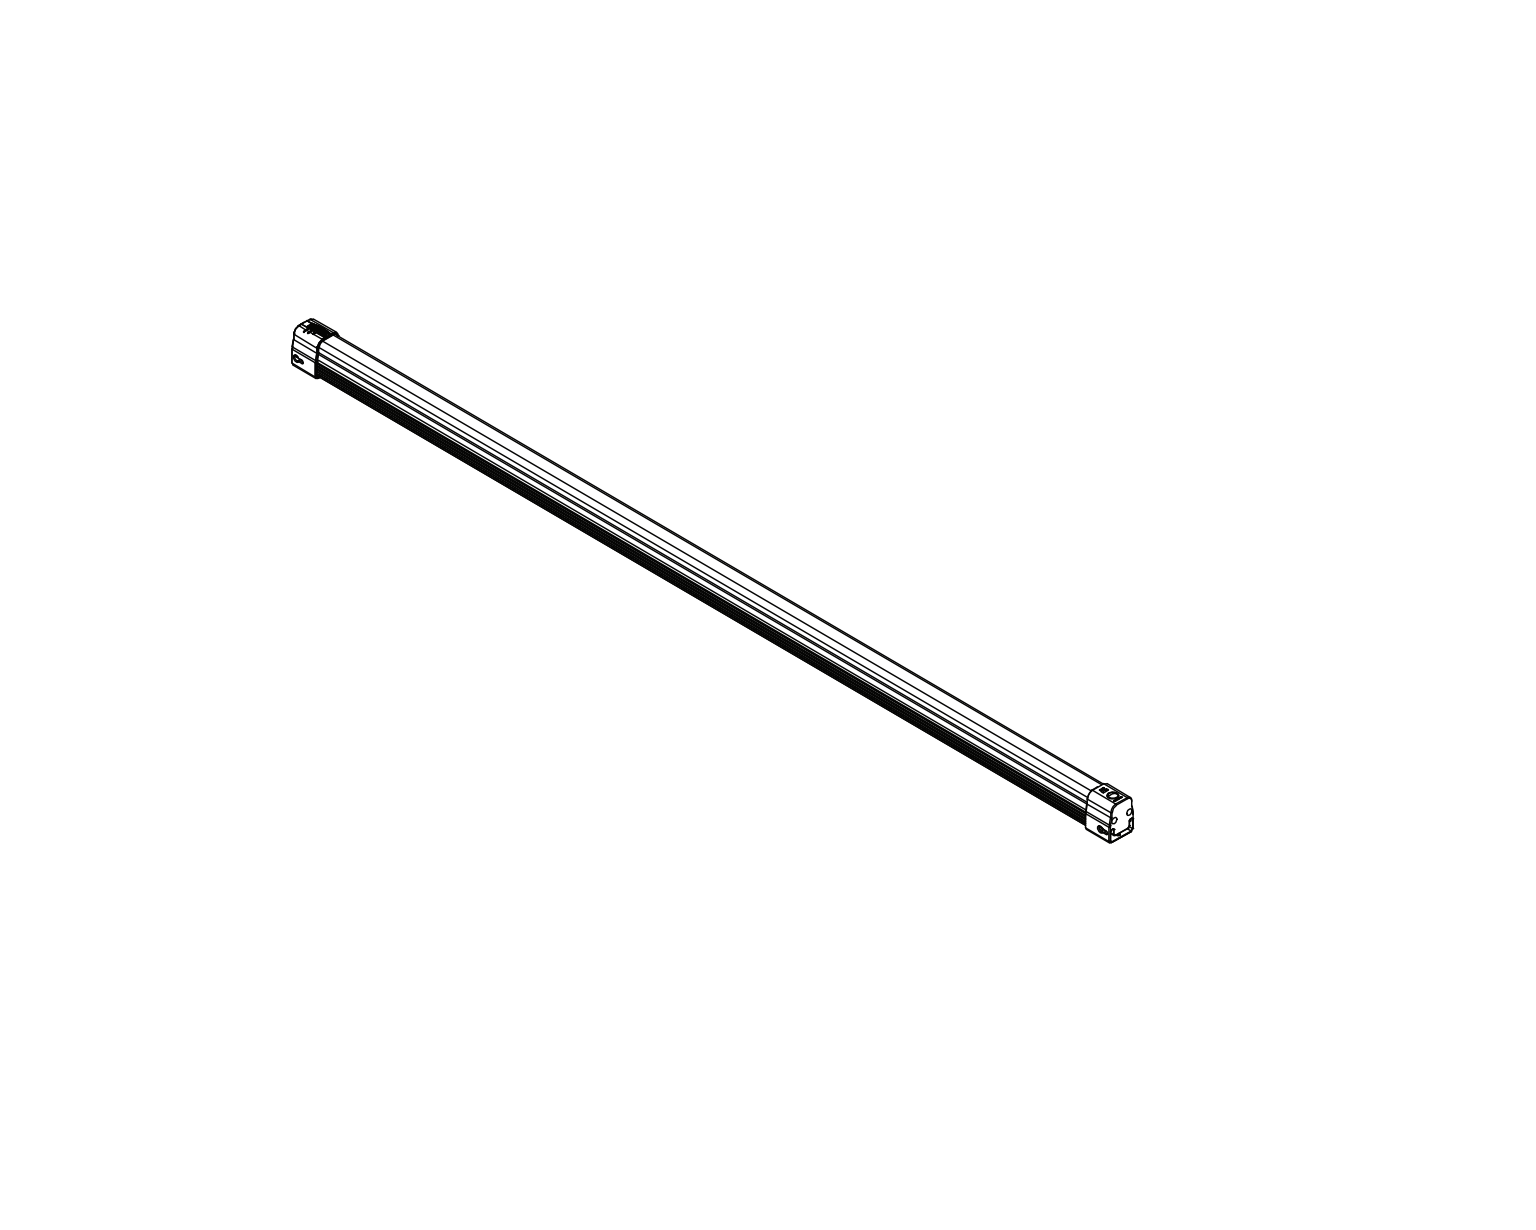
FEIT Electric 25 Rechargeable 4 ft. LED Shop Light with Motion Detection
Important Safety Information
Read and understand all Safety and Operating instructions in this manual before using this product. Follow all safe guards stated in this manual, in addition to normal safety precautions in working with electrical devices.
- Do not place near any heat source.
- To reduce the risk of electrical shock, do not put in water or other liquid. Do not place or store product where it can fall or be pulled into a tub or sink. Do not crush or incinerate.
- Do not insert foreign objects into this product. To reduce the risk of fire, keep away from combustible materials while in operation.
- To reduce the risk of injury, close supervision is necessary when this product is used near children.
- Do not attempt to repair, disassemble or modify under any circumstances.
- Check for damage prior to each use of the product.
- LED’s are not replaceable
 |
WARNING: RISK OF SHOCK. House electric current cancause painful shock or serious injury unless handled properly. |
|
WARNING: Changes or modifications to this unit notexpressly approved by the party responsible for compliancecould void the user’s authority to operate the equipment. |
SAVE THESE INSTRUCTIONS
FCC STATEMENT
This device complies with part 15 of the FCC Rules. Operation is subject to the following two conditions: (1) This device may not cause harmful interference, and (2) this device must accept any interference received, including interference that may cause undesired operation. Note: This equipment has been tested and found to comply with the limits for a Class B digital device, pursuant to part 15 of the FCC Rules. These limits are designed to provide reasonable protection against harmful interference in a residential installation. This equipment generates, uses and can radiate radio frequency energy and, if not installed and used in accordance with the instructions, may cause harmful interference to radio communications. However, there is no guarantee that interference will not occur in a particular installation. If this equipment does cause harmful interference to radio or television reception, which can be determined by turning the equipment off and on, the user is encouraged to try to correct the interference by one or more of the following measures: Reorient or relocate the receiving antenna. Increase the separation between the equipment and receiver. Connect the equipment into an outlet on a circuit different from that to which the receiver is connected. Consult the dealer or an experienced radio/TV technician for help. Any changes or modifications not expressly approved by the manufacturer could void the user’s authority to operate the equipment.
Supplier’s Declaration of Conformity:47 CFR § 2.1077 Compliance InformationResponsible Party:Feit Electric Company 4901 Gregg Road, Pico Rivera, CA 90660, USA 562-463-2852Unique Identifier:SHOP2/840/25/MOT /BA
Limited Warranty
This product is warrantied to be free from defects in workmanship and materials for up to 1 year from date of purchase. If the product fails within the warranty period, replacement or refund is your sole remedy. Except to the extent prohibited by applicable law, any implied warranties are limited in duration to the duration of this warranty. Liability for incidental or consequential damages is hereby expressly excluded. Some states and provinces do not allow the exclusion of incidental or consequential damages, so the above limitation or exclusion may not apply to you. This warranty gives you specific legal rights, and you may also have other rights which vary from state to state or province to province.
Pre-Assembly
This product is warrantied to be free from defects in workmanship and materials for up to 1 year from date of purchase. If the product fails within the warranty period, replacement or refund is your sole remedy. Except to the extent prohibited by applicable law, any implied warranties are limited in duration to the duration of this warranty. Liability for incidental or consequential damages is hereby expressly excluded. Some states and provinces do not allow the exclusion of incidental or consequential damages, so the above limitation or exclusion may not apply to you. This warranty gives you specific legal rights, and you may also have other rights which vary from state to state or province to province.
SPECIFICATIONS
PRODUCT
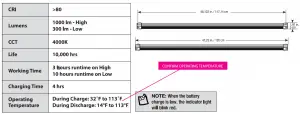
The performance specifications (lumens, watts, life and CCT) should only be considered an approximation of expected performances.
PARTS INCLUDED
 |
NOTE: Hardware not shown to actual size. |
| Part |
Description |
Quantity |
| AA | 4 ft. LED Rechargeable Shop Light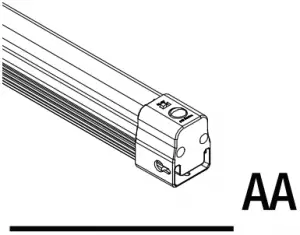 |
1 |
| BB | 5 ft. Power Cord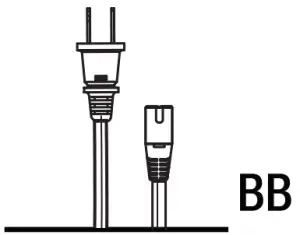 |
1 |
| CC | Anchors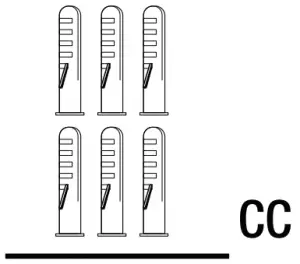 |
6 |
| DD | Screws (for Flush Mounting) |
2 |
| EE | Bracket Screws (for Magnetic Mounting)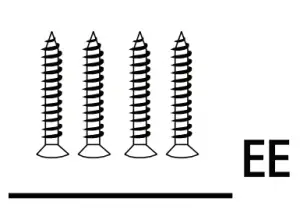 |
4 |
| FF | Metal Bracket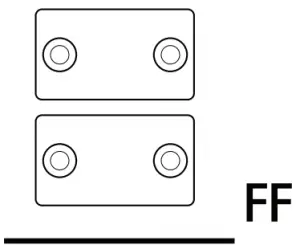 |
2 |
LED Shop Light Installation
Magnetic Mounting
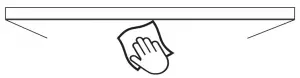
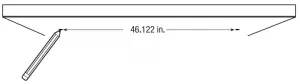
- Positioning the LED Shop LightFind the desired place for the LED Shop Light and clean the area. Remove any dirt, dust or other residue.

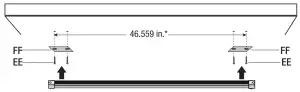
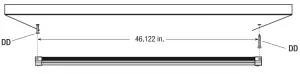
- Mounting the Metal BracketsDirectly screw the 2 Metal Brackets (FF) into the mounting surface at distances to match the magnetic bases on the light. Ensure the mounting surface is flat, stable, and can support the shop light.For a concrete surface, it is required to use included screw anchors (CC).* NOTE: This measurement defines the distance between the outermost screw positions of each metal bracket.
- Installing the LED Shop LightRaise the shop light to the metal brackets until the magnets catch and firmly hold the shop light.
 For a concrete surface, it is required to use included screw anchors (CC).
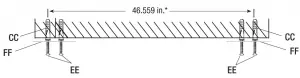 * NOTE: This measurement defines the distance between the outermost screw positions of each metal bracket.
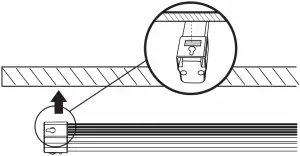
Flush Mount with Screws
- Positioning the LED Shop LightFind the desired place for the LED Shop Light and clean the area. Remove any dirt, dust or other residue.
- Preparing to mount the Mounting ScrewsEnsure the mounting surface is flat, stable, and can support the shop light. Mark the screw locations 46.122 in. apart on the mounting surface to align with the key holes on the shop light.
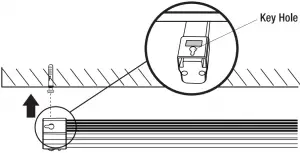
- Affixing the Mounting ScrewsInstall the two included screws into the mounting surface at distances to match the key holes on the shop light.For a concrete surface, it is required to use included screw anchors (EE).
- Installing the LED Shop LightAlign key holes on shop light with screw heads, slide over to lock in place.
 For a concrete surface, it is required to use included screw anchors (EE).
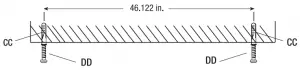
Operating Instructions
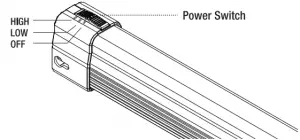
- 1 Choose Light OutputSet the power switch to the desired setting.High:The shop light will turn on at 1000 lumens.Runtime: 3 hours.Low:The shop light will turn on at 300 lumens.Runtime: 10 hours.OFF:The shop light will stay off, regardless of motion.
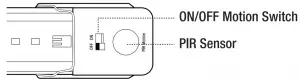
- Toggle Motion ActivationSet the motion activation switch to the desired setting.OFF:Motion activation is disabled.The shop light will stay on until the power switch is set to off or the battery is discharged.ON:Motion activation is enabled.The shop light will turn on when motion is detected. After not sensing motion for 1 minute, the shop light will turn off.Motion will be detected 8 ft away from the PIR Sensor when the shop light is mounted at the optimal height of 9 ft.
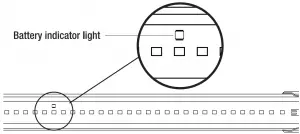
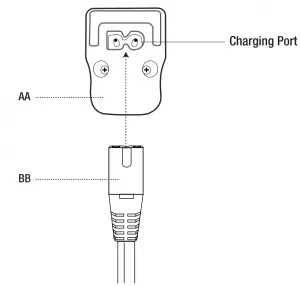
- Charge the Shop LightWhen batteries are low, the LED indicator light will blink red when the shop light is on– Connect the included power cord (BB) to the charging port.Plug the power cord into a 120V outlet to recharge the built-in battery.– When the shop light is charging, the LED indicator light will be a solid red.– When the shop light is completely charged, the LED indicator light will turn off.Approximate charging time: 4 hours.
 Motion will be detected 8 ft away from the PIR Sensor when the shop light is mounted at the optimal height of 9 ft.
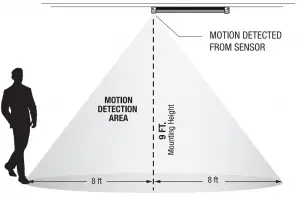
Please contact 1-866-326-BULB (2852) for further assistance.

[xyz-ips snippet=”download-snippet”]