FEIT Electric CAM1/WIFI HD Indoor WiFi Smart Home Security Camera Instruction Manual
Safety Information
IMPORTANT SAFEGUARDS:
ALWAYS FOLLOW BASIC SAFETY PRECAUTIONS WHEN USING ELECTRICAL PRODUCTS, ESPECIALLY WHEN CHILDREN ARE PRESENT.
CAUTION: Please read all information carefully before installation.CAUTION: Intended for indoor use. ONLY FOR DRY LOCATIONS.
SAVE THESE INSTRUCTIONS
Pre-Assembly
Hardware Included
Note: Hardware not shown to actual size.
| Part | Description | Quantity |
| AA | Smart Indoor Camera | 1 |
| BB | Power Adapter | 1 |
| CC | USB Cord | 1 |
| DD | Double-Sided Tape | 1 |
| EE | Reset Pin | 1 |
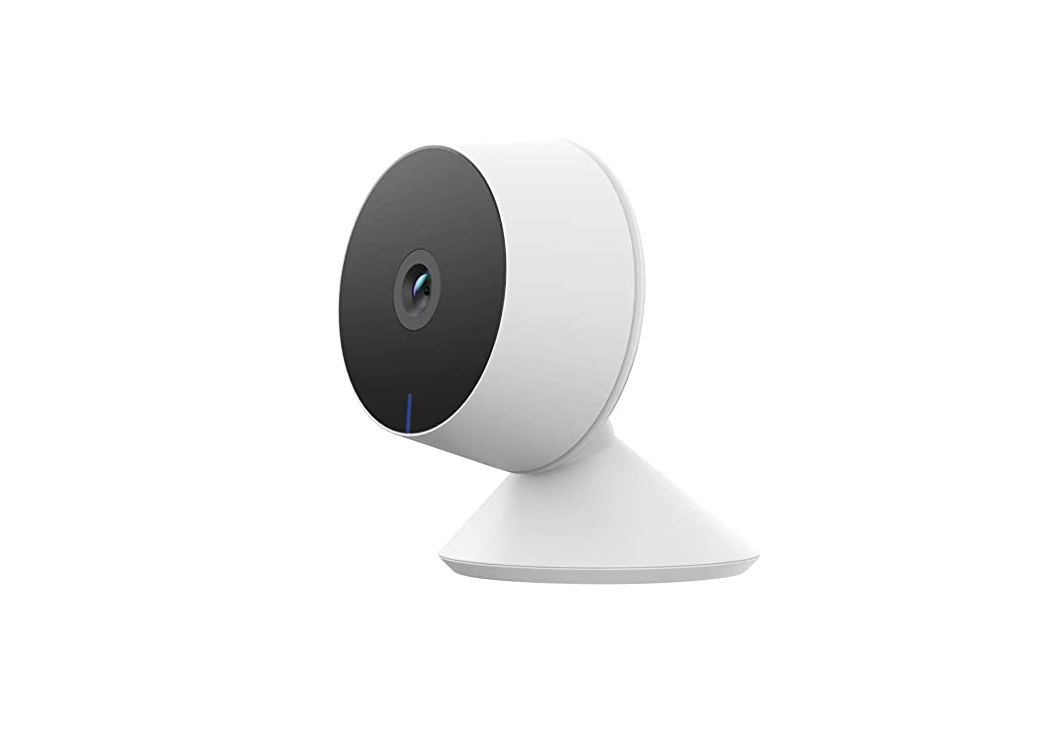
Description
| Input Power (Micro USB): 5VDC, Max. 1A | |||
| Status Light | Blinking RED = Pairing Mode
Solid RED = No Wi-Fi Connection Blinking BLUE = Connecting to Wi-Fi Solid BLUE = Connected to Internet |
SD Card Slot | Only support microSD cards 128GB (FAT32 format) or less |
| Reset | Press and hold for 5 seconds with the Reset Pin (EE) to reset the doorbell |
Installation
- Attach Double-Sided TapeStick Double-Sided Tape (DO) at the bottom center of the Smart Indoor Camera (AA).
- Place CameraClean the mounting area thoroughly (surface must be free of dust, dirt or grease). Peel the Double-Sided Tape (DD) and place your Smart Indoor Camera (AA) on a flat surface. Plug in your camera with the provided Power Adapter (BB) and USB Cord (CC).
App Setup
Download and install the Feit Electric app

- Search for the Feit Electric app in the App Store or Google Play Store
- Download and install the Feit Electric app on your smart device.
Set up the smart indoor camera using the Feit Electric app
- Check to be sure the camera is in pairing mode. The RED indicator light must be blinking rapidly to connect. If not already blinking, press and hold the Reset Button until you hear an audible tone. Use the Feit Electric app to complete the set up.
- Tap Add Device or the + sign, then select Camera and confirm. You will be prompted to enter your Wi-Fi network and password.
Be sure to connect to a 2.4 GHz Wi-Fi network that covers your installation location.
Need Help?
FAQs and the latest versions of user guides can be found at feit.com/help and feit.com/smart. To reach customer support please visit feit.com/contact-us
Troubleshooting
| PROBLEM | CORRECTIVE ACTION |
| Camera will not connect to my Wi-Fi network | Make sure the LED is blinking red. If the LED is not blinking red, you will need to press and hold Reset Button located at the back of the camera (see the Description section).
Make sure the Wi-Fi network is a 2.4GHz network, device will not connect to a 5GHz network. Test your Wi-Fi network with other devices such as your phone or computer to make sure it is operating properly. The Wi-Fi connection may be out of range during pairing. Use your phone to check range, it is recommended to have at least 2 signal bars showing for proper connection. Your Wi-Fi network password is case sensitive, make sure you are entering it correctly. |
| The camera is off-line | There could be a temporary issue with your internet connection (e.g., service disruption). Please try again in a few minutes.
Make sure your Wi-Fi router is turned On. The camera may not have power to it, make sure the wall switch and breaker is in the On position. Make sure the camera is getting a good signal from your Wi-Fi router. Use your phone to check range, it is recommended to have at least 2 signal bars showing for proper connection. The camera may have been disconnected from your Wi-Fi network, press and hold Reset Button (see the Description section) until you see a blinking red LED and hear an audible tone. |
| What do the blinking LEDs mean? | Blinking RED = Pairing Mode
Solid RED = No Wi-Fi Connection Blinking BLUE = Connecting to Wi-Fi Solid BLUE = Connected to Internet |
| Live video stream is slow to load | Camera streaming issues may be caused by any of the following:
Your phone’s cellular connection, which relies on mobile coverage. Limited intemet bandwidth at home, for example, other video streaming services running at the same time on your network can cause congestion slowing down the internet upload and download speeds. Wi-Fi reception may not be stable or work reliably if the camera’s Wi-Fi signal strength is less than 2 signal bars. You may need to install a Wi-Fi repeater or extender to boost the Wi-Fi signal. |
| How to reset the camerato reenter pairing mode? | Press and hold reset button located at the back of the camera (see the Description section) until you see a blinking red LED and hear an audible tone. |
| The camera is not recording? | Make sure Record Switch is turned On in app, under SD Card Settings. This is located in the Settings menu on the upper right corner in the control panel.
Make sure that the microSD card is installed correctly. To confirm the camera is recognizing the microSD card, go to the SD Card Settings in the Settings menu and make sure microSD Card Capacity menu shows Total Capacity, Used and Free Space. If this does not appear you may consider reformatting the microSD card. WARNING: Reformatting microSD card will delete all videos stored on card. Please go through the trouble-shooting section before doing so or contact our Customer Support Team. |
| How do I set the camera to Event or Continuous Recording? | In the Settings menu under SD Card Settings make sure Record Switch is turned On and then select Event Recording or Continuous Recording. |
| How can I check the available space on the SD Card? | In the Settings menu under SD Card Settings, you will see Used Space and Free Space. Note: Camera only support microSD cards 128GB (FAT32 format) or less. |
| What happens when the microSD card reaches full capacity? | Once the microSD card reaches full capacity, new videos will start rewriting (deleting) over the oldest videos. |
| Can I use a new microSD card if I do not want to record over existing videos? | Yes, you can use a new microSD card if you do not want to record over existing videos by removing the side cover on the camera and replacing the exiting microSD card with a new one as long as it does not exceed 128GB. Once this is completed you will need to format the microSD card by going to the SD Card Settings in the Settings menu and pressing Format SD Card then Confirm.
WARNING: Reformatting microSD card will delete all content stored on card. |
FCC STATEMENT
This device complies with part 15 of the FCC Rules. Operation is subject to the following two conditions: (1) This device may not cause harmful interference, and (2) this device must accept any interference received, including interference that may cause undesired operation.
Note: This equipment has been tested and found to comply with the limits for a Class B digital device, pursuant to Part 15 of the FCC Rules. These limits are designed to provide reasonable protection against harmful interference in a residential installation. This equipment generates, uses and can radiate radio frequency energy and, if not installed and used in accordance with the instructions, may cause harmful interference to radio communications. However, there is no guarantee that interference will not occur in a particular installation. If this equipment does cause harmful interference to radio or television reception, which can be determined by turning the equipment off and on, the user is encouraged to try to correct the interference by one or more of the following measures: Reorient or relocate the receiving antenna. Increase the separation between the equipment and receiver. Connect the equipment into an outlet on a circuit different from that to which the receiver is connected. Consult the dealer or an experienced radio/TV technician for help. Warning: Changes or modifications to this unit not expressly approved by the part responsible for compliance could void the user’s authority to operate the equipment.
The device has been evaluated to meet general RF exposure requirement.
The device can be used in portable exposure condition without restriction.
The device can be used in mobile (min 7.87 in.) exposure condition without restriction.
Supplier’s Declaration of Conformity:
47 CFR § 2.1077 Compliance Information
Responsible Party:
Feit Electric Company 4901 Gregg Road, Pico Rivera, CA 90660, USA 562-463-2852
Unique Identifier:
CAM1/WIFI
Limited Warranty
report this adThis product is warranted to be free from defects in workmanship and materials for up to 1 year from date of purchase. If the product fails within the warranty period, please contact Feit Electric at , visit feit.com/contact-us or call 1-866 326-BULB (2852) for instructions on replacement or refund. REPLACEMENT OR REFUND IS YOUR SOLE REMEDY. EXCEPT TO THE EXTENT PROHIBITED BY APPLICABLE LAW, ANY IMPLIED WARRANTIES ARE LIMITED IN DURATION TO THE DURATION OF THIS WARRANTY. LIABILITY FOR INCIDENTAL OR CONSEQUENTIAL DAMAGES IS HEREBY EXPRESSLY EXCLUDED. Some states and provinces do not allow the exclusion of incidental or consequential damages, so the above limitation or exclusion may not apply to you. This warranty gives you specific legal rights, and you may also have other rights which vary from state to state or province to province.
[xyz-ips snippet=”download-snippet”]