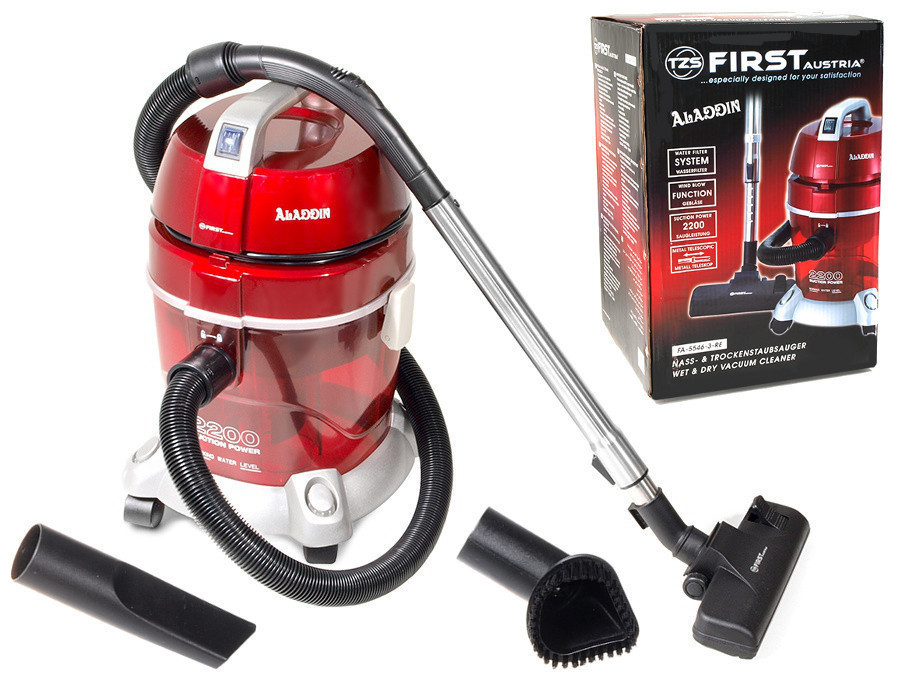

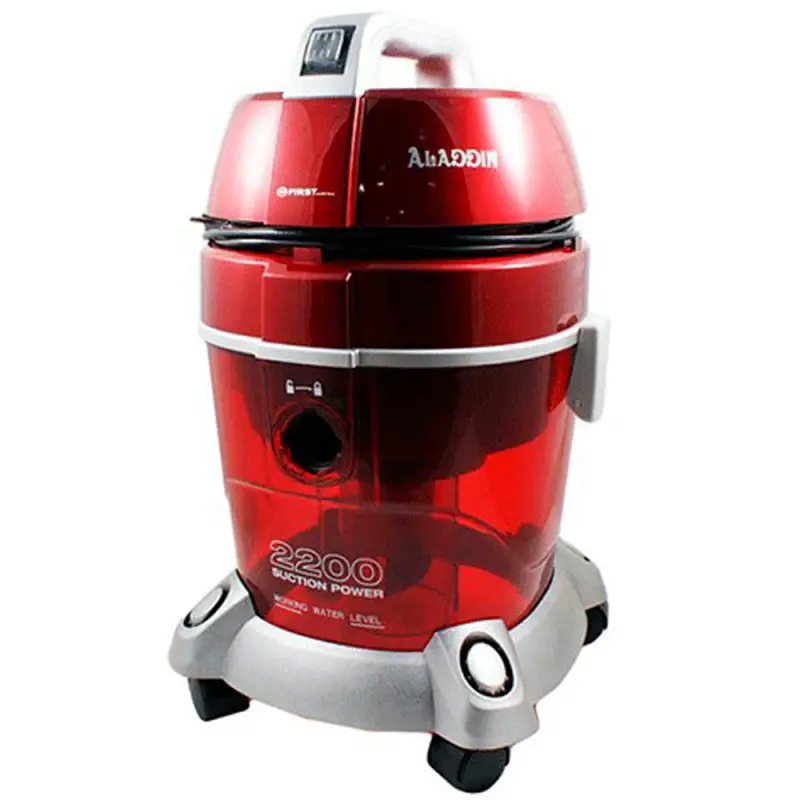
FIRST AUSTRIA FA-5546-3 Wet and Dry Vacuum Cleaner
OPERATION INSTRUCTIONS
WARNING: To prevent accidents and machine damage, read these instructions before installation and use.
SAFETY INSTRUCTIONSTHIS CLEANER IS INTENDED FOR HOUSEHOLD USE ONLY.IMPORTANT SAFETY INSTRUCTIONS When you use an appliance, basic precautions should always be followed, including the following:
1. READ ALL INSTRUCTIONS BEFORE USING THE APPLIANCE.2. ALWAYS FOLLOW THESE SAFETY INSTRUCTIONS.3. BRING CLEANER TO UPRIGHT POSITION WHEN USING THE HOSE AND ATTACHMENTS.4. DO NOT LEAVE CLEANER UNATTENDED5. REGULARLY CHECK THE FILTER TO CLEAN OR REPLANCE.6. WARNING: DO NOT USE SHARP OBJECTS TO CLEAN OUT THE HOSE SINCE THEY COULD CAUSE DAMAGE.7. OCCASIONALLY REMOVE BRUSH AND CLEAN DEBRIS FROM END CAPS TO KEEP BRUSH ROTAING SMOOTHLY.
IMPORTANT SAFETY INSTRUCTIONS WHEN PLUGGED IN. READ ALL INSTRUCTIONS BEFORE USING THE APPLIANCE.WARNING: TO REDUCE THE RISK OF FIRE, ELECTRIC SHOCK OR INJURY:
- Do not leave appliance when plugged in. Unplug from outlet when not in use and before servicing.
- Do not allow to be used as a toy. Close attention is necessary when used by or near child.
- Use only as described in this manual. Use only manufacture‘s recommended attachments.
- Do not use with damaged cord oy plug. If appliance is not working as it should, has been dropped, damaged, left outdoors, or dropped into water, return it to a service center for inspection.
- Do not pull or carry by cord, use cord as handle, close a door on cord, or pull cord around shape edges or corners. Do not run appliance over cord. Keep cord away from heated surface.
- Do not unplug by pulling on cord. To unplug, grasp the plug, not the cord.
- Do not handle plug or appliance with wet hands.
- Do not put any object into openings. Do not use with any opening blocked; keep free of dust, lint, hair, and anything that may reduce air flow.
- Keep hair, loose clothing, fingers, and all parts of body away from openings and moving parts.
- Do not pick up anything that is burning or smoking, such as cigarettes, matches, or hot ashes.
- Turn off all controls before unplugging.
- Use with extra care when cleaning on stairs.
- Do not use to pick up flammable or combustible liquids, such as gasoline, or use in area where they may be present.
- Keep the vacuum cleaner on the floor. Only the hand-held vacuum cleaners may be set on furniture.
- Do not use an extension cord with this vacuum cleaner.
- Store the vacuum cleaner indoors. Put the vacuum cleaner away after use to present tripping accidents.
- Using improper voltage may result in damage to the motor and possible injury to the user. Proper voltage is listed on the cleaner plate.
- This appliance is not intended for use by persons (including children) with reduced physical, sensory or mental capabilities, or lack of experience and knowledge, unless they have been given supervision or instruction concerning use of the appliance by a person responsible for their safety.
- Children should be supervised to ensure that they do not play with the appliance.
- If the supply cord is damaged, it must be replaced by the manufacturer, its service agent or similarly qualified persons in order to avoid a hazard.
Correct Disposal of this product
This marking indicates that this product should not be disposed with other household wastes throughout the EU. To prevent possible harm to the environment or human health from uncontrolled waste disposal, recycle it responsibly to promote the sustainable reuse of material resources.
To return your used device, please use the return and collection systems or contact the retailer where the product was purchased. They can take this product for environmental safe recycling.
FEATURES (Refer to Fig. A)

1. Dust Brush2. Crevice Tool3. Floor Brush4. Adjustable Tube5. Hook6. Curved Tube7. Handle8. Main Body9. Hose Inserter10. Barrel11. Base12. Wheel13. Buckle Assembly14. Clapboard Assembly15. Power Switch16. Hose
HOW TO ASSEMBLE
- Release the buckle and remove the main body. (Refer to Fig. 1)
- Lift the Clapboard Assembly and unpack the wheel and attachment from the Barrel (Refer to Fig. 2)
- Insert these wheels into the hole of base in turn, then press down and make sure the wheel are firm (Refer to Fig. 3)
- Put down the clapboard assembly. (Refer to Fig. 4)
- Insert 1 of the main body into 2 of barrel, and then lock the buckle. (Refer to Fig. 5)
- Insert hose inserter of the hose assembly into barrel or 1 of main body, then gently rotate to the right ; and make sure they are fitted tightly. (Refer to Fig. 6)CAUTION: #1 of main body is used to blowing
- Insert adjustable tube into hook, and adjust it to the proper location, then fit it with screw. (Refer to Fig. 7)
- Insert curved Tube of the hose assembly into adjustable tube; and make sure the connection is firm. (Refer to Fig. 8)
- Insert the extention tube into floor brush; and make sure the connection is firm.(Refer to Fig. 9)
HOW TO OPERATE
WARNING: FULLY ASSEMBLE CLEANER BEFORE OPERATING.On/off switchTurn on/off the unit by pressing the power switch on the top of it.Caution: Before using the vacuum cleaner to load 2.5 liters of water. (Refer to Fig. 10)Air Flow ControlAdjust the suction by adjusting the pusher up and down.Caution: stop the cleaner and cut off the power supply before change the accessories. (Refer to Fig. 11)Usage of floor brushThe floor brush can be used for cleaning carpet and floor. Adjust the duty of the brush by pressing the relative button. When the floor nozzle extends out brush, it is for bare floor, if without, for carpet. (Refer to Fig.12)
CAUTION:The vacuum cleaner can suck both water and dust. The vacuum cleaner won‘t run, when the water in the barrel is full.Usage of adjustable tubeAdjust the tube to a proper length by pushing the control button; and the tube will be lock automatically after releasing the button. (Refer to Fig. 13)
DUST EMPTY AND MAINTENANCE
- Release the buckle and remove the main body and clapboard assembly. (Refer to Fig. 14)
- Pour out the sewage and rinse the barrel under water. (Refer to Fig. 15)CAUTION:
- Remove the hose assembly before releasing the buckle assembly.
- The filter should be cleaned twice a year. Or if it is visibly dusty, clean it at once.
- Never use this appliance without filter.
- Replace the filter once it is damaged.
- Never clean the filter with washing machine.
- Take out the sponges and cyclone-bulder from the clapboard, and then rinse them in water. (Refer to Fig. 16)
- Take out the cyclone-bulder from the clapboard assembly, and then rinse them under water. (Refer to Fig. 17)
- Take out the filter from the main body Assembly, and then cleaning in water and let dry naturaly. (Refer to Fig. 18)
STORAGE
1. Wind the power cord around the main body. (Refer to Fig. 19)2. Insert the hook of a adjustable Tube into main body. (Refer to Fig. 19).3. Insert the dust brush and crevice tool into base. (Refer to Fig. 19).
CREVICE TOOL AND DUST BRUSH USAGENever attach tools while vacuum is runing. Turn off and unplug the vacuum before attaching.Crevice tool – used in narrow spaces.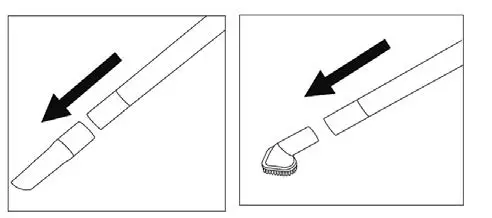
 report this ad
When using crevice tool, remove the floor brush, then insert crevice tool into the extention tube.Dust brush – used on lamps, blinds, shelves, upholstery and baseboards. When using dust brush, remove the floor brush, then insert dust brush into the extention tube.
TROUBLESHOOTING GUIDE
| PROBLEM | POSSIBLE REASON | POSSIBLE SOLUTION |
| cleaner won‘t run. | 1. Switch button is not on.2. Power cord not firmly plugged into outlet.3. Thermal protector activated.4. The water in the barrel is full. | 1. Turn switch button on.2. Check that plug is firmly in electrical outlet.3. Allow cleaner to cool.4. Pour out the water. |
| Vacuum won‘t pick up, or suction power is reduced. | 1. Partition needs cleaning.2. The filter is blocked3. Floor brush clogged. | 1. Clean the partition if necessary.2. Clean the filter if necessary.3. Check floor brush to clean. |
TECHNICAL SPECIFICATION
- Model number: FA-5546-3
- Input Power (W): 1400W
- Noise (dB(A)): ≤78
- Max suction (W): ≥130
- Max vacuum (kPa): ≥19
- N.W (kg): 5.4
- G.W (kg): 8.0
- Product Measure (mm): 315x315x510
- Package Measure (mm): 355x355x530
[xyz-ips snippet=”download-snippet”]