Foxwell Diagnostic TabletInstruction Manual

Vehicle Connection
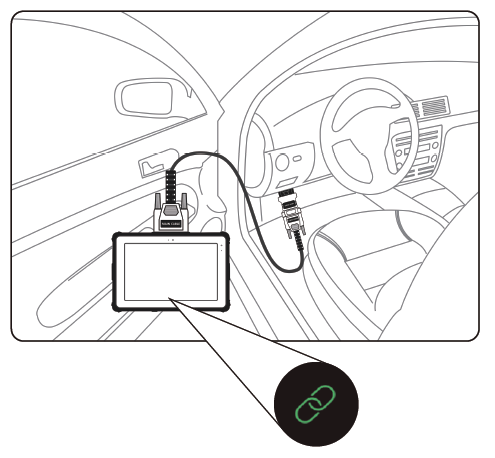
Tablet with cable
- Locate the data link connector (DLC) under the dash on the driver side of the vehicle.
- Connect the diagnostic cable to the scanner and plug it to the vehicle DLC with a correct adapter.
- Switch the ignition key to the ON position.
- Boot up the scanner and launch the diagnostic APP.
- Check if the connection indicator tums to green. If yes, it means the scanner is ready to start diagnosis.
Tablet with VCI dongle : Bluetooth Connection
- Locate the data link connector (DLC) under the dash on the driver side of the vehicle.
- Connect the diagnostic cable to the VCI dongle and plug it to the vehicle DLC with a correct adapter.
- Switch the ignition key to the ON position.
- Boot up the scanner, launch the diagnostic APP and make Bluetooth pairing of the VCI dongle and tablet.
- Chock if the connection indicator turns to green. If yes, it means the scanner is ready to start diagnosis.
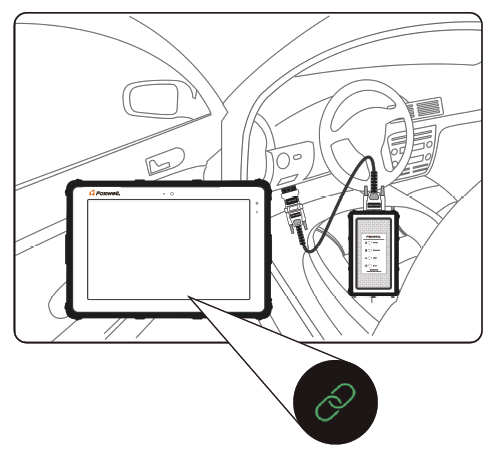
Tablet with VCI dongle: USB Connection
- Locate the data link connector (DLC) under the dash on the driver side of the vehicle.
- Connect the diagnostic cable to the VCI dongle and plug It to the vehicle DLC with a correct adapter.
- Switch the ignition key to the ON position.
- Connect the VCI dongle to the tablet with the USB Type-B cable.
- Boot up the tablet and launch the diagnostic APP
- Check if the connection indicator turns to green.

Registration:
NOTE Please make sure your network works correctly and the tablet is fully charged or connect to °Memel power supply.
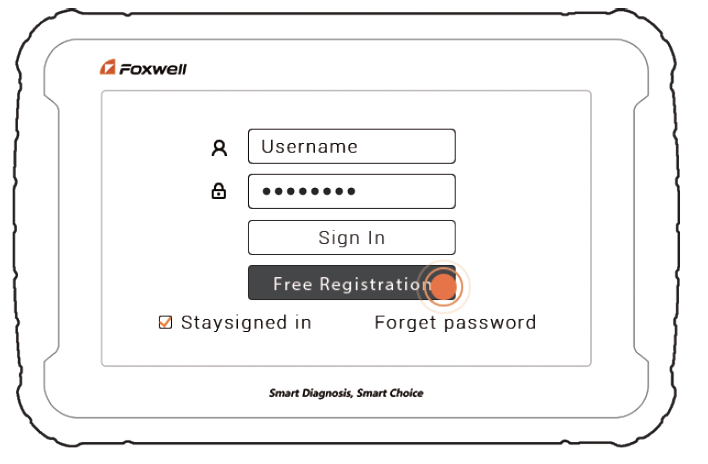
- Press Update from home screen of 0 diagnostic APP, and then press Free Registration to start.
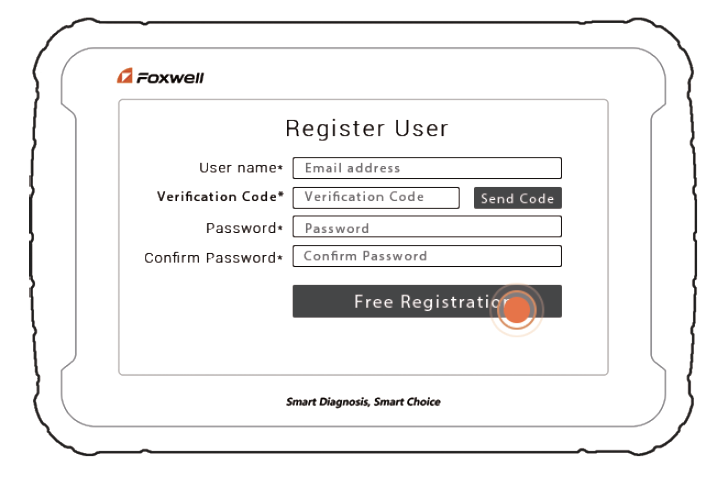
2. Enter one of your emails and tap Send Code to get a 9-digit security code. Input the code, create a password and click Free Registration to complete.
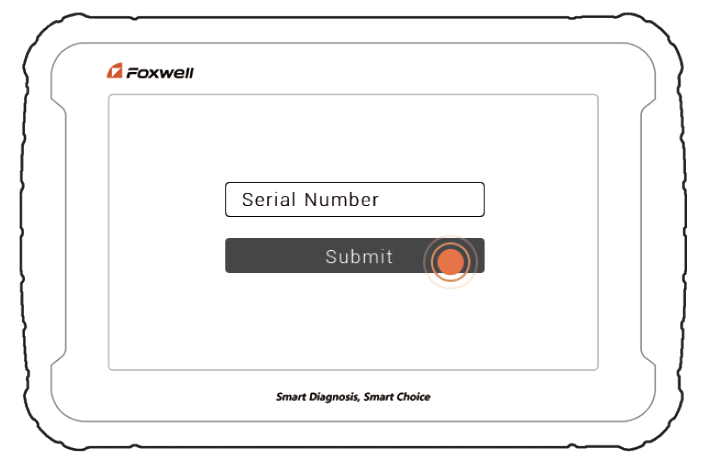
3. The serial number will be recognized 0 automatically and click Submit to activate the scanner.
Update
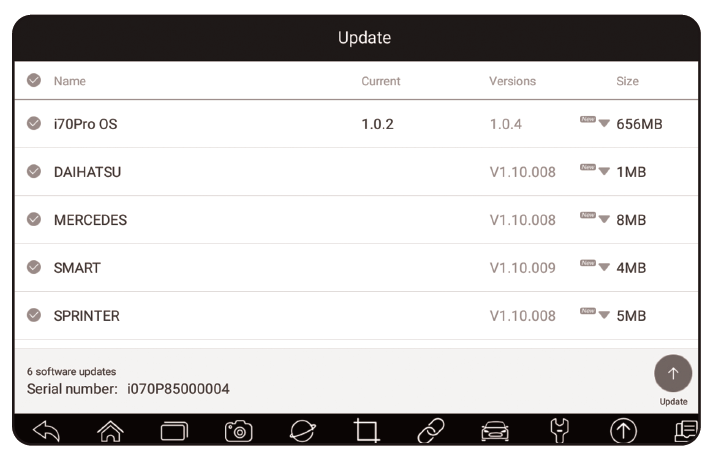
- Press Update from home screen of 0 diagnostic APP or press update shortcut at the tool bar.
- The available updates display. Click the check box(s) in front of the software you ‘a wish to update and then click the Update button to download.
Diagnostic Operations
- Before start diagnosis, please make sure:
1. The ignition switch is turned to ON position.2. The engine is off.3. The vehicle battery voltage is between 10-14 volts.4. The scanner is correctly connected to the vehicle.
- Don’t connect or disconnect the equipments while the ignition is on or the engine is running.
- Establish communication with the vehicle either via Bluetooth/USB or cable
- Identity the vehicle either by VIN reading or manually entry.
- Find the control modules installed in the vehicle either by Quick Scan or manual
- Start the tests and make records of test data when necessary.
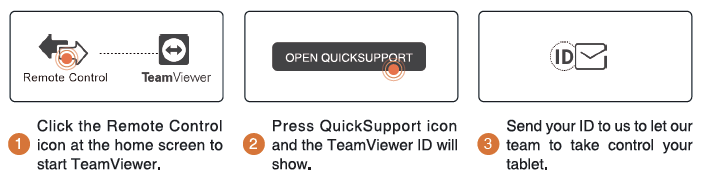
Remote Control
Whenever you need to get remote support from Foxwell,
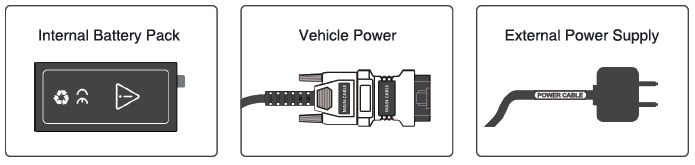
Powering up the Scanner
Before using the diagnostic APP of the scanner (including updating the scanner), please make sure to provide power to the scanner. In case of low battery volume, please charge it with the power cable.
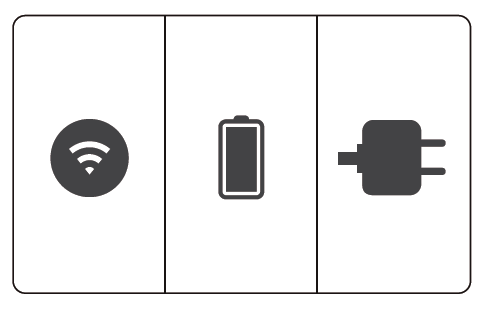
The unit operates on any of the following sources:
Data Logging
Data Logging collects the communication data between the scanner and the vehicle under test to help with troubleshooting of diagnostic failures.

- When connected to a car, click the Data Logging icon to start to create a debug data log.
- Click the icon again to stop the recording and the data log record will be saved automatically.
- Go to Data Manager — Data Record to view the 4. stored debug logs.
Contact Us
For service and support, please contact us.
Website : www.foxwelltech.usE-mail : Service Number + 86 – 755 – 26697229Fax : + 86 – 755 – 26897226

REGISTER YOUR PRODUCT AT
[xyz-ips snippet=”download-snippet”]