FUSION WIRELESS ARCADE STICKDO-IT-YOURSELF FACEPLATE TEMPLATE
 |
 |
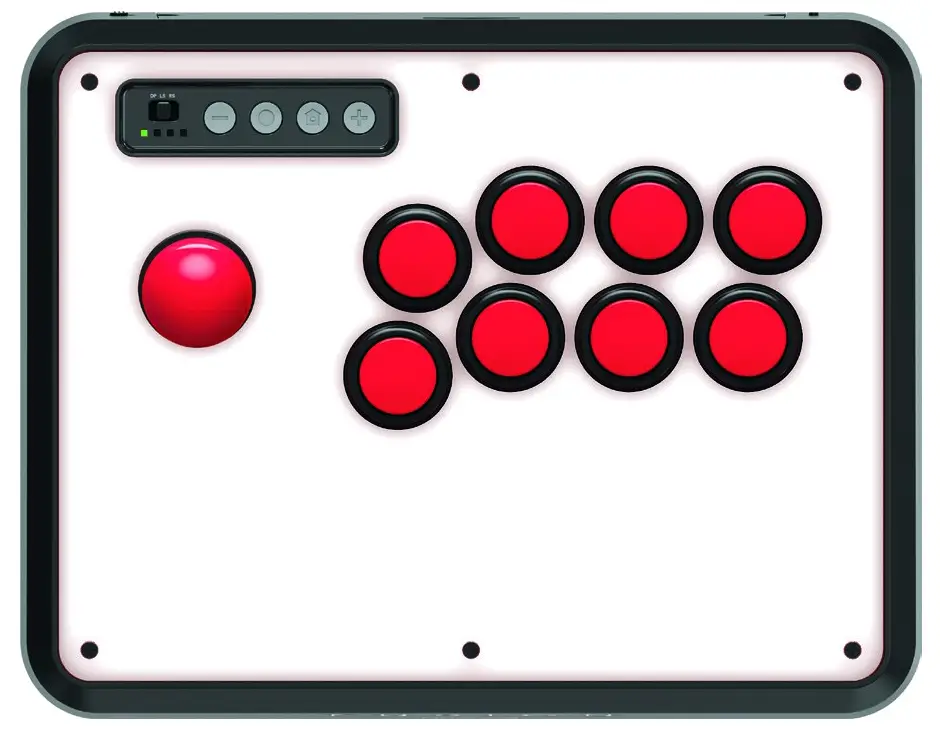
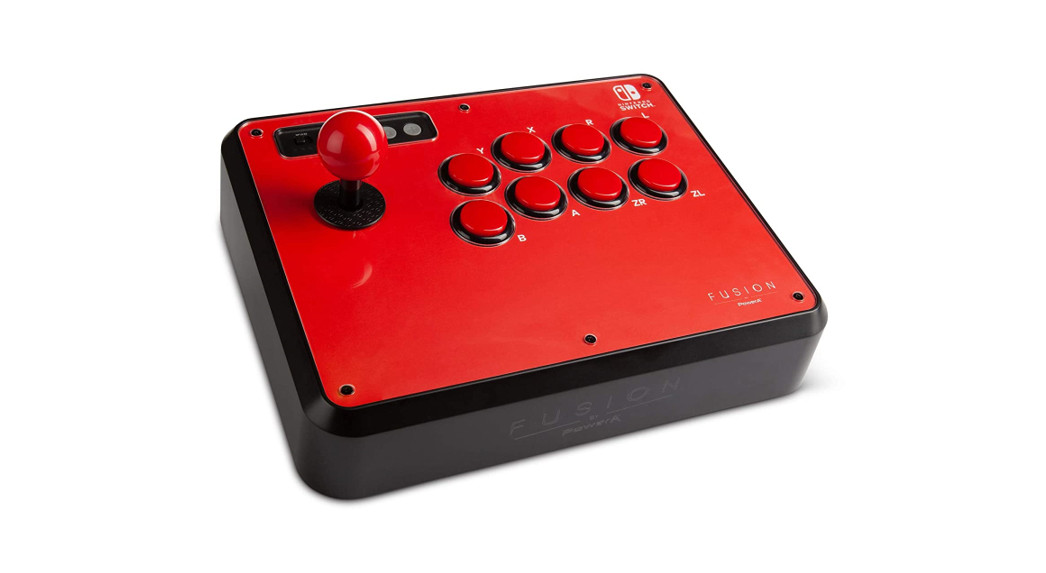
Your FUSION Wireless Arcade Stick for Nintendo Switch has a removable faceplate. Use this guide and the template on the following page to design and print your own faceplate and make your FUSION Arcade stick your own!
CLICK HERE TO DOWNLOAD
PDF TEMPLATEPHOTOSHOP TEMPLATEILLUSTRATOR TEMPLATE
USING THE TEMPLATE
- Add your graphics to the template you downloaded using your desired graphics software.
- Print the artwork out in landscape orientation at 100% scale (page scaling turned OFF).
- Alternately, you can print the template page first and use it as a blank canvas to hand draw your own design.
- Trim off the excess paper from the outer edge, and cut out the areas for the buttons, toggle switch and indicators, joystick, and screws.
- Install your custom faceplate as described below.
NOTE: Remember to print the template at 100% (page scaling turned OFF) so that your design will fit correctly on your FUSION ArcadeStick.
FACEPLATE REMOVAL
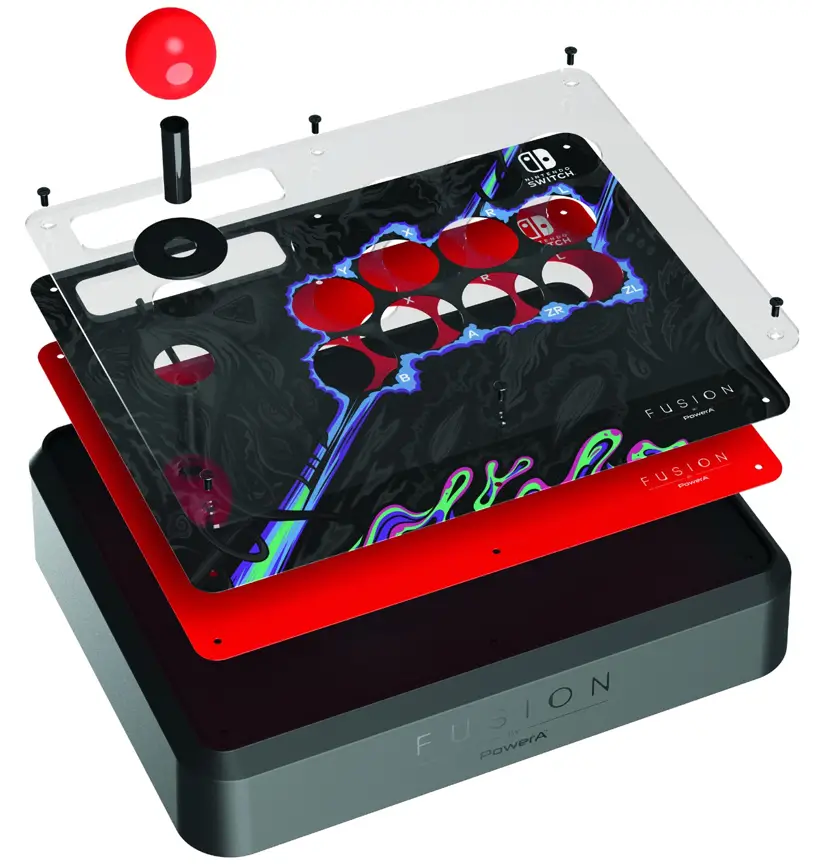
- Using a Phillips screwdriver, remove 6 screws on the face of the Arcade stick, and place them in a safe location.
- Next unscrew and remove the joystick knob, with a plastic sleeve and dust cover, and lift off the acrylic cover.
- Carefully remove the default face-card graphic and replace it with the new face-card graphic.
- The reverse process above to re-assemble with a new face-card graphic in place.
[xyz-ips snippet=”download-snippet”]


