
GAINSBOROUGH H264 200 LED Copper Firefly Solar Lights Instruction Manual
v002: 21/07/21Please read and retain these instructions for future reference
ALWAYS POSITION IN DIRECT SUNLIGHT
Dimensions
- ADD A SCATTERING OF MAGIC TO YOUR GARDEN
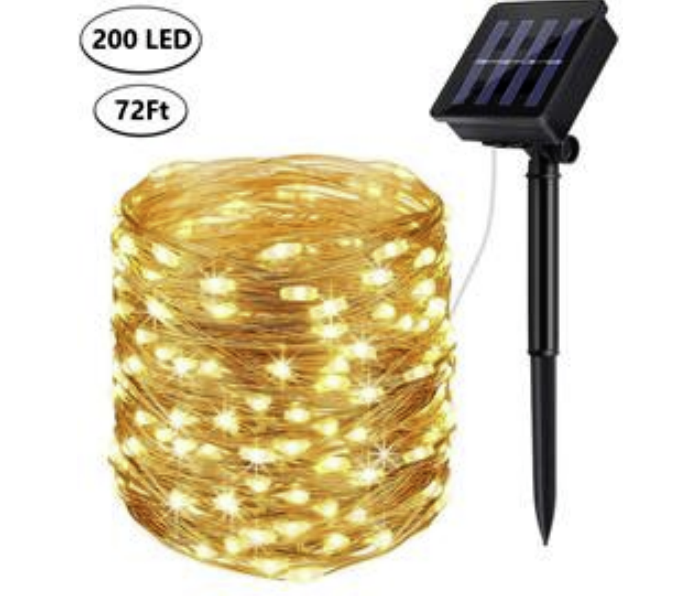
- THESE FIREFLY SOLAR LIGHTS ARE MADE UP OF 200 MICRO LEDS (not replaceable) ON A COPPER WIRE, YOU CAN WRAP AROUND TREE’S, BUSHES, POLES, FLOWERS ETC SO ARE HIGHLY VERSATILE
- SOLAR POWERED AND WITH 8 DIFFERENT LIGHT SETTINGS
- AUTOMATICALLY TURN ON AT NIGHT
- CREATES A MAGICAL DISPLAY AT NIGHT WHEN THEY AUTOMATICALLY TURN ON
Battery: 1x AA 1.2v 800Mah, Ni-MH, Rechargeable
ASSEMBLY INSTRUCTIONS / INSTRUCTIONS FOR USE:
Unpack the components carefully. Please check all parts have been removed from the packaging.
To easily insert stakes into the ground, it is recommended to wet the ground first. To avoid damaging garden stakes when inserting into the ground, select a spot in soft, rock-free soil. Insert the base of the stake first then gently insert the rest of the stake into the base. DO NOT push directly against the solar cell or the ornament housing containing the actual LED light.
Find an ideal Place for the Solar Light.
Place the solar light in an area where it will receive direct sunlight for at least 8 hours per day. The number of hours the light will illuminate is directly proportional to the hours of sunlight it receives. If the light is placed in a shaded area, it will not be able to fully charge and its illumination time will be limited. Do not place the light near other outdoor lighting like porch or streetlights. These may fool the sensor and keep the light from coming on, or cause it to turn off automatically
PARTS LIST
 1 x electronic control box with LED strand
- 1 x ground tube
- 1 x pointed ground stake
 1 x electronic control box with LED strand
OPERATION
- Choose a location where the ground is soft.
- Secure the solar panel to the tube; attach the spike to the end of the tube.
- Push the spike containing the solar panel securely into the ground.
- Adjust the angle of the solar panel so it directly faces the sun.
- Set switch (located on the back of solar case) to “ON” position. Charge the solar product by placing it under direct sunlight for at least 8 hours.
- The light will work automatically. It will automatically charge under direct sunlight during the day time and illuminate at night.
- Multi function. Switch to “on” position and press MODE button to select light sequences : 1. Combination 2. In wave 3. Sequential 4.Slow Glow 5.Chaser Flashing 6. Slow Fade 7. Twinkle Flashing 8. Steady On
 Choose a location where the ground is soft.
NOTE: In order to verify that the switch is correctly in the “ON” position, cover the solar panel with your hand and the light should turn on automatically.
- Test in the dark – the unit does not turn on during the day or when in lit areas.
- Arrange the chain lights as desired.
MAINTENANCE
- Clean with a soft damp cloth.
- Do NOT use abrasives or solvents.
- Do NOT disassemble or attempt to repair the solar marker housing other than to replace the rechargeable battery.
- Clean regularly as a build up of dirt on the solar panel will reduce performance.
- Make sure the switch is set to “ON” position.
- Keep the solar panel clean.
- If solar product does not light up after it has been used for around 8 – 12 months, replace the rechargeable batteries as they may be weak or worn out. (Battery 1 pc “AA” 1.2v 800Mah, Ni-MH, Rechargeable– Same equivalent type as recommended must be used).
Battery replacement:
Step1: Unscrew the battery compartment cover by using a Phillips head screwdriver (not included).
Step2: Remove the exhausted battery and install 1x new AA rechargeable battery according to the +/- polarity as beside image. Open the compartment carefully and ensure that welding wires inside the battery terminals are not damaged.
Step3: Replace battery compartment cover, screw it back into position and make sure is properly sealed.
BATTERIES
- Keep batteries away from children and pets.
- Do not mix used and new batteries.
- Remove the batteries if left for long periods.
- Never dispose of batteries in a fire.
- Battery disposal, spent or expired batteries must be properly disposed of and recycled in compliance with local regulations. For detailed information, contact your local authority.
- Follow the battery manufacturer’s safety, usage, and disposal instructions.
DISPOSAL
- Coopers of Stortford use recyclable or recycled packaging where possible.
- Please dispose of all packaging, paper, cartons, packaging in accordance with your local recycling regulations.
- Plastics, polybags – Contains the following recyclable plastic.
 Coopers of Stortford use recyclable or recycled packaging where possible.
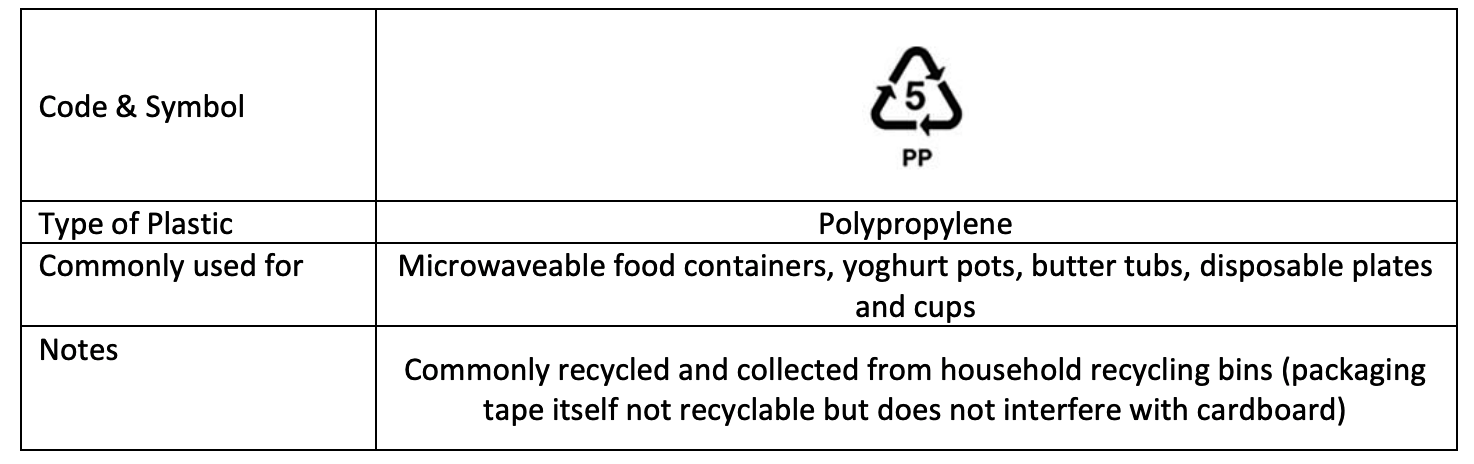
- At the end of the product’s lifespan please check with your local council authorised household waste recycling centre for disposal.


[xyz-ips snippet=”download-snippet”]