![]()
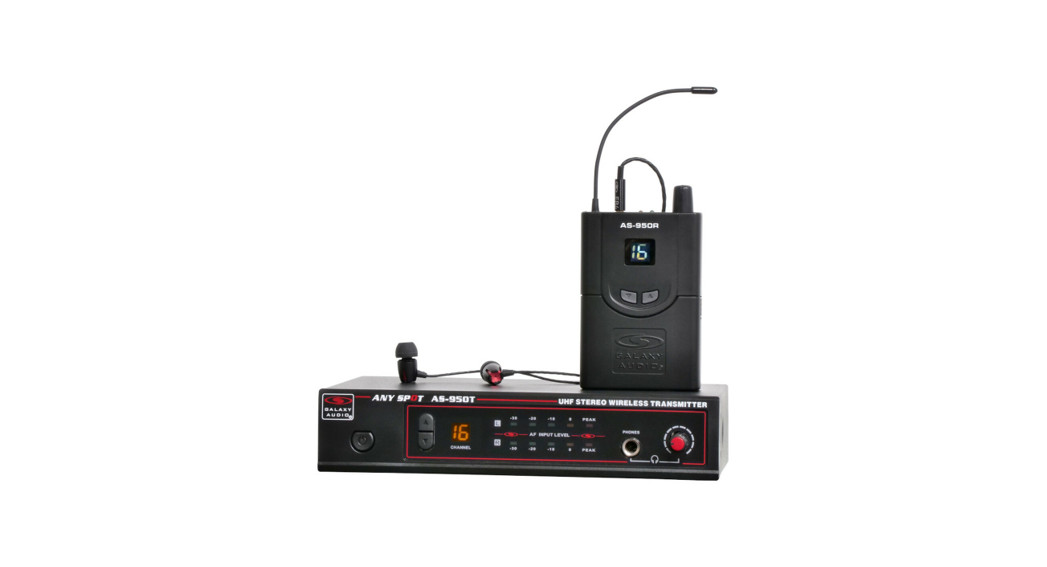
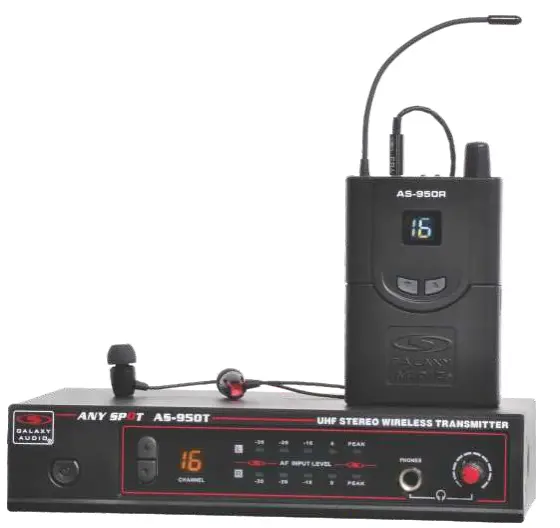
 Wireless Personal MonitorQuick Start GuideAS-950MAKERS OF THE ORIGINALHOT SPOT PERSONAL MONITOR
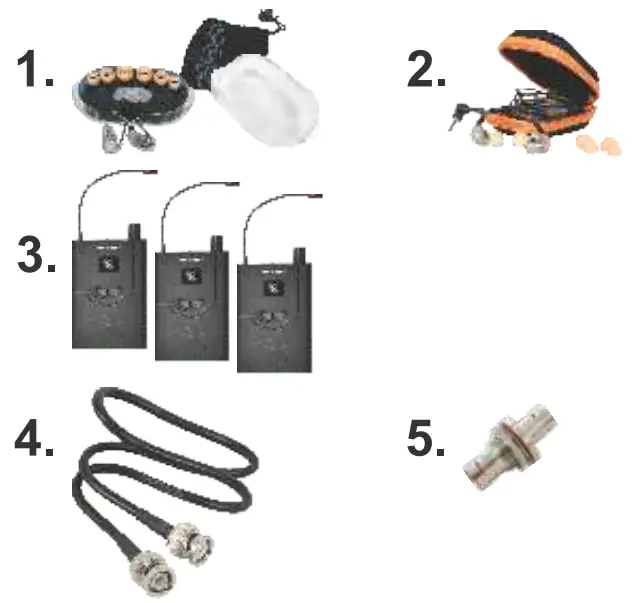
Included Components
- AS-950T x1
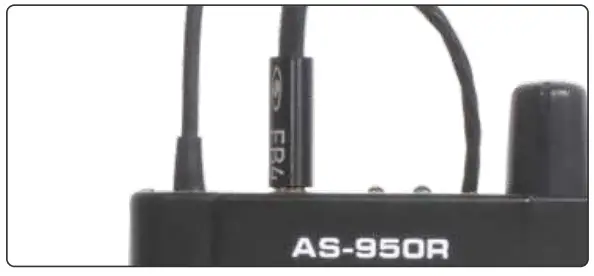
- AS-950R x1
- EB4 Ear Buds x1
- MREWD Rack Kit x1
- Antenna x1
- Power Supply x1
- Quick Start Guide x1

Optional Accessories
- EB6 Ear Bud Upgrade
- EB10 Ear Bud Upgrade
- Unlimited Receivers can be added
- EXTBNC: BNC Cable for Front Mounting Antenna (4 lengths available)
- CN-BNCPM: BNC Connector for Front Mounting Antenna
What May be Needed to Rack(Not Included)
- Rack Screws 10/32 x.75″, Phillips Truss Head Screws
- #2 Phillips Head Screwdriver

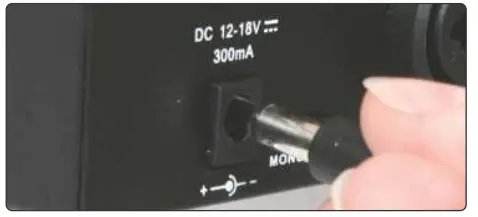
Setup
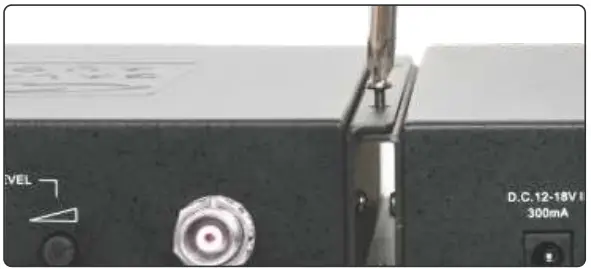
- Insert the 5.5mm plug into the DC input jack, plug the wall wart into a 120VAC outlet.

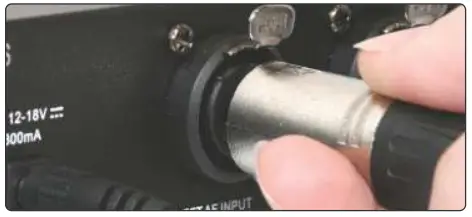
- Input Connection (XLR): Connect a shielded XLR microphone cable to the transmitter’s left and right XLR input, connect the other end into your signal source’s left and right outputs.
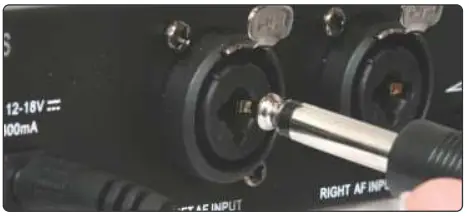
- Input Connection (1/4″): Connect a 1/4″ cable to the transmitter’s left and right 1/4″ input, connect the other end into your signal source’s left and right outputs.
- Attach the antenna to the antenna jack and position at a 45° angle if possible.

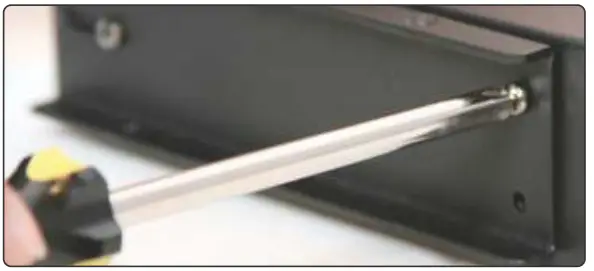
Single Rack Mounting (Optional)
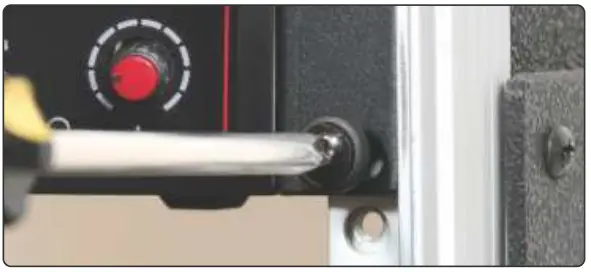
- Attach the long and short rack ears to either side of choice using the provided screws. Align and screw into the rack.
 report this ad
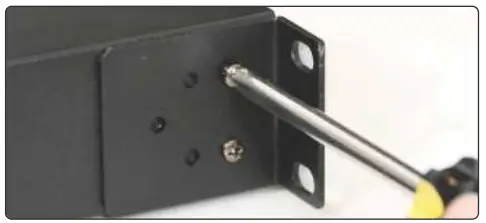
Dual Rack Mounting (Optional)
- Screw one short rack ear on the left side of the first transmitter, and one coupler half onto the right side of the same transmitter using the provided screws.
- Screw one short rack ear on the right side of the second transmitter, and one coupler half onto the left side of the same transmitter.
- Align both transmitters so that the coupler halves fit, and screw them together.
- Align the dual transmitters to the rack and screw them into the rack.
Operation
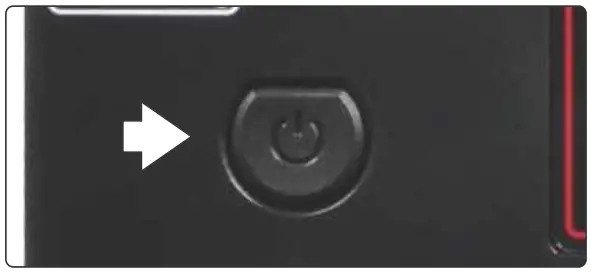
- Press the Power button to power on the Transmitter.
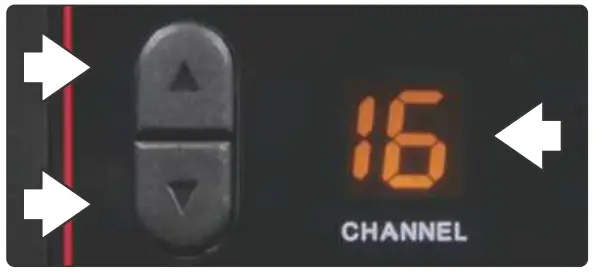
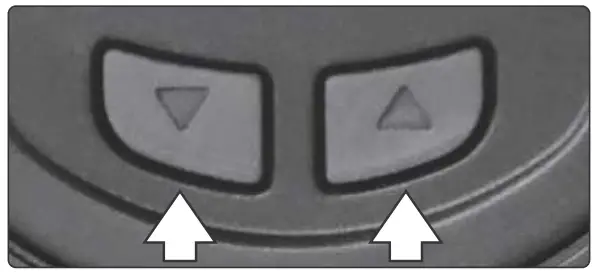
- Use the up and down buttons to select a channel number. The display shows the selected channel number.
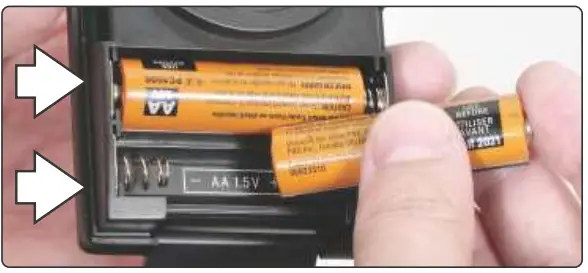
- Insert Two AA Alkaline Batteries into the Receiver.
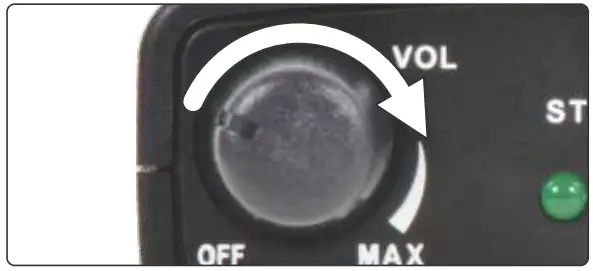
- Turn the Level knob clockwise to power on the Receiver.
- Press and hold on to the Receiver until the number flashes, then use the up and down buttons so that the Receiver matches the same Channel number.
- Insert the earbuds into the receiver and adjust the volume to a comfortable level.
FAQ
- Q. I only have one Aux output available on my mixer, and the sound Is only In one ear.A. On the back of the transmitter. you will see a “MONOI STEREO” switch, move it to the appropriate mode.
- Q. How many receivers can I use?A.It is unlimited. Use as many as you need.
- Q. Can you have more than 1 mix?A. You will need another AS-950 system on a different frequency for each mix.
- Q. Can I use headphones other than the supplied EB4?A. Yes, you can use any headphones or earbud with an impedance of 16 ohms or higher.
Other Helpful Sources


Wireless Tips
Maintain line of sight between the transmitter and receiver antennas.Do not have walls, metal objects, large crowds, etc. blocking the line of sight between the transmitter and receiver.Antennas on the stationary equipment should be kept several feet above the ground.Antennas can be mounted on stands or walls using brackets such as the ANT-LB.On bodypack receivers/transmitters, avoid putting them in your pocket, and/or folding the antenna under the pack.The antenna should hang freely and openly.Keep the distance between transmitters and receivers as short as possible.If distances above 20-30′ are unavoidable, directional antennas such as the ANT-POL can improve reception by rejecting signals outside their pickup angle.Find out what TV stations are broadcasting in your area and avoid the channels they are on.This information is available from many sources online, such as www.Mool.com.If your receiver is showing that it is receiving RF when your transmitter is turned off, you need to move to another frequency.If you are using several systems, you can contact [email protected] for assistance in frequency coordination.Make certain you are using fresh batteries, rechargeable batteries may be used, but they discharge at a much faster rate than alkaline.
Specifications are subject to change without notice.601 E. Pawnee Wichita, KS 67211 316. 263.2852 FAX 316.263.0642 www.galaxyaudio.comDistributed in Canada by Audio Distributors International (ADI) 1275 Newton, unit 6 Boucherville, QC J48 5H2 Canada450.449.8177 FAX 450.449.8180Printed in ChinaV20201120
[xyz-ips snippet=”download-snippet”]