Geeetech I3 Pro X 3D Printer Instruction Manual
SUPPROT
Thanks for choosing Geeetech, we strive to provide a satisfied and pleasant shopping experience for you, but we do understand there may be some questions you may encounter in using our product. If so, you can contact us directly or post on our forum, our technique staff will help you resolve it. For more detailed information, please visit Geeetech website. For detailed instructions, please download here: https://goo.gl/LTNGfP For detailed building videos, please check at YouTube: https://goo.gl/BwjBEu Subscribe our YouTube channel for more videos. https://www.youtube.com/user/geeetech Join our geeetech 3D printer user club. https://goo.gl/GhJbe3 Feel free to drop a line at [email protected] .
Copyright Declaration
The copyright of this manual belongs to the Shenzhen GETECH CO., LTD. (hereinafter referred to as the “Geeetech”), and all rights reserved. No part of this specification should be reproduced or extracted in any forms or means without the prior written consent of Geeetech by any company and individuals.
For More Geeetech Products
If you are interested in the technology of 3 D printing, flight control and U-home, welcome to Geeetech, we have series of made-up products, main boards, modules and a variety of peripherals for you. Or if you are looking for relevant information or technical support, please log in our Forum where you can find anything you want about open source. To know more about our new products, please visit www.geeetech.com , we will serve you wholeheartedly.
SAFETY INSTRUCTIONS
Building the printer will require a certain amount of physical dexterity, common sense and a thorough understanding of what you are doing. We have provided detailed instructions to help you assemble it easily, please download at geeetech.com. However ultimately we cannot be responsible for your health and safety whilst building or operating the printer, with that in mind be sure you are confident with what you are doing prior to commencing with building or buying. Read the entire manual to enable you to make an informed decision. Building and operating involves electricity, so all necessary precautions should be taken and adhered to, the printer runs on 12V supplied by a certified power supply, so you shouldn’t ever have to get involved with anything over 12V but bear in mind there can still be high currents involved and even at 12V they shouldn’t be taken lightly.High temperatures are involved with 3D Printing, the Extrusion nozzle of the hot end can run about 230°C, the heated bed runs 110°C and the molten plastic extruded will initially be at around 200°C, so special care and attention should be made when handling these parts of the printer during operation. We wouldn’t recommend leaving your printer running unattended, or at least until you are confident to do so. We cannot be held responsible for any loss, damage, threat, hurt or other negligent result from either building or using the printer.
INTRODUCTION:
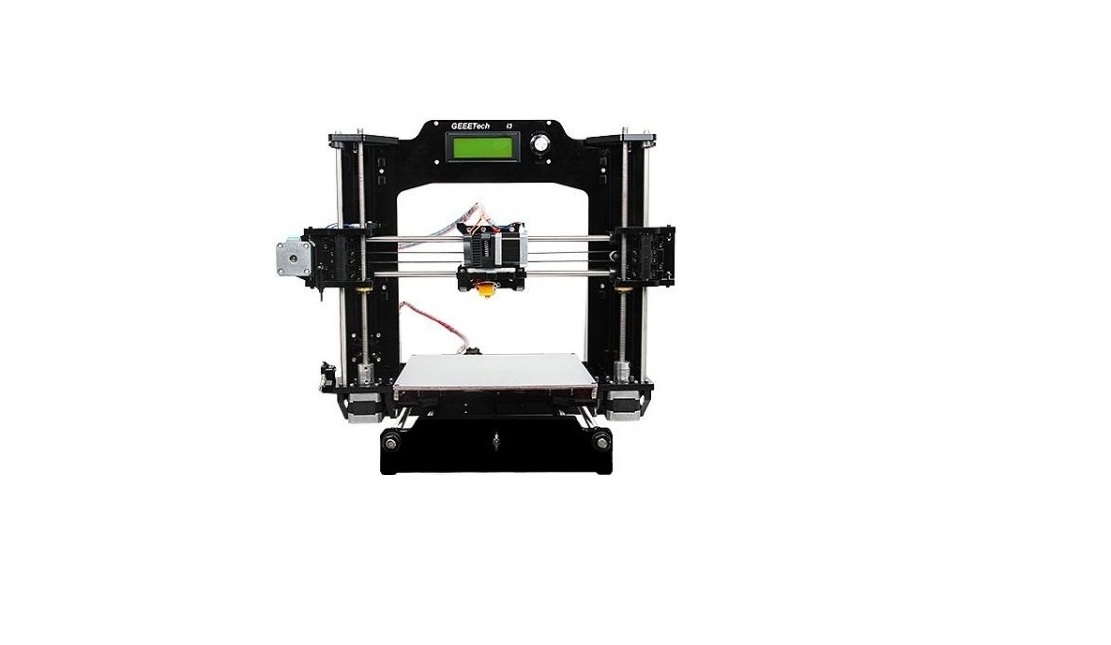
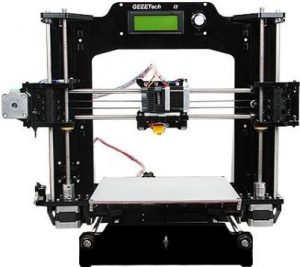
Geeetech Prusa I3 X is a new member of the prestigious Prusa I3 family, it was engineered to provide redefined usability, quality, performance and most important, best affordability in desktop 3D printer market. The Geeetech Prusa I3 X is completely made from piano-black laser-cut acrylic frame. To maintain the garage-built feel and the handmade charms, Geeetech Prusa I3 X is also a DIY kit, which provides you an unforgettable step-by-step learning experience of 3D printer from scratch. Geeetech Prusa I3 X has a wide range of customers, young or old, professional or amateur, as long as you have a passion for creativity, you can not afford to miss our Prusa I3 X.
PACKAGE LIST:
This list includes all the parts required to assemble your Geeetech Prusa I3 X 3D Printer. After you received your package, please check if all the parts listed are included. Also make sure all the components are in good condition and not damaged during shipping. If anything is missing please contact with our customer service straight away, provide us the NO. , Name, and Qty.
| Mechanical parts | ||||
| No | Name | Specifications | Specifications | Pic |
| 1 | Smooth Rod | D8*L322mm Z | 2 |   |
| 2 | Smooth Rod | D8*L430mm X | 2 | |
| 3 | Smooth Rod | D8*L420mm Y | 2 | |
| 4 | Threaded Rod | Threaded Rod | 2 | |
| 5 | Threaded Rod | M10*L450mm Y-axis | 2 | |
| 6 | M2.5 Washers | s M2.5 | 6 | |
| 7 | M3 Washers | M3 | 139 | |
| 8 | M4 Washers | M4 | 44 | |
| 9 | M10 Washers | M10 | 12 | |
| 10 | Spring washer | M10 | 6 |  |
| 11 | Hex Nut | t M2.5 | 6 | 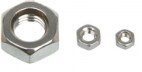 |
| 12 | Hex Nut | M3 | 25 | |
| 12 A | Hex Nut | M4 | 44 | |
| 13 | Hex Nut | M10 | 12 | |
| 14 | Lock nut | M4 | 2 |  |
| 15 | Wing nu | M3 | 6 |  |
| 16 | Square nut | M3 | 58 |  |
| 17 | Z-axis nut | M8(tin-bronze) | 2 |  |
| 18 | Hex Countersunk-head screw | M3x16 mm | 2 |  |
| 19 | Hex Countersunk-head screw | M3x30 mm | 4 |  |
| 20 | Screw | M2.5x16mm | 6 | 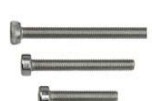 |
| 21 | Screw | M3x8mm | 4 |  |
| 22 | Screw | M3x12mm | 30 | |
| 23 | Screw | M3x12mm | 66 | |
| 24 | Screw | M3x20mm | 11 | |
| 25 | Screw | M3x25mm | 4 | |
| 26 | Screw | M3x30mm | 4 | |
| 27 | Screw | M3x35mm | 4 | |
| 28 | Screw | M3x50mm | 2 | |
| 29 | Screw | M4x12mm | 12 | |
| 30 | Screw | M4x16mm | 44 | |
| 31 | Screw | M4x25mm | 2 | |
| 32 | Screw | M4x25mm | 6 |  |
| 33 | locking ring | M8 + M5x6mm screw | 4 |  |
| 34 | Spring | 4 x 20(for heat bed) | 1 |  |
| 35 | Spring | 3.5 x 30(for Z endstop) | 4 |  |
| 36 | Ball Bearing | MR84zz ( Placed in No.37) | 11 |  |
| 37 | Linear Bearing | 2 |  |
|
| 38 | Driving wheel | 5-8mm | 2 | 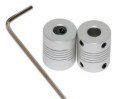 |
| 39 | Coupling | 2GT L=900mm | 2 |  |
| 40 | Timing Belts | Sheet metal par | 2 |  |
| 41 | Driven wheel holder | Sheet metal part | 2 |  |
| 42 | Belt mount | 20 tooth Inner diameter=5mm | 2 |  |
| 43 | Pulley | aluminium plate | 1 | 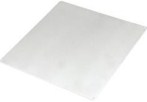 |
| 45 | Building platform | 4 |  |
|
| 46 | Dovetail clamp | 1 | 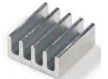 |
|
| 47 | Sticker | 4 |  |
|
| 48 | Heat sink | 9*10*5mm | 1 |  |
| 49 | Spiral Coil | l 3 meters | 8 |  |
| 50 | Spacer | With Aircraft type end | 30 | 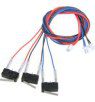 |
| 51 | Nylon ties | 1 sec |  |
|
| 52 | End stop | With Aircraft type end | 1 |  |
| 53 | Thermometr y wire | 2pin(attached on heatbed) | 2 |  |
| 54 | Heating Wire | 30cm(soldere d on heatbed) | 1 |  |
| 55 | Heatbed | MK2A | 1 |  |
| 56 | Fan | 40x40x10mm | 1 | 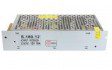 |
| 57 | Extention wire | For the fan On extruder | 1 |  |
| 58 | Power supply Unit | AC Input: 115V/1.5A 230V/0.75A DC Output: 12V/0-15A | 1 | 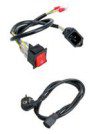 |
| 59 | Power Cable | Connect board to PSU | 1 | 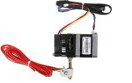 |
| 60 | 3D Power Cable | With plug | 1 | 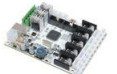 |
| 61 | Extruder | MK8 extruder | 1 sec | 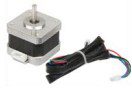 |
| 62 | Control board kit | GT2560+ 4 A4988 | 4 |  |
| 63 | Stepper motor | 1 |  |
|
| 64 | LCD 2004 | LCD2004+ cable | 1 |  |
| 65 | Knob | For LCD control | 1 |  |
| A1 | USB cord | I3B1-01 | 1 | 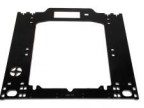 |
| A2 | Main frame | I3B1-02 | 1 |  |
| A3 | Side panel (left hand) | I3B1-03 | 1 | 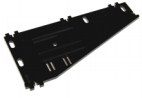 |
| A4 | Side panel (right hand) | I3B1-04 | 1 | 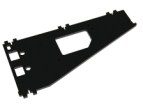 |
| A5 | Motor holder (left) | I3B1-05 | 1 | 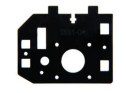 |
| A6 | Motor holder (right) | I3B1-06 | 2 |  |
| A7 | Motor Holder support | I3B1-07 | 2 | 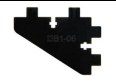 |
| A8 | Motor Holder support | I3B1-08 | 2 | 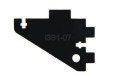 |
| A9 | Z top mount | I3B1-09 | 1 | 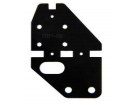 |
| A1 | Y axis Front support | I3B1-10 | 1 |  |
| A11 | Y axis Front support | I3B1-11 | 1 |  |
| A12 | Y axis Rear support | I3B1-12 | 1 | 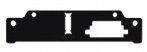 |
| A13 | Y axis Rear support | I3B1-13 | 1 | 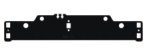 |
| A14 | Y motor holder | I3B1-14 | 2 |  |
| A15 | Connecting fender | I3B1-15 | 1 | 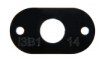 |
| A16 | Building platform support | I3B1-16 | 1 | 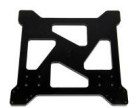 |
| A17 | X motor holder | I3B1-17 | 1 |  |
| A18 | Left bearing top plate | I3B1-18 | 1 |  |
| A19 | Left bearing bottom plate | I3B1-19 | 2 | 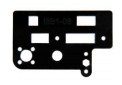 |
| A20 | X axis rod holder (left) | I3B1-20 | 1 |  |
| A21 | X axis belt holder | I3B1-21 | 1 | 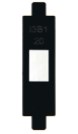 |
| A22 | Endstop holder | I3B1-22 | 1 | 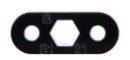 |
| A23 | Endstop holder | I3B1-23 | 1 | 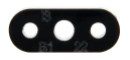 |
| A24 | Right bearing holder | I3B1-24 | 2 | 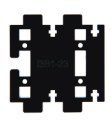 |
| A25 | Right bearing top/bottom plate | I3B1-25 | 1 | 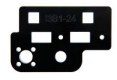 |
| A26 | X axis rod holder(right) | I3B1-26 | 1 | 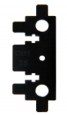 |
| A27 | Xaxisdriving wheelsupport holder | I3B1-27 | 2 | 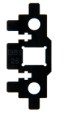 |
| A28 | X axis Fender | I3B1-28 | 1 | 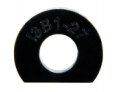 |
| A29 | Z endstop mount | I3B1-29 | 1 |  |
| A30 | X asix bearing support plate | I3B1-30 | 1 | 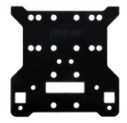 |
| A31 | Extruder Braket | I3B1-31 | 2 | 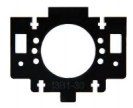 |
| extruder bracket support | 1 | 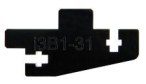 |
||
| 1 | Ejector pin | 1 |  |
|
| 2 | Grater | 1 |  |
|
| 3 | Screwdrivers |  |
||
| 4 | Starter filament | 3 meters |  |
|
| 5 | Spool holder set | Acrylic |  |
*The acrylic plate for the spool holder and the LCD frame are 5mm.
GENERAL CARE AND MAINTENANCE
As with all the electronic equipment, it is important to keep your printer clean to extend its life. Regularly remove dust and debris with a microfiber cloth or compressed air. Dredge the tube and the nozzle after use every time to ensure fluent performance.
- Don’t leave the heaters on the printer turned on for a long periods of time when not used.
- Don’t leave your printer in shady and moist places, which may exacerbate the problems associated with erosion.
- The three axes of the GEEETECH I3 Pro B are lubricated with grease for smooth operation and can last for a long time. Grease may need to be re-applied to your printer to maintain smooth performance.
- Avoid positioning your power supply unit in such a way that the brick is hanging, pulling, or putting any unnecessary stress in the electrical wires and components.
GEEETECH
References
geeetech 3d printers onlinestore, one-stop shop for 3d printers,3d printer accessories,3d printer parts
geeetech 3d printers onlinestore, one-stop shop for 3d printers,3d printer accessories,3d printer parts
📧[email protected]
null – YouTube
Geeetech – YouTube
geeetech 3d printers onlinestore, one-stop shop for 3d printers,3d printer accessories,3d printer parts
Geeetech 3D Printer User Club
[xyz-ips snippet=”download-snippet”]