Quick Installation Manual
 |
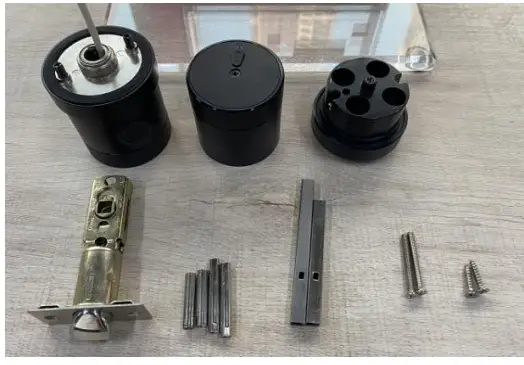 |
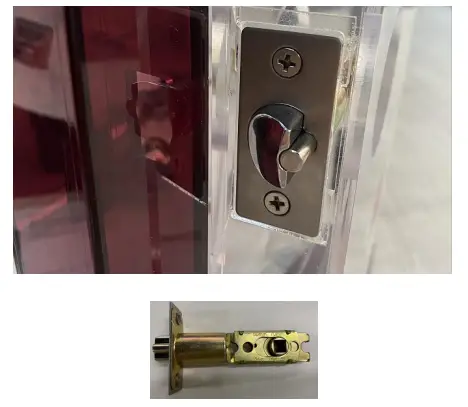
| 1, Install the latch, which is adjustable between 60-70mm. | 2, Select the proper connecting rod and Spindle according to the backset of the door. |
 |
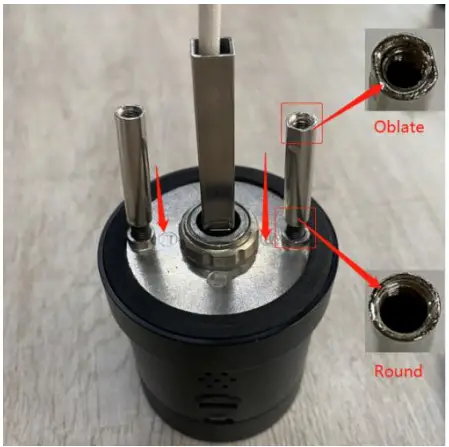 |
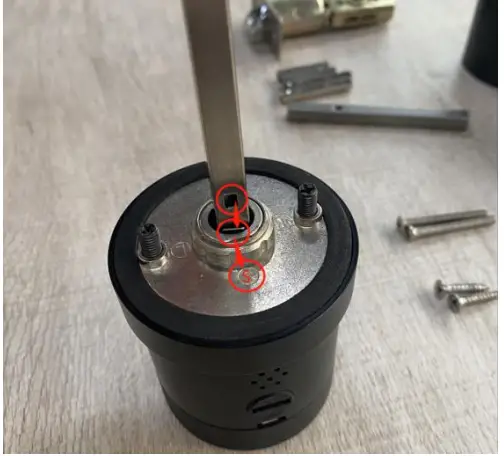
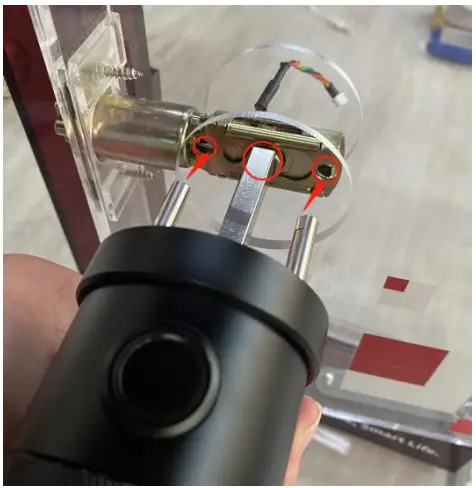
| 3, Route the wire through the spindle and make sure the hole of the spindle should towards to the internal metal, insert it until you hear a click sound, then adjust the direction to the “S”(As shown in the picture above). | 4, Install the connecting rod to double-headed screws, please note that the oblate side screws should be upwards, round side screws should be down towards. |
 |
|
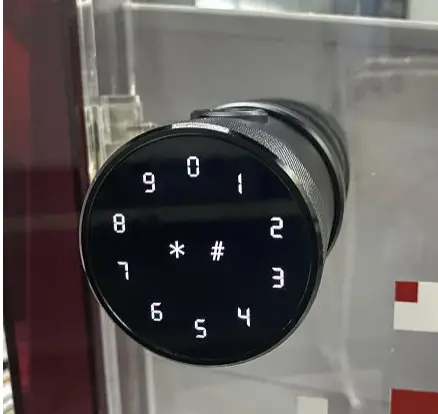
| 5, Insert exterior handle through the latch. | 6, Installed display pictures of the front door handle. |
 |
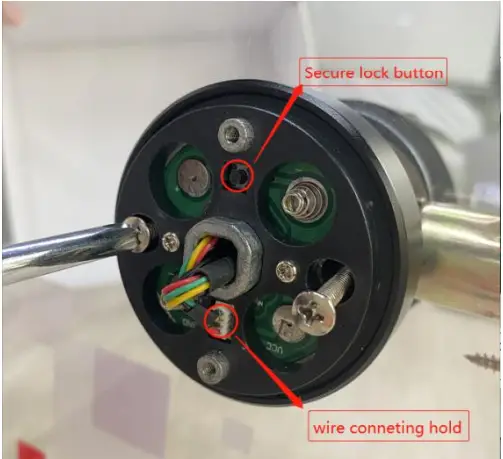 |
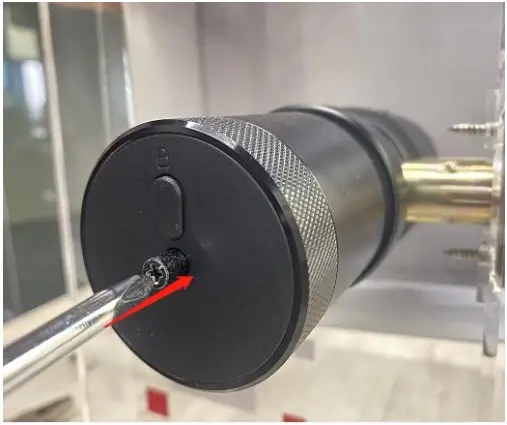
| 7, Loose the screws (As showed above) to disassemble them into two parts. | 8, Install the part-1, make sure the “secure lock button” facing upwards as above; Tidy the exposed wires put it into the hole above to avoid the cable being crushed; screws the 2 screws; Connecting the cable. |
 |
 |
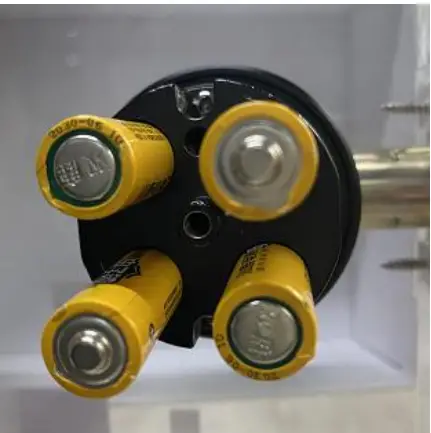
| 9, Install part-2, and install the batteries, please note the positive and negative poles of the battery. | 10, Install the battery cover, please note the button should face upwards. |
 |
Any questions about Geek Smart Lock, please feel free to contact our customers’ services, we will try our best to solve your problems.Email:[email protected] |
| The installation was done! |
[xyz-ips snippet=”download-snippet”]