 3DP-GEMMA 3D PRINTER “GEMMA”QUICK INSTALLATION GUIDE

![]() ONLINE MANUALSDetailed step-by-step installation guides available in several languages on www.gembird.nl
ONLINE MANUALSDetailed step-by-step installation guides available in several languages on www.gembird.nl
Features
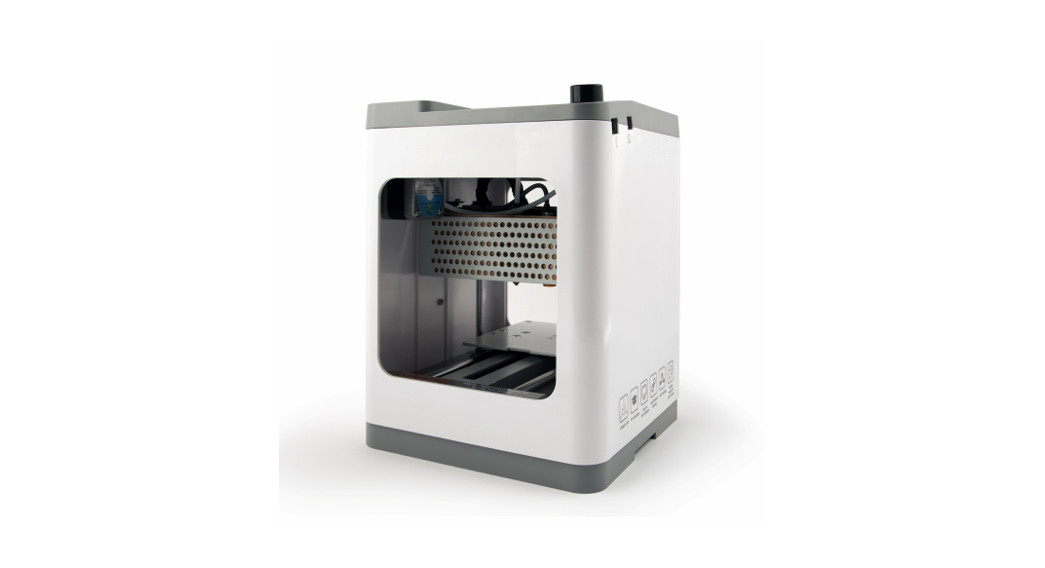
- Compact 3D printer model: Gemma
- Auto filament feeding and retracting
- Suitable for use with e.g. PLA or PLA+ filaments
- Magnetic platform with auto leveling function
- Practical 3.5” LED display
Specifications
- Principle: FFF (Fused Filament Fabrication)
- Build size: up to X 100 mm x Y 120 mm x Z 100 mm
- Filament: PLA, PLA+ spool, 1.75 mm
- Print precision: ±0.10 mm
- Positioning precision: Z-axis 0.0025 mm, XY axis 0.011 mm
- Nozzle diameter: 0.40 mm
- Extruder temperature: up to 250 °C
- Consumption power: 110-240V AC, up to 60 W, input DC 12V 5A
- Slicing software: WiiBuilder, Cura
- Supported inputs: MicroSD card (up to 8 GB, FAT32 4KB)
- Heating bed: no
- File type Input: STL, OBJ, output: code
- Weight: NW 3 kg
- Dimensions: 210 x 210 x 290 mm

QUICK INSTALLATION GUIDE
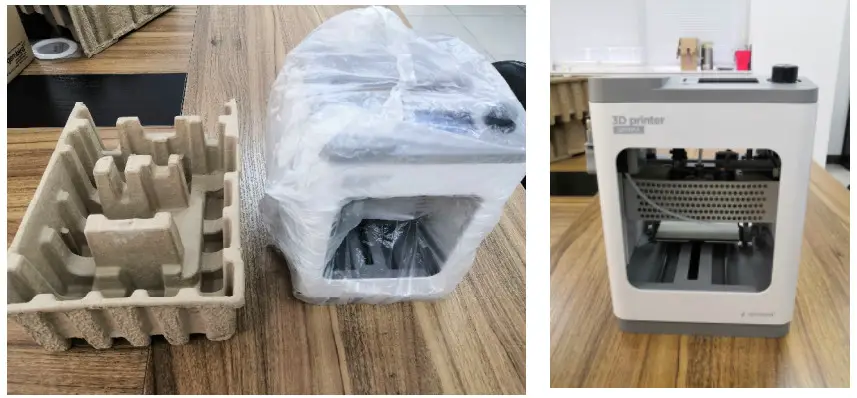
Remove the printer and accessories from the packaging.

Please check and confirm that you have all the parts listed below:
| 1x 2.0mm Hex Wrench1x 8mm Wrench1x M6 Brass Nozzle1x MicroSD™ Card1x MicroSD Card Reader | 1x AC Power Adapter1x AC Power Cord1x Package Sample Filament1x Quick Start Guide |

Remove the carton support and plastic bag from the printer and place it on a table or desk.

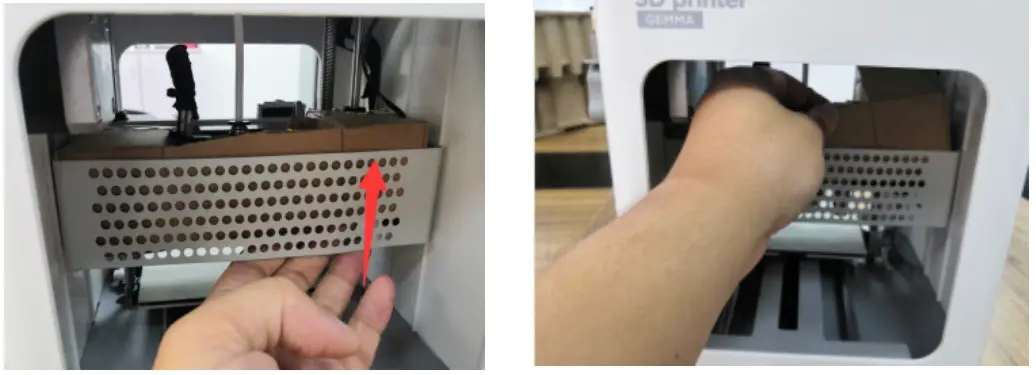
Remove the carton block in the printer.

Insert the Filament Guide Tube into the pneumatic connector on top of the Extruder.

Ensure that the power switch on the AC Power Adapter is in the OFF position (O ). Plug the DC barrel connector on the AC Power Adapter into the Power Port on the right side of the printer. Plug the included AC Power Cord into the AC Power Adapter, then plug the other end into a nearby AC power outlet.

Flip the power switch on the AC power adapter to the ON position (I). After the printer finishes booting, you will see the following wizard. Depress the Knob on top of the printer to select Next on the Welcome screen, then again to select Next on the STEP1: LOAD FILAMENT screen.

Using a pair of scissors or side cutters, cut about an inch off the end of the filament, then gently straighten the end of the filament. Squeeze the lever on the Extruder, Insert the filament into the bottom until you encounter resistance, then release the lever.

Press the Knob to start loading filament. Once filament starts extruding from the Nozzle, press the Knob again to stop extrusion, then press the Knob to select the Continue option.

Remove the included micro SD™ card from the Accessory Box, then insert it into the microSD card slot to the left of the LCD Screen. Press the Knob to select Next on the wizard.

Press the Knob to select Print FromSD. Rotate the Knob to highlight a code file on the microSD card, then press the Knob to begin printing the highlighted model.

Once the print is finished, remove the Magnetic Print Bed from the metal print platform, then bend it to remove the model. Replace the Magnetic Print Bed on the metal print platform.


Declaration of conformityThis product is tested and complies with the essential requirements of the laws of member states concerning LVD (2014/35/EU MC (2014/30/EU), RoHS (2011/65/EU). The CE declaration can be found under www.gembird.euWaste disposal:Do not deposit this equipment with the household waste. Improper disposal can harm both the environment and human health. For Information about waste collection facilities for used electrical and electronic devices, please contact your city council or an authorized company for the disposal of electrical and electronic equipment.
WARRANTY CONDITIONS
The receipt must clearly list the date of purchase and the part number, in addition, it should be printed. Keep the receipt for the entire warranty period since it is required for all warranty claims. During the warranty period, the defective items will be credited, repaired or replaced at the manufacturer’s expense. Work carried out under the warranty neither extends the warranty period nor starts a new warranty period. The manufacturer reserves the right to void any warranty claim for damages or defects due to misuse, abuse, or external impact dust, contamination, or break (falling down, impact, ingress of water, ). Wearing parts (e.g. rechargeable batteries) are excluded from the warranty. Upon receipt of the RMA goods, Gembird Europe B.V. reserves the right to choose between replacement of defective goods or issuing a credit note. The credit note amount will always be calculated on the basis of the current market value of the defective products. Gembird Europe B.V. Wittevrouwen 56, 1358CD Almere, The Netherlandswww.gembird.nl/service [email protected]GEMBIRD EUROPE B.V. http://www.gembird.euAll brands and logos are registered trademarks of their respective owners
[xyz-ips snippet=”download-snippet”]

