Chiller Green-Door™
PLEASE FIRST READ THESE FITING INSTRUCTIONS.
The Green-Door family is unique but can be easily fitted by a competent fitter who we will initially train free.
In the interests of economy and longevity, SMI respectfully suggest that the hole into which the door is to be fitted should fit the frame, not the frame to fit the hole (this should avoid distortion of the frame). For the best fit we suggest adding 30mm to the door hole size for example a door 1000mm wide by 2000mm high would need a door opening of 1030mm wide by 2030mm high.
We recommend the gap size from one door surface to the other when opened should be wider than the biggest product regularly entering the cold-room by 260mm for a single leaf door and 430mm for a double leaf door.
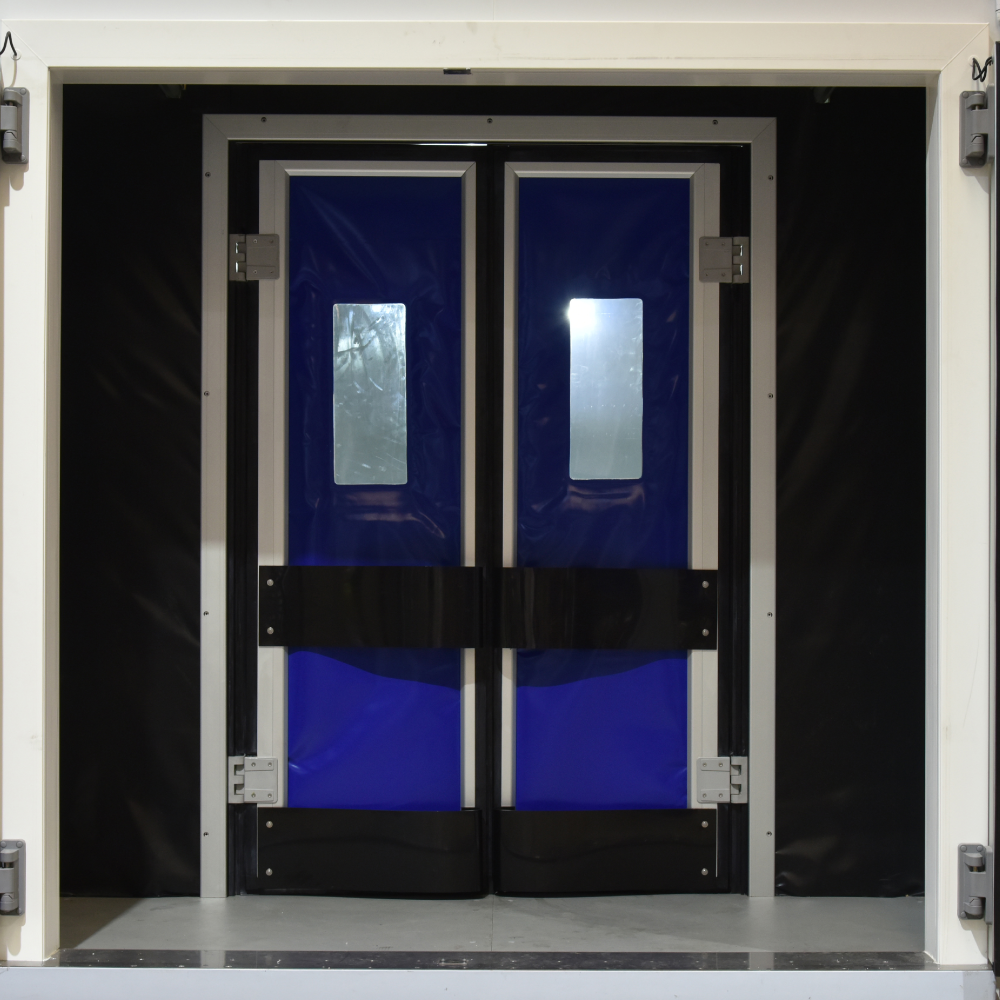
A Green-Door for Chillers can be fitted inside or outside the chiller entrance.
- Check the surrounding to the hole opening for obstructions or damage which would prevent the door fitted correctly (remove any obstacles prior to continuing with the installation)
- If a night door has not been removed (which we recommend) it should be fixed in place open to ensure the staff do not close it over the Green-Door™ as this can damage the door and conflict with it working and activate automated alarms over time.
- If the buffers have been removed to facilitate shipping, these can now be fitted with the thin end near the hinges and the deeper end against the other door or frame when a single door is fitted. 25mm Hex Head bolts and washers have been provided for this fitting. Drip Lock-tite or similar adhesive into the hole provided or onto the thread of the 25mm Hex head bolt. Place the washer provided onto the bolt and screw finger tight quickly into each of the four holes through the buffer into the door. Two from the face of the buffer on the thin end and two under the bulge of the buffer on the deep end. Tighten with a spanner firmly but not to the point where the thread is crossed. (These fittings are provided in a bag included in the consignment)
- Offer the complete door/s and frame up into the opening hole provided, make sure the frame is not twisted and it is square.
- Around the side of the frame are adjustable packers, using a 10mm Allen head Key, wind these out to accurately hold the door/s firmly in place.
- Once the frame and door are held in place by the adjustable packers check in two places along the height and width that the frame and door/s are level and square (use a spirit level). The frame must sit level in the openings to prevent gapping between the door/s.
- Before fixing check the rubber seals around the door/s.
˃ The top rubber seal needs to be touching the frame all the way along its length with no gaps showing, if it is not, then the frame leg may need adjusting slightly.
˃ The bottom rubber seal needs to be just touching the floor, if it is dragging on the floor the frame leg will need to be packed up a little until the seal is lightly touching.
- Once the door/s are all hanging correctly with no gaps and no obstructions to opening and closing, the frame can be fixed into place with 65mm long Star head screws into each of the holes provided and fit the cover caps (These are provided in a bag included in the consignment)
- Now fit the face surround to the wall with 15mm Hex Head screws into each of the holes provided and fit the cover caps These are provided in a bag included in the consignment)
- Once the frame is fixed in place and it is all completely level, fill and seal the gap between the frame and the opening with Food Safe Foam.
- If a rear surround has been supplied this should now be installed and fitted with 15mm Hex Head screws into each of the holes provided and fit the cover caps (These are provided in the same bag as those for the front face fitting)
- Finally seal all around the frame inside and out, including underneath the frame leg if the door has been adjusted.
- As the spring-loaded hinges have been factory set for a quick close, the door/s should operate satisfactorily from fitting, but can be adjusted.
- Take a final overall look at the installation, check for gaps, distortions or obstructions and test by opening and closing the door/s several times to their swing limit both ways. Apply any sealant or finishing touches to ensure a smart and functional installation.
The Chiller Green-Door Fitting Instruction Manual – The Chiller Green-Door Fitting Instruction Manual –
[xyz-ips snippet=”download-snippet”]