
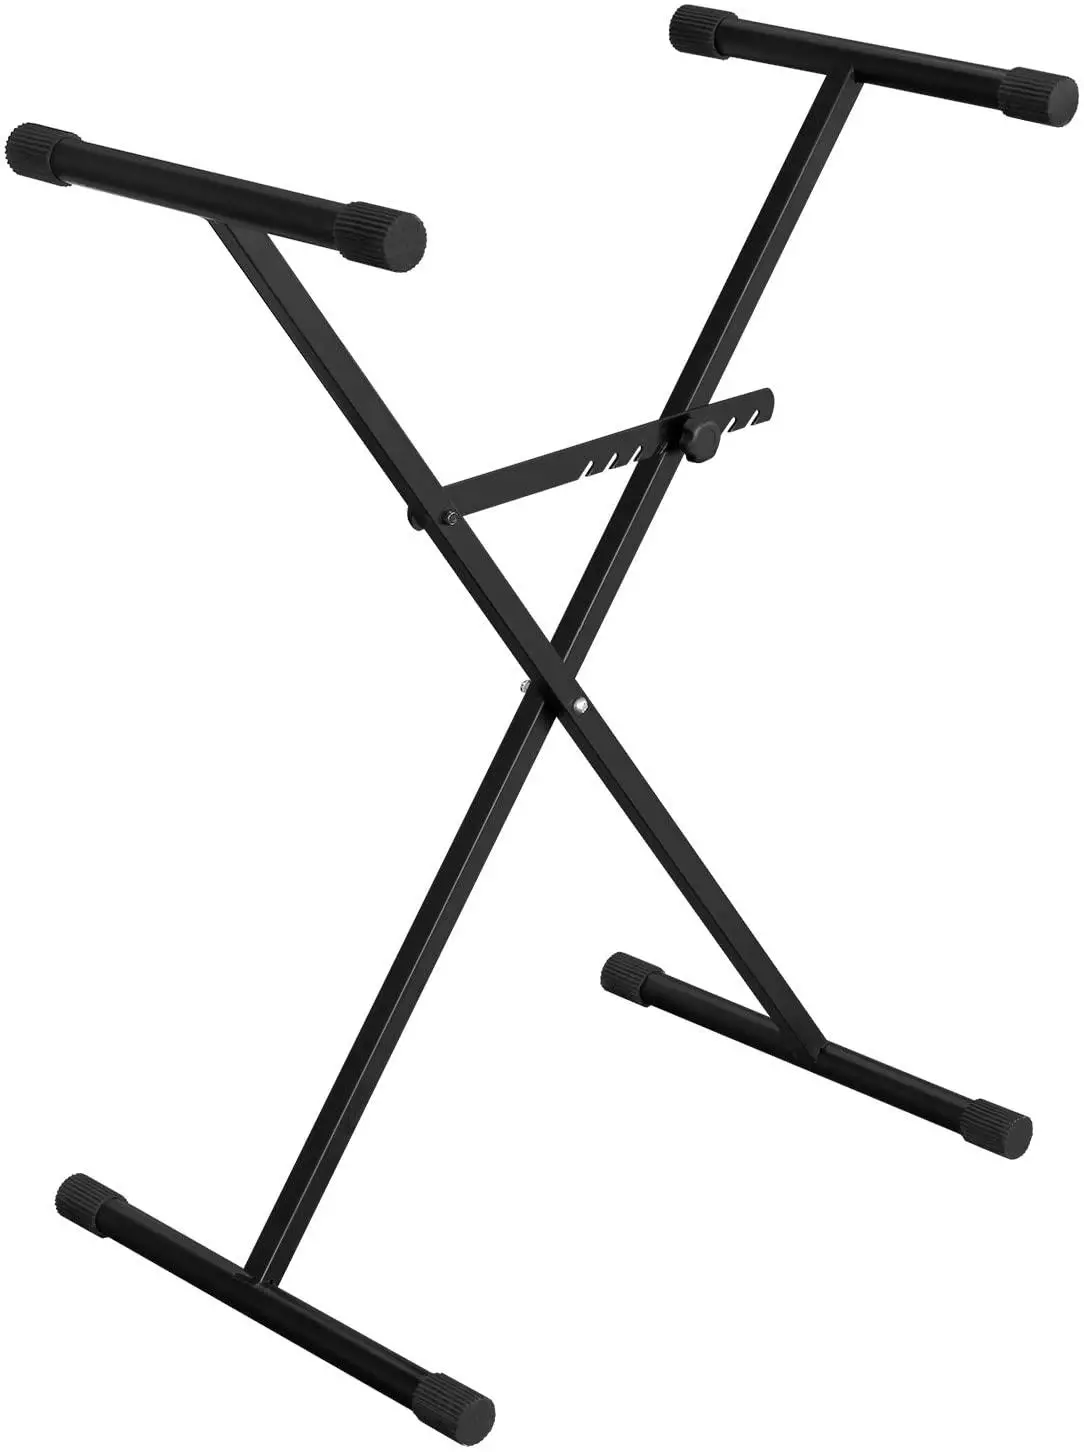
H A Keyboard Stand
List of Parts
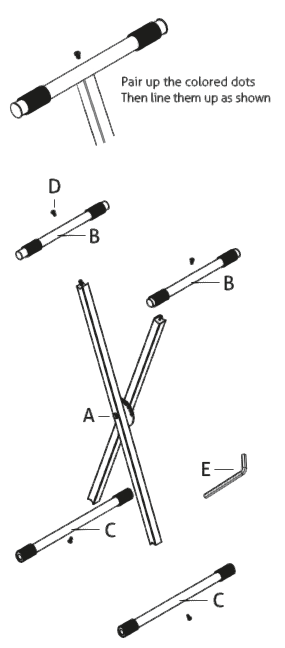
- A X Brace W Pull Knob
- B Keyboard Support Bars (White Dot & Green Dot)
- C Base Support Bars (Pink Dot & Purple Dot)
- D Hex Head Screws (x4)
- E Allen Wrench
Overview
- Choose a large, flat and non-slip area on which to unpack and assemble your new stand. A carpeted surface works great!
- Start by laying out all the parts from the box and please notice the 4 sets of colored dots that are placed on each individual Part A through C.
- First pick up Part A and make sure that the pull knob is oriented on your right side. Pull the knob and allow the X Brace to open 2 clicks. Stand up the now X Shaped brace on its 2 lower points and lean it against an appropriate surface for a moment. It should look like a standing X.
- Holding Part A in one hand pick up Part B with the White dot and place it over the shaft of Part A, matching up the dots as in Figure 1. Apply pressure to Part B till it completely settles onto the shaft of Part A. Tighten with 1 Hex Head Screw (Part D) using the included Allen Wrench (Part E).
- Then pick up Part B with the Green dots, again placing it over the remaining shaft of Part A also featuring green dots. Apply pressure to Part B till it completely settles onto the shaft of Part B. Tighten with 1 Hex Head Screw(Part D) using the included Allen Wrench (Part E).
- Next pick up the stand as it is and flip it upside down so that the Support Bars you just attached are now on the floor.
- Now pick up Part C with the Pink dots and place it over the shaft of Part A, matching up the dots as in Figure 1. Apply pressure to Part C till it completely settles onto the shaft of Part A. Tighten with 1 Hex Head Screw(Part D) using the included Allen Wrench (Part E).
- Finally, pick up Part C with the Purple dots and place it over the shaft of Part A, matching up the dots as in Figure1. Apply pressure to Part C till it completely settles onto the shaft of Part A. Tighten with 1 Hex Head Screw(Part D) using the included Allen Wrench (Part E).
Your stand is now assembled and ready for use!
 report this ad
![]()
[xyz-ips snippet=”download-snippet”]