
HAMPTON BAY LS-201BSOPL-2 2-Pack Connected Solar Deck Lights User Guide

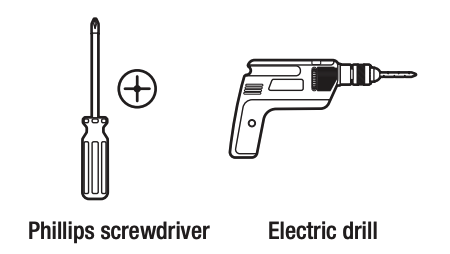
TOOLS REQUIRED
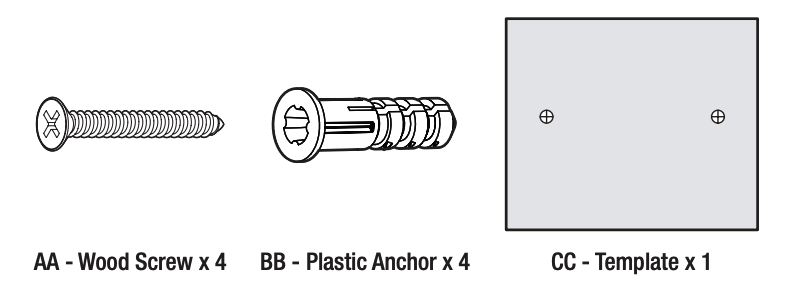
HARDWARE INCLUDED
Installation
- WOOD POST/FENCE MOUNTING
- To mount the solar light to a wood post or fence, use the template (CC) to mark the mounting screw locations. Alternatively, measure and mark the installation locations for the mounting screws 3.86 in. (98 mm) on-center.
- Insert the mounting screws (AA) into the wood post or fence at the marked locations, leaving about 1/4 in. of the screws (AA) sticking out of the wood surface.
- Align and place the two mounting holes on the back plate of the solar light over the mounting screws (AA).

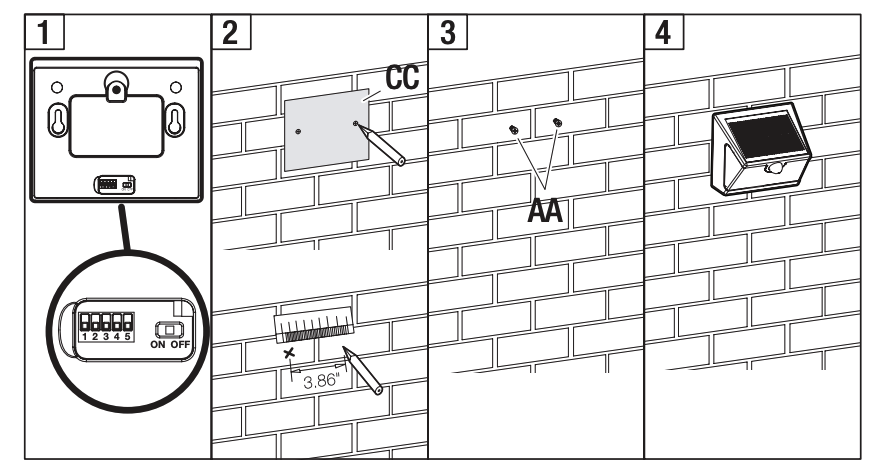
- WALL MOUNTING
- To mount the solar light to a concrete or brick wall, use the template (CC) to mark the mounting screw locations. Alternatively, measure and mark the installation locations for the mounting screws 3.86 in. (98 mm) on-center.
- Drill two holes on the wall at the marked locations.
- Insert the plastic anchors (BB) into the holes. Insert the mounting screws (AA) into the anchors (BB), leaving about 1/4 in. of the screws (AA) sticking out of the wall surface.
- Align and place the two mounting holes on the back plate of the solar light over the mounting screws (AA).

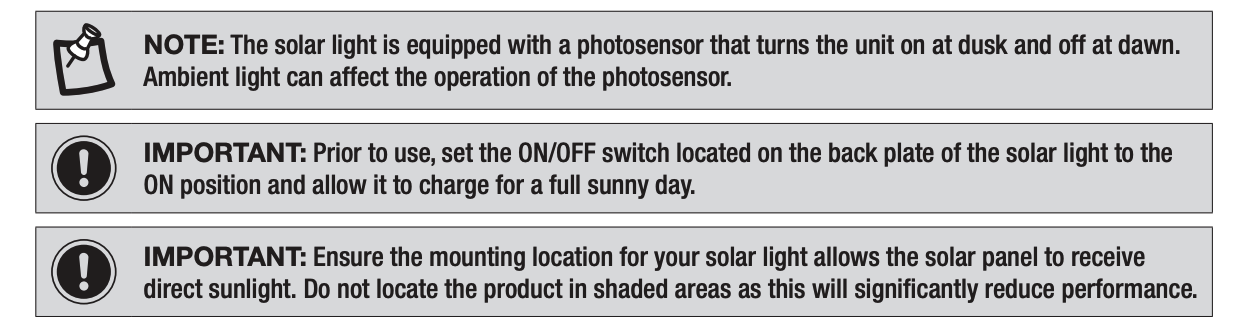
Synchronizing, Turning ON, and Testing the Deck Lights
These two deck lights come with the Device Address switch (1) preset to be synched upon initial use. When one light detects motion, both lights turn on.
To connect additional lights to this set, ensure the Device Address switches (1) are all set to the same setting.
To turn the lights ON, set the Power switches (2) to the ON position.
When turned ON, the lights will begin a 30-60 second TEST mode, where they will light-up for 5 seconds when motion is detected (regardless of time of day). After 30 to 60 seconds, the lights will enter normal operation and only light-up when motion is detected.
In normal operation, when motion is detected, the lights will activate simultaneously, and stay on for 30 seconds.

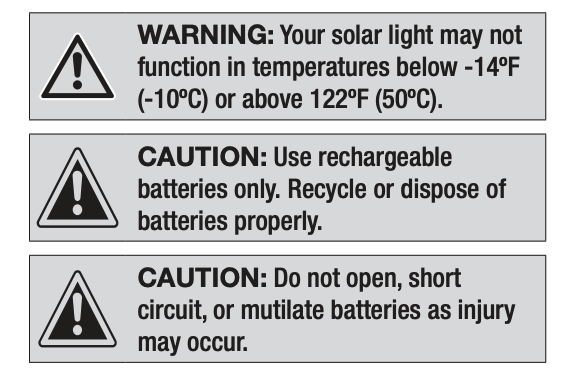
Safety Information
FCC STATEMENT
NOTE: This equipment has been tested and found to comply with the limits for a Class B digital device, pursuant to part 15 of the FCC Rules. These limits are designed to provide reasonable protection against harmful interference in a residential installation. This equipment generates uses and can radiate radio frequency energy and, if not installed and used in accordance with the instructions, may cause harmful interference to radio communications. However, there is no guarantee that interference will not occur in a particular installation. If this equipment does cause harmful interference to radio or television reception, which can be determined by turning the equipment off and on, the user is encouraged to try to correct the interference by one or more of the following measures:
- Reorient or relocate the receiving antenna.
- Increase the separation between the equipment and receiver.
- Connect the equipment into an outlet on a circuit different from that to which the receiver is connected.
- Consult the dealer or an experienced radio/TV technician for help.
Changes or modifications not expressly approved by the party responsible for compliance could void the user’s authority to operate the equipment. This device complies with Part 15 of the FCC Rules. Operation is subject to the following two conditions: (1) this device may not cause harmful interference, and (2) this device must accept any interference received, including interference that may cause undesired operation.
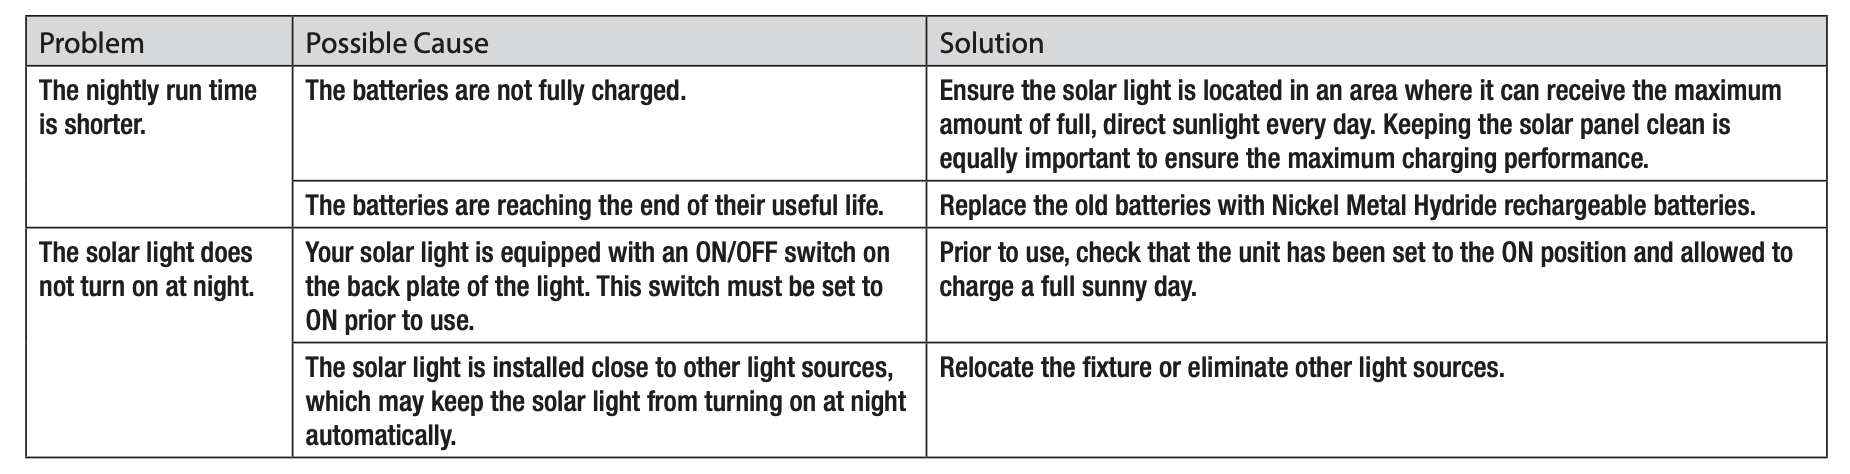
Troubleshooting
Maintenance
REPLACING THE BATTERY
- Unscrew the battery cover (C) from the back of the solar light (A) and remove it.
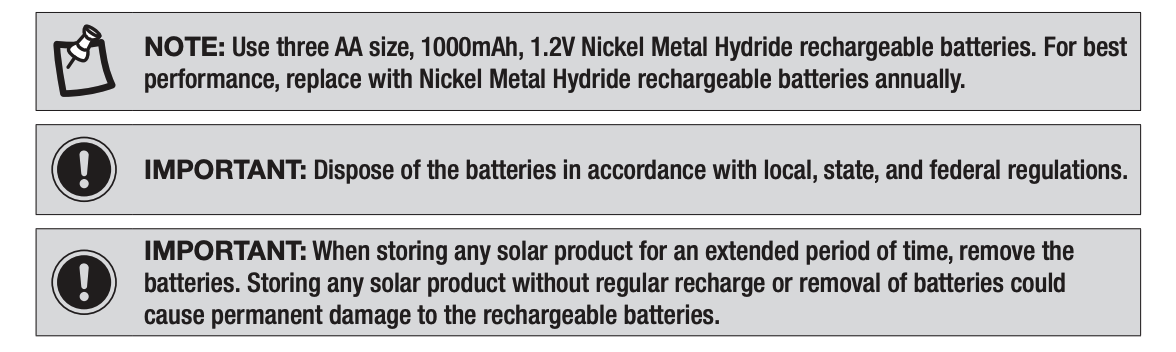
- Remove the old batteries (B). Replace with three new Nickel Metal Hydride rechargeable batteries– The recommended replacement battery capacity should be 1000mAh.
- Replace the battery cover (C).
Care and Cleaning
- The solar panel should be cleaned periodically with a damp cloth to help maintain optimum performance.
- Do not use any cleaners with chemicals, solvents, or harsh abrasives.
Warranty
TWO YEAR LIMITED WARRANTY
WHAT IS COVERED
The manufacturer warrants this product to be free of defects in material and workmanship for a period of two (2) years from the date of purchase. This warranty only applies to the original consumer purchaser and only to products used in normal use and service. The manufacturer’s only obligation and your exclusive remedy, is the repair or replacement of the product at the manufacturer’s discretion, provided that the product has not been damaged through misuse, abuse, accident, modification, alteration, neglect, or mishandling. Proof of purchase and evidence of manufacturer’s date coding must accompany all warranty claims. Manufacturer’s date coding is printed and adhered to each product.
WHAT IS NOT COVERED
This warranty does not apply to products that are found to have been improperly installed, set-up, or used in any way not in accordance with the instructions supplied with the product. This warranty does not apply to a failure of the product as a result of an accident, misuse, abuse, negligence, alteration, or faulty installation. Batteries supplied with this product are not included in this warranty. This warranty shall not apply to the finish on any portion of the product, such as surface and/or weathering, as this is considered normal wear and tear. The manufacturer does not warrant and specially disclaims any warranty, whether express or implied, of fitness for a particular purpose, other than the warranty contained herein. This warranty does not cover consequential or incidental loss or damage, including but not limited to any labor/expense costs involved in the replacement or repair of the product.
Contact the Customer Service Team at 1-800-841-1350 or visit HAMPTONBAY.com.
Please contact 1-800-841-1350 for further assistance.
References
[xyz-ips snippet=”download-snippet”]