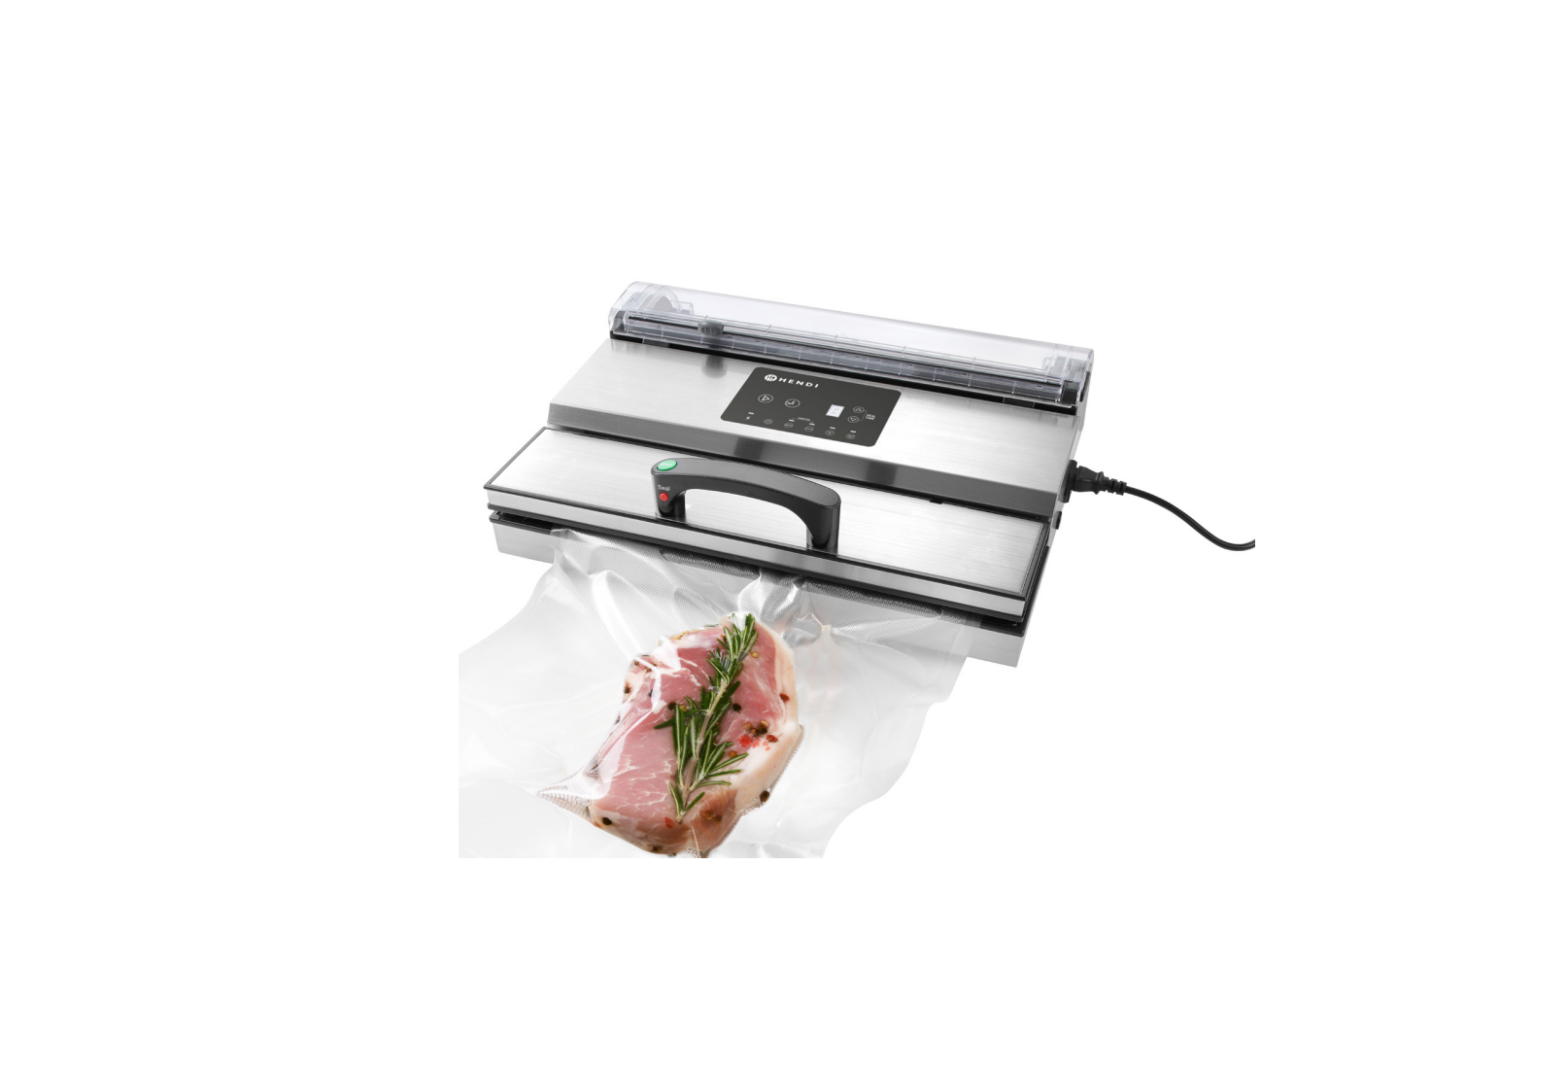
HENDI 975374 Vacuum Packaging Machine Kitchen Line
You should read this user manual carefully before using the appliance.
Keep these instructions with the appliance.
Dear Customer,
Thank you for purchasing this Hendi appliance. Before using the appliance for the first time, please read this manual carefully, paying particular attention to the safety regulations outlined below.
Safety regulations
- This appliance is intended for commercial use.
- The appliance must only be used for the purpose for which it was intended and designed. The manufacturer is not liable for any damage caused by incorrect operation and improper use.
- The appliance is intended for dry locations use only.
- Keep the appliance and electrical plug away from water and any other liquids. In the event that the appliance should fall into water, immediately remove plug from the socket and do not use until the appliance has been checked by a certified technician. Failure to follow these instructions could cause a risk to lives.
- Never attempt to open the casing of the appliance yourself.
- Do not insert any objects in the casing of the appliance.
- Do not touch the plug with wet or damp hands
Danger of electric shock! Do not attempt to repair the appliance yourself. In case of malfunctions, repairs are to be conducted by qualified personnel only.
- Never use a damaged appliance! Disconnect the appliance from the electrical outlet and contact the retailer if it is damaged.
- Warning! Do not immerse the electrical parts of the appliance in water or other liquids. Never hold the appliance under running water.
- Regularly check the power plug and cord for any damage. If the power plug or power cord is damaged, it must be replaced by a service agent or similarly qualified persons in order to avoid danger or injury.
- Make sure the cord does not come in contact with sharp or hot objects and keep it away from open fire. To pull the plug out of the socket, always pull on the plug and not on the cord.
- Ensure that the cord (or extension cord) is positioned so that it will not cause a trip hazard.
- Always keep an eye on the appliance when in use.
- Warning! As long as the plug is in the socket the appliance is connected to the power source.
- Turn off the appliance before pulling the plug out of the socket.
- Never carry the appliance by the cord.
- Do not use any extra devices that are not supplied along with the appliance.
- Only connect the appliance to an electrical outlet with the voltage and frequency mentioned on the appliance label.
- Connect the power plug to an easily accessible electrical outlet so that in case of emergency the appliance can be unplugged immediately. To completely switch off the appliance pull the power plug out of the electrical outlet.
- Always turn the appliance off before disconnecting the plug.
- Never use accessories other than those recommended by the manufacturer. Failure to doso could pose a safety risk to the user and could damage the appliance. Only use original parts and accessories.
- This appliance is not intended for use by persons (including children) with reduced physical, sensory or mental capabilities, or lack of experience and knowledge.
- This appliance must not be used by children under any circumstances.
- Keep the appliance and its cord out of reach of children.
- Always disconnect the appliance from the mains if it is left unattended or is not in use, and before assembly, disassembly or cleaning.
- Never leave the appliance unattended during use.
SPECIAL SAFETY REGULATIONS
- Never pull the power cable.
- Do not use any additives, beside to those supplied with the appliance.
- Let the appliance cool down sufficiently before storage & cleaning.
- Danger of burns! Never touch the sealing bar. It is very hot even after us. There is a danger of burns. Wait until the appliance has cooled down. Also, do not touch the appliance while in use. The appliance becomes hot during use.
- The appliance must be cleaned and food residues must be removed regularly. If the appliance is not maintained in a clean condition, this will lead to a detrimental effect on the service life of the appliance and can result in a dangerous condition during use.
- Important! This appliance is only intended for vacuuming and sealing plastic bags. It is also possible to remove the air from containers or only to seal bags without creating a vacuum. Do not use this appliance for any other purposes.
- Important! This appliance is suitable for sealing food in solid state only such as biscuits, chips, etc.

- Danger of crushing hands! Be careful when closing the lid.
Intended use
- The appliance is intended for professional use.
- This appliance is only intended for vacuuming and sealing plastic bags. It is also possible to remove the air from containers or only to seal bags without creating a vacuum. Any other use may lead to damage to the appliance or personal injury.
- Operating the appliance for any other purpose shall be deemed a misuse of the appliance. The user shall be solely liable for improper use of the appliance.
Grounding Installation
This is a class I appliance. This appliance must be grounded. In the event of an electrical short circuit, grounding reduces the risk of electric shock by providing an escape wire for the electric cur- rent. This appliance is equipped with a cord having a grounding wire with a grounding plug. The plug must be plugged into an outlet that is properly installed and grounded.
Prior to start-up
- Make sure the appliance is undamaged. In case of any damage, immediately contact your supplier DO NOT use the appliance. · Remove the entire packaging and protecting foil (if applicable).
- Clean the appliance with lukewarm water and a soft cloth.
- Position the appliance on a flat and stable surface, unless recommended otherwise
- Provide sufficient space around the appliance to ensure ventilation.
- Position the appliance appropriately to ensure good access to the plug at all times.
- Note: Vacuum bag roll is not included.
Functions and design of the vacuum packaging machine

A - POWER LEDWhen the POWER LED is on, the machine is ready to use.
B - ON/OFF button ![]()
- When the machine is ready to use, press ON/OFF. The last sealing time is displayed and the fan starts the machine is ready to generate vacuum.
- If the machine is inactive for 10 minutes, the display and the fan are automatically switched off. · In order to stop the machine, press ON/OFF. Also when the sealing cycle is finished, press ON/OFF to switch off the machine, and disconnect it from the mains.
C - Auto Vacuum button (START) ![]() In the Default mode press the START button. The machine automatically starts generating vacuum and sealing. In the Marinate mode press the START button. The machine automatically starts marinating.In the Pulse Vac mode press the START button. The machine automatically starts generating vacuum in the pulse mode. For more comfortable access, the Quick Start button is placed on the handle. (This button has the same function as the START button on the control panel).(NOTE: This function can be started if the lid is closed and slightly pressed).
In the Default mode press the START button. The machine automatically starts generating vacuum and sealing. In the Marinate mode press the START button. The machine automatically starts marinating.In the Pulse Vac mode press the START button. The machine automatically starts generating vacuum in the pulse mode. For more comfortable access, the Quick Start button is placed on the handle. (This button has the same function as the START button on the control panel).(NOTE: This function can be started if the lid is closed and slightly pressed).
D - SEAL button ![]()
- Press the SEAL button in order to stop the vacuum generating cycle and immediately seal the bag in order to prevent soft foodstuffs from getting crushed.
- Allows to form bags of any sizes. For more comfortable access, the SEAL button is placed on the handle. (This button has the same function as the SEAL button on the control panel).(NOTE: This function can be started if the lid is closed and pressed).
E - Digital display
- Displays the vacuum cycle, counts down from 9 to 0. When 0 is reached, the cycle is finished.
- Displays the sealing time which can be set and adjusted from 0 to 6. The sealing time save function is also available.
- If the display shows “E”, it means that the machine is in the protection mode.
F - Sealing time adjustment button (![]() or
or![]() )Setting the sealing time by means of “Up” and “Down or ”
)Setting the sealing time by means of “Up” and “Down or ” ![]() ” and ”
” and ” ![]() ” buttons. When the value is set to 0, the machine does not start the sealing cycle.
” buttons. When the value is set to 0, the machine does not start the sealing cycle.
G - The Marinate mode (only with external vacuum containerThe Marinate mode is designed to repeat the vacuum generation cycle and air release to the bag, which results in perfect marinating of foodstuffs within the shortest time possible.(NOTE: This function can be started if the lid is opened).
H - AccessoryNot available in this model.
I - Pulse Vac buttonThe Pulse Vac button prevents soft foodstuffs from getting crushed. As the Pulse Vac button is pressed, the machine gradually evacuates air.(NOTE: This function can be started if the lid is closed and pressed).
J - Impulse Seal buttonWhen the Impulse Seal button is pressed, its LED lights up. The machine switches over to the Impulse Seal mode. Now the bag can be sealed by simply opening and closing the lid. (The mode is applied mainly when it is not necessary to generate vacuum).(NOTE: This function can be started if the lid is closed and pressed).
Technical Data
| Dimensions | 490x260x(H)145 mm |
| The maximum vacuum bag width | 406 mm |
| Depth of the sealing bar | 5 mm |
| Power | 550 W |
| Voltage | 220-240 V~ /50 Hz |
| Pressure | -28,3”Hg /-958 mbar (±3%) |
| Pump | double |
| Weight | 5 kg |
| Protection class | Class I |
The manufacturer and dealer is not liable for any inaccuracies due to printing errors or transcription, in this manual. In line with our policy of continuous improvement products, we reserve the right to make modification of the product, packaging and specifications contained in the Documentation without prior notice.
Vacuum packing process description
PRIOR TO START-UP
- Connect the machine to the power supply.
- When the machine is switched on, the POWER LED lights up.
- When ON/OFF is pressed, the display is switched on and the fan starts. The machine is ready to use.
Vacuum packing and bag sealing
- Select an appropriate bag and place foodstuffs inside.
- Leave at least 4-5 cm of space to ensure better results of the vacuum generation process.
- Put the open edge of the bag on the chamber gasket. Make sure that the open edge is inside the vacuum chamber. · Close and press the lid.
- Press the Start button or the Quick Start button.
- The machine switches over to the vacuum generation mode. Countdown from 9 to 0 is started on the display (if pressure does not reach the standard value of -20″Hg, then countdown stops at 2). When vacuum is generated, value on the display is counted down from a default value to 0. The machine switches over to the sealing mode.
- When the sealing cycle is finished, the lid opens automatically and a beep can be heard.
- Remove the bag, check vacuum and the seal.NOTE: A correct seal should be transparent. If the seal is uneven, incomplete, corrugated, white or opaque, remove the sealed part and seal the bag once again.
- The foodstuffs that are vacuum packaged should be properly stored. Perishable foodstuffs should be stored in a refrigerator or frozen to prevent spoilage.
- In order to stop the machine, press ON/OFF. If quick sealing is required, press the Seal button.
How to use the PULSE VAC functionSometimes during vacuum packaging soft foodstuffs may get damaged as a result of too high vacuum. In such case the Pulse Vac function may be used to control time and pressure, which prevents soft foodstuffs from getting crushed. When juicy EN products are packaged, this function may also be used to prevent juices from being sucked out.
- Place foodstuffs in the bag, put the open edge of the bag on the chamber gasket, make sure that the open edge is inside the vacuum chamber.
- Close and press the lid.
- Press the Pulse Vac button to start the machine in the pulse vacuum generation mode. Then press Start (or the Quick Start button on the handle) to start pulse vacuum generation and obtain the negative pressure required. During operation observe the bag to check whether the pressure is correct. The vacuum generation process can be stopped by releasing the Start button, and restarted by pressing it again.
- When the required value of pressure is obtained, press the Seal button to start sealing. The sealing time is displayed, and countdown to 0 starts.
- When the process is finished, the lid opens automatically and a beep can be heard.** In order to stop the machine, press ON/OFF.
Information on food packaging in bags
- At the moment of packaging, foodstuffs should be as fresh as possible. Shelf life of vacuum packed products may be extended up to five times compared to standard storage conditions.
- Soft, moist foodstuffs or products which should retain their shape should be frozen prior to packaging. Meat, berries or bread may be frozen for up to 24 hours to avoid freezer burn. When the products get frozen and hard, they are ready to be vacuum packaged.
- If fresh food is packed without pre-freezing, place a folded paper kitchen towel between the meat and the top part of the roll. Paper will absorb moisture.
- Liquid products such as soups, ragouts or gratins should be frozen in a dish or on an ice tray prior to vacuum packaging. Frozen and packaged products should be labelled and put in the freezer.
- Any sharp-edged products (e.g. bones, dry pasta, rice) should be secured with paper towels so that they do not punch the bag.
- Packaging bags should not be re-used for cooking or in the microwave. Do not re-use bags which were used to store fresh fish or greasy foodstuffs.
- Vegetables should be blanched prior to packaging. Blanching is a method of thermal process- ing which consists in short-time but intensive heating. Vegetables may be blanched in boiling water: they need to be put for a while in boiling water, then taken out and immediately quenched in low temperature. Perform the vacuum packaging procedure as usual.
Do not vacuum package mushrooms and garlic.
How to make a bag from a roll
- Select a roll with a correct width.
- Place the open edge on the sealing bar (makesure that the edge is positioned exactly on the bar), close and press the lid.
- Press Start (or the Quick Start button on the handle) – the sealing time will be counted down from a default value indicated on the display to 0. When the cycle is finished, the lid opens automatically and a beep can be heard. ** In order to stop the machine, press ON/OFF.
- Remove the bag and check the seal.NOTE: A correct seal should be transparent. If the seal is uneven, incomplete, corrugated, white or opaque, remove the sealed part and seal the bag once again.
- When the edge is sealed, measure the size of the bag so that it can hold the product, leaving a 4-5 cm margin and cut off the foil from the roll. Place the product in the bag and follow the steps specified in section 4.2 “Vacuum packing and bag sealing”.
Marinating of foodstuffs (No accessories included)The packaging machine features a special Marinate mode, with two options: Quick Marinate Mode (15 minutes) and Normal Marinate Mode (27 minutes). In the Marinate mode, the machine can perform two cycles of vacuum generation and air release to a vacuum container, which results in perfect marinating of foodstuffs within the shortest time possible. Vacuum is maintained for approx. 4 minutes (Quick Marinate Mode) or 8 minutes (Normal Marinate Mode) before air is let into the container be tween successive cycles. When the marinate cycle is finished, a beep can be heard.
Impulse sealingSometimes vacuum packaging is not necessary and it is enough to seal the packaging. The machine features an Impulse Seal mode. In this mode the user does not need to press any button, the function is activated by simply opening and closing the lid.
- To set the sealing time, press the ” ” and ” ” buttons.
- When the Impulse Seal button is pressed, its LED lights up. The machine switches over to the Impulse Seal mode (if the lid is closed, the “C” is displayed; if the lid is opened, the sealing time flashes on the display).
- Put the open edge of the bag on the sealing bar and slide it into the vacuum chamber. Close and press the lid – the machine detects lid closing and switches over to the sealing mode. Countdown from the set time to 0 is started on the display. This is followed by decompression which makes it easier to open the lid; when the process is finished, a beep can be heard. In order to stop the machine, press ON/OFF.
- Open the lid, remove the bag and check the seal.
- Repeat steps 3 and 4 to seal next bags. Press ON/OFF to exit the Impulse Seal mode.
(Note: If in the Impulse Seal mode many bags are sealed, the sealing time should be suitably adjusted (shortened) to avoid machine overheating or bag melting.
Food Storage and Safety InformationThe vacuum chamber packaging machine Kitchen Line will revolutionize the way you buy and store food. Because vacuum packaging works to eliminate freezer burn and slow food spoilage, you are now able to take advantage of buying food in bulk without the threat of food waste. Vacuum packaging with the our appliance removes up to 90% of the air from the package. This will help keep food fresher up to 5 times longer than under normal circumstances. Dry foods like pasta, cereals and flour will stay fresh from start to finish.Plus vacuum packaging prevents weevils and other insects from infesting dry goods. Package only the freshest foods possible. However, please keep in mind that not all foods benefit from vacuum packaging. Never vacuum package garlic or fungi like mushrooms. A dangerous chemical reaction takes place when air is removed, causing these foods to be dangerous if ingested. Vegetables should be blanched before packaging to kill any enzymes that may cause deterioration of out-gassing when vacuumed.
| Foods | Vacuum Freezer Storage | Vacuum Fridge Storage |
| Fresh Beef & Veal | 1-3 years | 1 month |
| Ground Meat | 1 year | 1 month |
| Fresh Pork | 2-3 years | 2-4 weeks |
| Fresh Fish | 2 years | 2 weeks |
| Fresh Poultry | 2-3 years | 2-4 weeks |
| Smoked Meats | 3 years | 6-12 weeks |
| Fresh Produce, Blanched | 2-3 years | 2-4 weeks |
| Fresh Fruits | 2-3 years | 2 weeks |
| Hard Cheeses | 6 months | 6-12 weeks |
| Sliced Deli Meats | not recommended | 6-12 weeks |
| Fresh Pasta | 6 months | 2-3 weeks |
Remark: Above table is just for reference only. In determining the storage period, always suggesting the local sanitary-epidemiological regulations and HACCP.
Vacuum packing adviceVacuum packaging significantly extends shelf life of products. The machine has also quite many household uses.
Vacuum packaging is a perfect solution for those who go camping or take outdoor trips!
- To prepare a handy and reusable ice bag, half-fill the vacuum packaging bag with water and add some spoons of rubbing alcohol. Seal the bag (do not generate vacuum) and put it into the freezer. The solution of alcohol will not freeze completely – as a result you get a flexible compress bag to apply on joints or minor injuries
- Pre-processed dishes which you prepare beforehand and take with you on the trip – a quick and simple outdoor lunch.
- Vacuum packaging of meat and other products prevents smells from getting mixed during storage.
- You may also prepare emergency kits and vacuum package e.g. matches, socks or a map. Household uses
- Drawer management – unnecessary and easily misplaceable items (nails, screws) may be protected by vacuum sealing in bags. As a result those items can be easily seen and take up less space.
- You do not need to polish your silverware anymore! Vacuum packaging of occasionally used silver dishes will prevent them from getting tarnished.
Troubleshooting
Under the proper circumstances, your vacuum chamber packaging machine Kitchen Line will give you top-notch vacuum performance. In some instances, problems may arise. Please consult the troubleshooting menu before calling customer support.
NOTE In order to secure long-term operation of the machine, take at least 20 seconds break before successive sealing. When the machine is operated for some time and it heats up, the overheating protection trips. In such case “E1” is flashing in the display. Switch off the machine, disconnect it from the mains and do not use it for ca. 20 minutes. Then it can be reconnected to the mains and started up. In order to avoid burns right after opening the lid, press the Seal button “E2” is displayed and the sealing bar is not heated. In order to use the machine once again, close the lid. The machine features an overheating protection. If the “E3” message appears on the display, switch off the machine and disconnect it from the mains Do not use the machine for ca. 20 minutes. Then it can be restarted.
| Problem | Solution |
| Appliance will not turn on |
|
| The machine does not suck out the air from the bags completely |
|
| Vacuum pouch loses vacuum after being sealed |
|
| In rare cases, there may occur an error in the machine operation cycles resulting in a malfunction |
|
Cleaning and Maintenance
- Warning! Before cleaning, make sure to unplug from the electrical power supply & let it completely cool down.
- Never use solvents and abrasive detergents, wire brushes, abrasive scours, or metal or sharp tools for cleaning. Solvents are hazardous to health and damage the plastic parts.
- Wipe the outside of the enclosure with a damp cloth or sponge and mild soup if necessary. · To clean the inside of the appliance, wipe any food residue with a paper towel away.
- Dry thoroughly before using again. · Keep the appliance in a safe place. Keep out of reach of the children. Avoid direct sunlight to the appliance.CAUTION
- Never immerse the appliance in water.
- The appliance must never come into contact with water or other liquids.
Warranty
Any defect affecting the functionality of the appliance which becomes apparent within one year after purchase will be repaired by free repair or replacement provided the appliance has been used and maintained in accordance with the instructions and has not been abused or misused in any way. Your statutory rights are not affected. If the appliance is claimed under warranty, state where andwhen it was purchased and include proof of purchase (e.g. receipt).In line with our policy of continuous product development we reserve the right to change the product, packaging and documentation specifications without notice.
Discarding & Environment
EN When decommissioning the appliance, the product must not be disposed of with other household waste. Instead, it is your responsibility to dispose to your waste equipment by handing it over to a designated collection point. Failure to follow this rule may be penalized in accordance with applicable regulations on waste disposal. The separate collection and recycling of your waste equipment at the time of disposal will help conserve natural resources and ensure that it is recycled in a manner that protects human health and the environment. For more information about where you can drop off your waste for recycling, please contact your local waste collection company. The manufacturers and importers do not take responsibility for recycling, treatment and ecological disposal, either directly or through a public system.
 report this ad
References
[xyz-ips snippet=”download-snippet”]