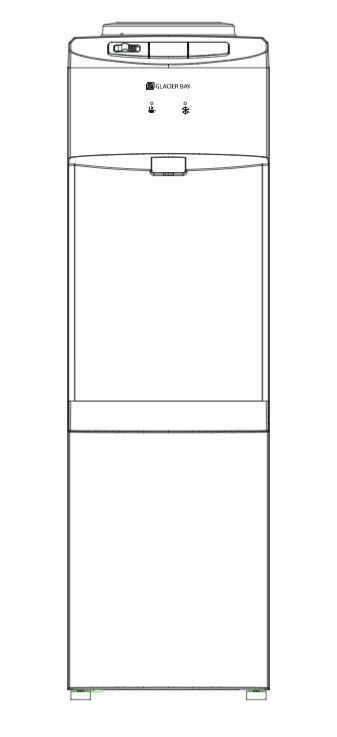
![]() SKU # 1005 743 184Model # BY570CARE AND CLEANING GUIDEHIGH-EFFICIENCY WATER DISPENSER
SKU # 1005 743 184Model # BY570CARE AND CLEANING GUIDEHIGH-EFFICIENCY WATER DISPENSER
Questions, problems, missing parts?Before returning to the store, call Glacier BayCustomer Service at 1-855-HD-GLACIER8 a.m.— 7 p.m., EST, Monday-Friday, 9 a.m. —6 p.m., EST, Saturday1-855-HD-GLACIERHOMEDEPOT.COM/GLACIERBAY
THANK YOUWe appreciate the trust and confidence you have placed in Glacier Bay through the purchase of this water dispenser.We strive to continually create quality products designed to enhance your home.Visit us online to see our full line of products available for your home improvement needs.Thank you for choosing Glacier Bay!
CARE AND CLEANING
Cleaning The Outside Of The Water Dispenser
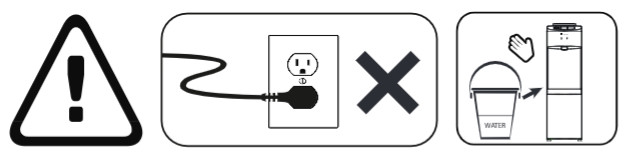
Ensure the unit is unplugged. Wipe the outside of the dispenser with water. Never use harsh chemicals or abrasive cleaners. Rinse thoroughly with clean water and then dry surfaces.
 Cleaning The Drip Tray
 Cleaning The Drip Tray
To remove. lift the drip tray up. Drain and clean. The drip tray should be emptied and cleaned regularly to avoid spotting and any mineral deposits. Clean with water or water dispenser cleaner. Then wash, rinse, and dry thoroughly. Never clean the drip tray in the dishwasher. The tray is not dishwasher safe.
Cleaning The Condenser
 Cleaning The Condenser
Vacuum or sweep away the dust from the condenser coils at the back of the dispenser. For best results, you can purchase a brush designed specifically for this purpose from your local appliance store. This will Improve cooling and efficiency.

Draining The Reservoirs
![]() CAUTION: Always exercise caution when draining the reservoirs. This unit dispenses water at temperatures that can cause severe bums.
CAUTION: Always exercise caution when draining the reservoirs. This unit dispenses water at temperatures that can cause severe bums.
- Remove the water bottle.
- Place a cup below the spout.
- Press each water button.
- Dispense hot water from the spout until water no longer comes out.
- Dispense room temperature and cold water from the spout until water no longer comes out
- Release the water buttons.
- Place a bucket beneath the drain cap on the back of the dispenser and open the drain cap, being cautious of the hot water.
- Let the water flow into the bucket.
- Close the drain cap.
- Install a new water bottle.
Cleaning The Inside Of The Dispenser
 Cleaning The Inside Of The Dispenser
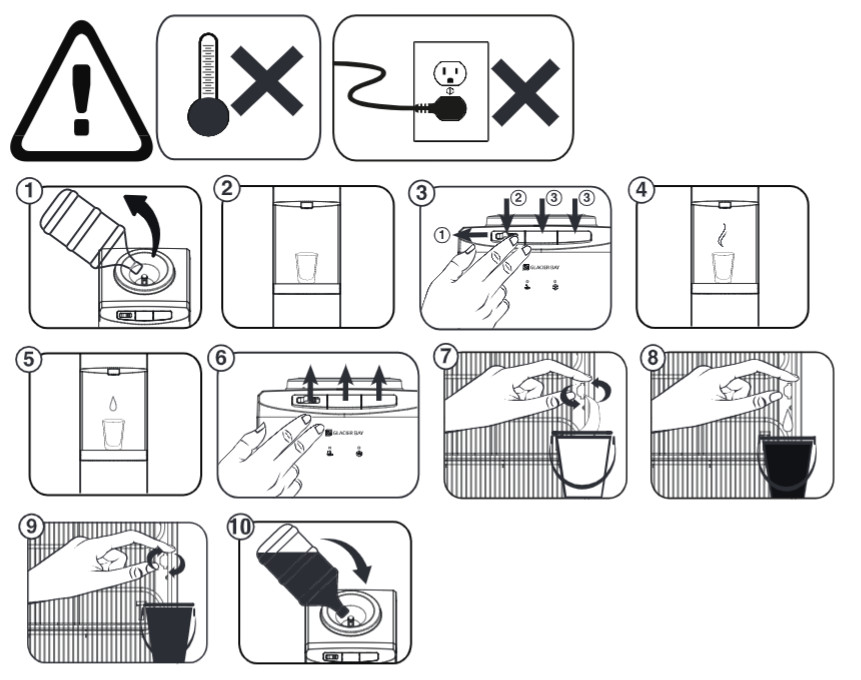
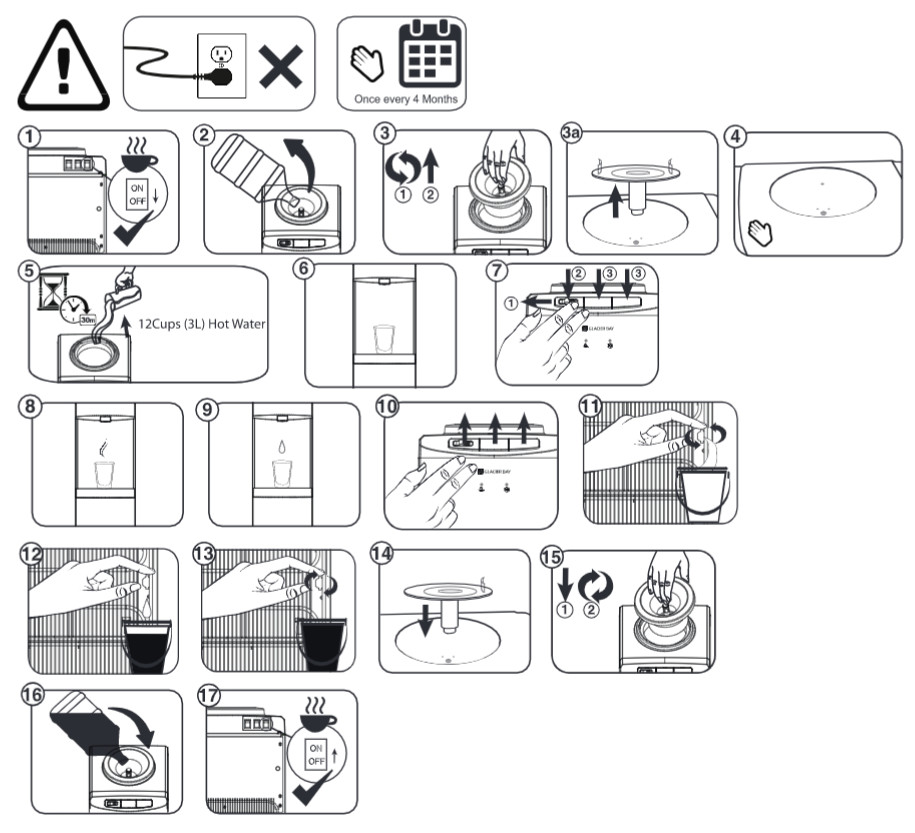
Ensure the unit is unplugged. In addition, clean every 4 months in order to maintain a hygienic environment and prevent the potential growth of bacteria.
- Turn off the hot water switch.
- Remove the water bottle.
- Remove the anti-leakage collar by turning it counterclockwise.3a. Remove the hot water funnel from the cold reservoir.
- Saturate a dean cloth with water, and clean the outside of the dispenser.
- Pour 12 cups (3 L) of hot water into the reservoir and allow it to sit for 30 minutes.
- Place a cup below the spout.
- Press each water button.
- Dispense hot water from the spout until water no longer comes out.
- Dispense room temperature and cold water from the spout until water no longer comes out.
- Release the water buttons.
- Place a bucket beneath the drain cap on the back of the dispenser and open the drain cap, being cautious of the hot water.
- Let the water flow into the bucket.
- Close the drain cap.
- Place the hot water funnel firmly in the cold reservoir.
- Install the anti-leakage collar by turning it clockwise.
- Install a water bottle.
- Press each water button to ensure water is running through the unit, then plug the dispenser unit into the electrical outlet and turn on the hot water switch.
Going Away On Vacation
When not using the dispenser for long periods of time or when going on vacation, unplug the dispenser and drain the reservoirs. Follow Initial Product Cleaning Procedures upon return and startup of the dispenser.
Frequently Asked Questions
Q: Why do I get a plastic taste from my dispenser?A: As with most new appliances such as coffee makers and kettles, there is often a plastic taste upon the initial start-up of the unit. To remove this taste, simply follow the cleaning instructions outlined in Cleaning the Inside of the Dispenser.Q: What is the spike that goes into the bottle?A:Glacier Bay® water dispensers feature a ‘piercing valve’ as part of the bottle support collar, providing added convenience for water bottle installation. Depending on the water bottle supplier, some water bottles incorporate a sell-piercing membrane In the bottle cap for this specific purpose (ask your water bottle supplier if your water bottle incorporates this feature). If your water bottle does not incorporate this feature, the entire bottle cap must then be removed to eliminate possible damage to the piercing valve.
![]() HOMEDEPOT.COM/GLACIERBAYPlease contact 1-855-HD-GLACIER for further assistance.
HOMEDEPOT.COM/GLACIERBAYPlease contact 1-855-HD-GLACIER for further assistance.
[xyz-ips snippet=”download-snippet”]