Honeywell HF52X Fixed Mount Barcode Scanner User Guide
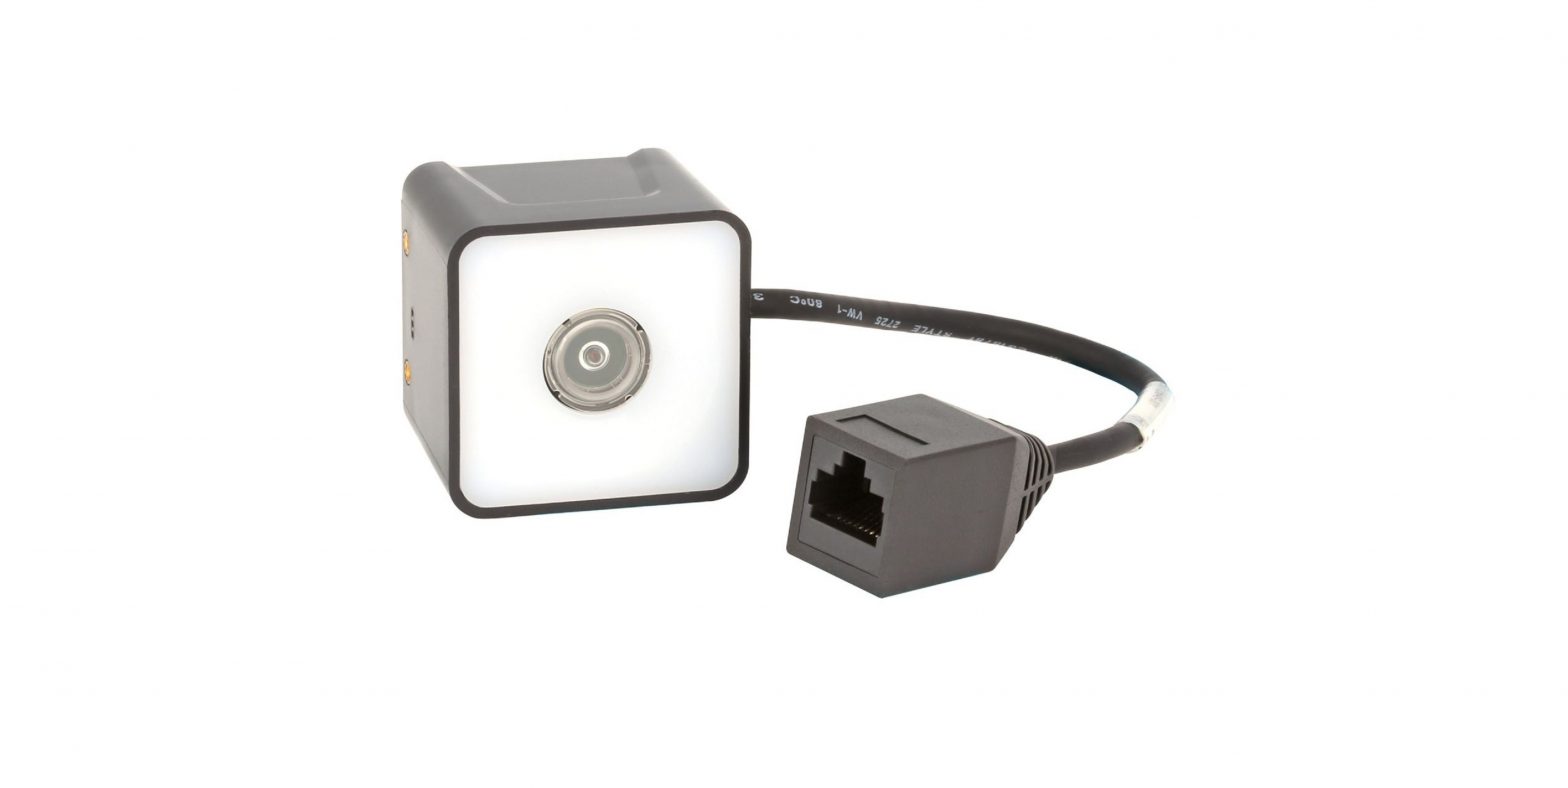
What is the HF52X Fixed Mount Scanner?
The HF25X is a 2D imager module designed to be integrated into an OEM enclosure, such as self-service kiosks, access control systems, and vending machines.
Required Accessories (not provided)
- RS-232 Cable + Power Supply, or
- USB Cable
Optional Accessories
- Power Adapter
Additional Documentation
The following document is available from your local Honeywell OEM representative:
- HF52X User Guide
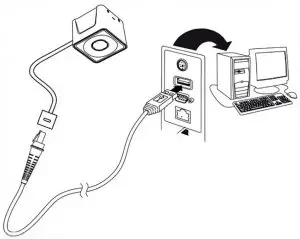
USB Connection
Caution: The computer must be turned off before connecting the scanner. Turn the computer on after the scanner is fully connected
RS-232 Connection

Power Adapter (Optional)

Reading Barcodes
To read barcodes, follow these guidelines:
- Align the center of the scanner to the barcode. The scanner can be in any direction.
- For small barcodes, place the scanner close to the code. For larger barcodes, place the scanner away from the code so that the code is fully in the scanner’s field of view.
- For highly reflective barcodes (e.g. film coating), incline the scanner to an angle for better reading.
Configuration
You can configure your scanner two ways:
- Reading configuration bar codes
- Using the EZConfig Cloud for Scanning tool
Configuration Bar Codes
Scan configuration bar codes to set up your scanner. All available configuration bar codes are available in the HF52X User Guide. Contact your local Honeywell OEM representative for more information.
EZConfig Cloud for Scanning Tool
Use the EZConfig Cloud for Scanning tool to configure your scanner online:
- Go to the Honeywell web site at www.honeywellaidc.com
- Click on the Browse Products tab. Under Software, select Device Management.
- Click on EZConfig Cloud for Scanning.
- Scroll to the bottom of the page and click on Register for free access now to sign up.
Basic Setup
Here are some basic menu bar codes that may be useful for testing. For more setup options see the CM Series 2D Imager Mod- ule User Guide (available from your local Honeywell OEM representative).Note: The * symbol indicates the default value.
Interface
For USB serial interface, you must install the USB driver before connecting your scanner. Contact your Honeywell representative for the latest USB driver.]
: Keyboard Country Layout
the default keyboard is United States.
Beeper Volume
- Low
- Medium
- High
- Off
Presentation Mode
The scanner LEDs remain dim and aimer off until a movement is detected, then the aimer turns on and LEDs light up to read the bar code.
There are 2 types: Presentation Mode or Presentation Mode— Extended Reading Range.
Presentation Mode: Optimized scan speed, limited reading range
Presentation Mode—Extended Reading Range: Optimized reading range, low scan speed.
Mobile Phone Read Mode
When this mode is selected, your scan engine is optimized to read barcodes from mobile phones or other LED displays.
Streaming Presentation – Mobile Phone
All Symbologies
- All Symbologies On
- All Symbologies Off
Reset Factory Defaults
The following bar code resets factory defaults.
Customer Support and Technical Assistance
For customer support, contact your local Honeywell Sales Representative or fill out the support form at sensing.honeywell.com/contactsupport-form.
For our latest contact information, see sensing.honeywell.com/contact.
Limited Warranty
For warranty information, go to www.honeywellaidc.com and click Resources > Product Warranty.
Patents
For patent information, see www.hsmpats.com.
Disclaimer
Honeywell International Inc. and its affiliates, subsidiaries, and other entities forming part of Honeywell group (“HII”) reserves the right to make changes in specifications and other information contained in this document without prior notice, and the reader should in all cases consult HII to determine whether any such changes have been made. The information in this publication does not represent a commitment on the part of HII.
Honeywell warrants goods of its manufacture as being free of defective materials and faulty workmanship during the applicable warranty period. Honeywell’s standard product warranty applies unless agreed to otherwise by Honeywell in writing; please refer to your order acknowledgment or consult your local sales office for specific warranty details. If warranted goods are returned to Honeywell during the period of coverage, Honeywell will repair or replace, at its option, without charge those items that Honeywell, in its sole discretion, finds defective. The foregoing is buyer’ssole remedy and is in lieu of all other warranties, expressed or implied, including those of merchantability and fitness for a particular purpose. In no event shall Honeywell be liable for consequential, special, or indirect damages. While Honeywell may provide application assistance personally, through our literature and the Honeywell web site, it is buyer’s sole responsibility to determine the suit-ability of the product in the application. Specifications may change without notice. The information we supply is believed to be accurate and reliable as of this writing. However, Honeywell assumes no responsibility for its use.
This document contains proprietary information that is protected by copyright. All rights are reserved. No part of this document may be photocopied, reproduced, or translated into another language without the prior written consent of HII.
Copyright 2021 Honeywell International Inc. All rights reserved.
Web Address: www.sensing.honeywell.com
Other product names or marks mentioned in this document may be trademarks or registered trademarks of other companies and are the property of their respective owners.
References
Safety and Productivity Solutions | Honeywell
Productivity products and associated patents | Honeywell
Contact Us | Honeywell LinkedIn Facebook Twitter YouTube
Sensing and IoT Technical Support | Honeywell LinkedIn Facebook Twitter YouTube
Honeywell Sensing and Internet of Things Has Moved Honeywell Sensing and Internet of Things
Contact Us | Honeywell LinkedIn Facebook Twitter YouTube
[xyz-ips snippet=”download-snippet”]