Honeywell REM1000R1003 Wireless Entry
Wireless Entry/Exit RemoteWireless remote for RedLINK® 2.0 control systems
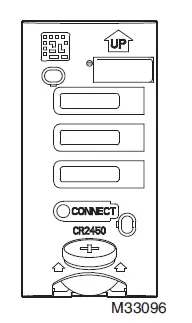
Install Battery
- Remove the cover.
- Insert the CR2450 coin cell battery (included) into the slot at the bottom of the remote. See polarity marking on the remote.
- The LED will briefly flash green. When battery power is low, the LED will flash red.

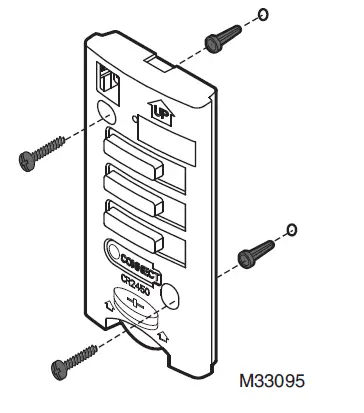
Mounting
Mounting the remote is optional.
- Remove the front cover from the remote.
- Use provided screws and wall anchors to fasten the remote to the wall.
- Replace the cover on the remote.
Connect
- Prepare the thermostat for RedLINK connection (see the thermostat or EIM instructions).
- Press and release the CONNECT button on the remote. After a short delay, the LED will glow green for 15 seconds.
This device contains a Lithium battery which may contain Perchlorate material. material. Special handling may be required. See www.dtsc.ca.gov/hazardouswaste/perchlorate.
LED Operation
During normal operation the LED will be off when the remote is idle. If the LED remains off when a button is pressed then the battery has failed.
After a button press the LED will function as follows:
- Green when a button is pressed.
- Quickly flashing red when the battery needs to be replaced.
- Slowly flashing amber when the remote is disconnected from the system.
- The LED will be off when the remote is idle.
During wireless connection to the system the LED will function as follows:
- Solid green for 15 seconds: connected to the system.
- Solid red: the remote did not connect to the system.
Disconnect from RedLINK SystemPress and hold the CONNECT button on the remote until the LED glows amber (about 10 seconds) to disconnect from the RedLINK system. If you replace a thermostat or Equipment Interface Module, disconnect the remote from the old device. Then follow the steps on page 1 to re-connect the remote to the wireless network.
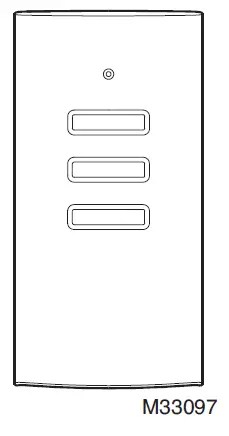
Operation
The remote has three buttons. The button that is pressed sets the thermostat to that setting of the program schedule. That setting is held until another button is pressed on the remote or the regular program schedule is resumed at the thermostat.
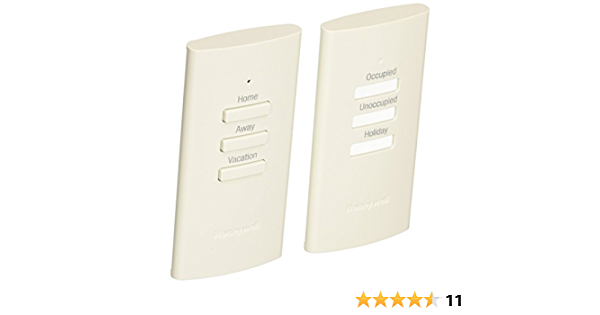
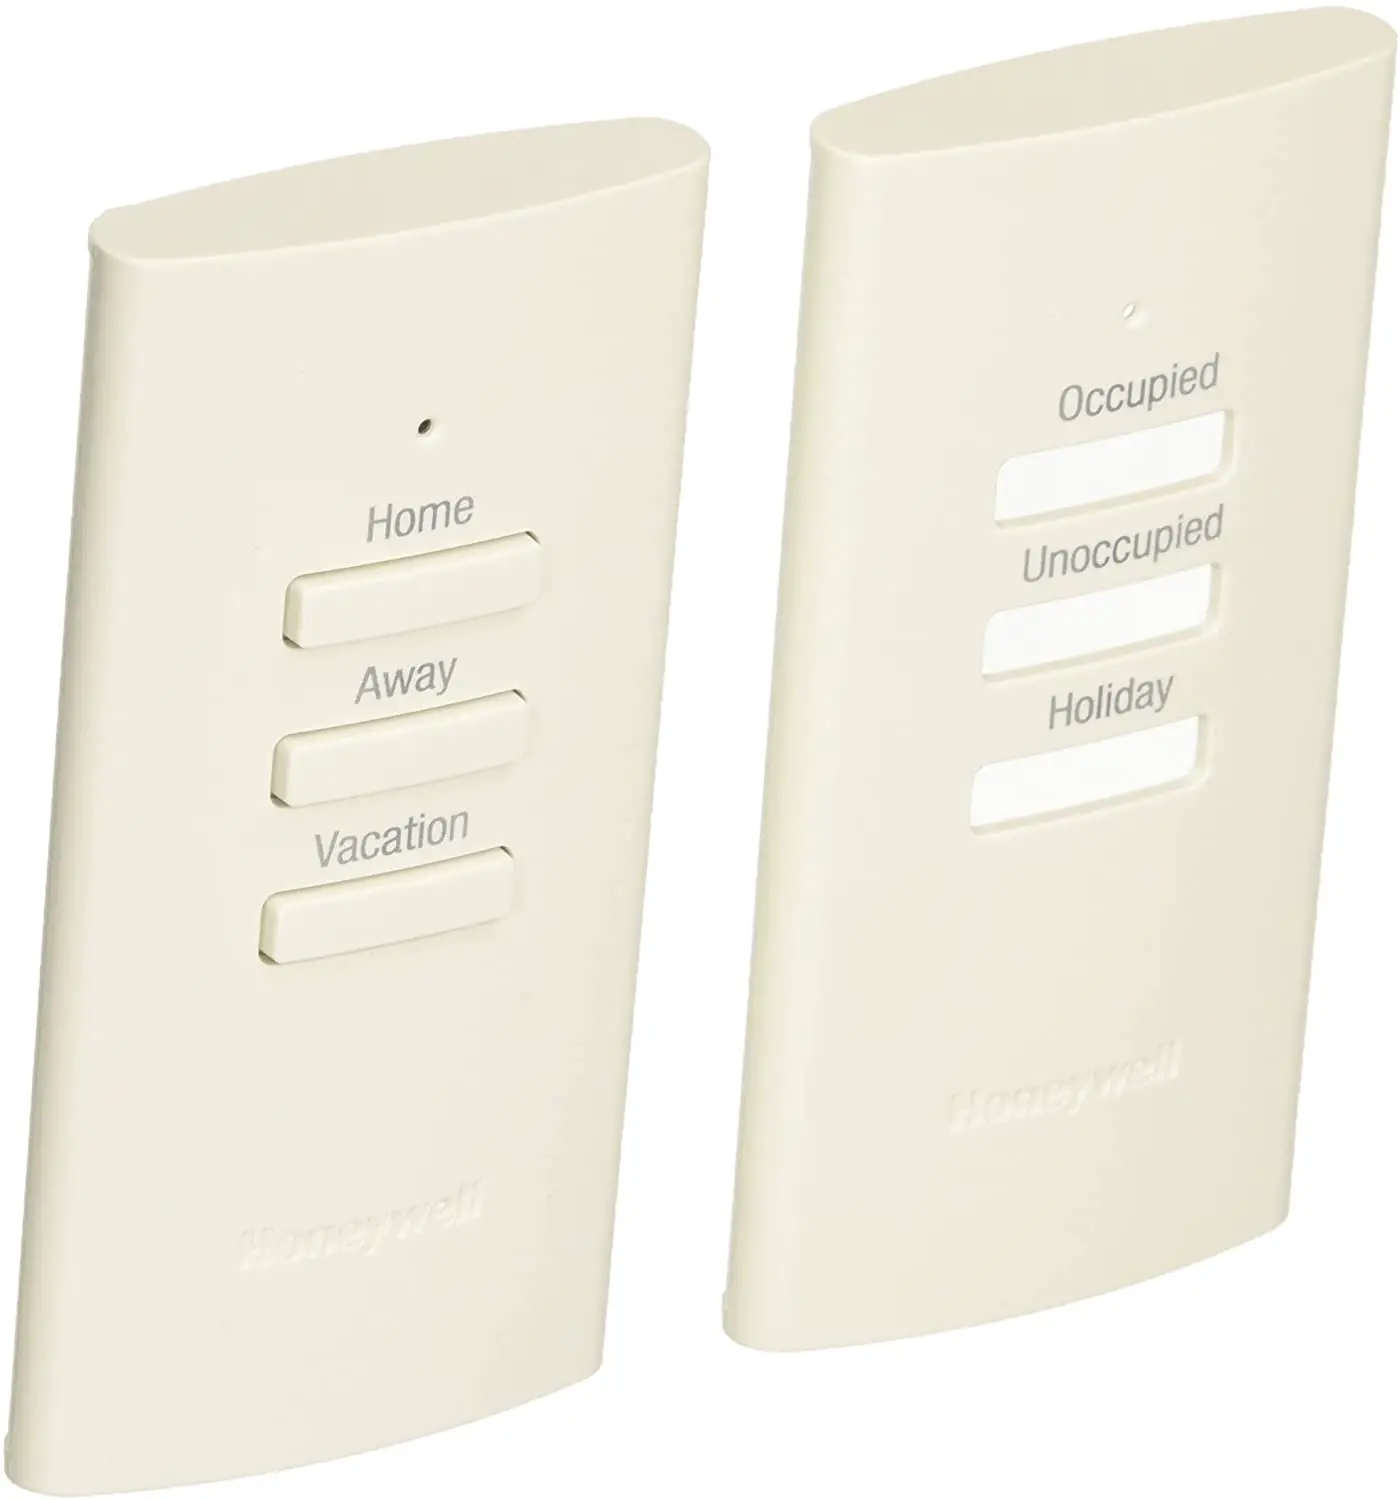
Residential model:
- Home: Sets the thermostat to the Home setting of the program schedule.
- Away: Sets the thermostat to the Away setting of the program schedule.
- Vacation: Sets the thermostat to the Vacation setting of the program schedule.
Commercial model:
- Occupied: Sets the thermostat to the Occupied setting of the program schedule.
- Unoccupied: Sets the thermostat to the Unoccupied setting of the program schedule.
- Holiday: Sets the thermostat to the Holiday setting of the program schedule.
Specifications
Operating Ambient Temperature35 to 114° F (1.7 to 45.6° C)Operating Relative Humidity5% to 90% (non-condensing)Physical Dimensions (height, width, depth)2-7/8 x 1-7/8 x 15/16 inches (74 x 48 x 24 mm)
Regulatory information
FCC Compliance Statement (Part 15.19) (USA only)This device complies with Part 15 of the FCC Rules. Operation is subject to the following two conditions:
- This device may not cause harmful interference, and
- This device must accept any interference received, including interference that may cause undesired operation.
FCC Warning (Part 15.21) (USA only)Changes or modifications not expressly approved by the party responsible for compliance could void the user’s authority to operate the equipment.
FCC Interference Statement (Part 15.105 (b)) (USA only)This equipment has been tested and found to comply with the limits for a Class B digital device, pursuant to Part 15 of the FCC Rules. These limits are designed to provide reasonable protection against harmful interference in a residential installation. This equipment generates uses and can radiate radio frequency energy and, if not installed and used in accordance with the instructions, may cause harmful interference to radio communications. However, there is no guarantee that interference will not occur in a particular installation. If this equipment does cause harmful interference to radio or television reception, which can be determined by turning the equipment off and on, the user is encouraged to try to correct the interference by one of the following measures:
- Reorient or relocate the receiving antenna.
- Increase the separation between the equipment and receiver.
- Connect the equipment into an outlet on a circuit different from that to which the receiver is connected.
- Consult the dealer or an experienced radio/TV technician for help.
Equipment interface module, thermostats and indoor sensorTo comply with FCC and Industry Canada RF exposure limits for general population/ uncontrolled exposure, the antenna(s) used for these transmitters must be installed to provide a separation distance of at least 20 cm from all persons and must not be co-located or operating in conjunction with any other antenna or transmitter.
Section 7.1.2 of RSS-GENUnder Industry Canada regulations, this radio transmitter may only operate using an antenna of type and maximum (or lesser) gain approved for the transmitter by Industry Canada. To reduce potential radio interference to other users, the antenna type and its gain should be so chosen that the equivalent isotropically radiated power (e.i.r.p.) is not more than that necessary for successful communication.
Section 7.1.3 of RSS-GENOperation is subject to the following two conditions:
- this device may not cause interference, and
- this device must accept any interference, including interference that may cause undesired operation of the device.
Need Help?For assistance please visit http://customer.resideo.com, or call toll-free: 1-800-468-1502
© 2020 Resideo Technologies, Inc. All rights reserved. The Honeywell Home trademark is used under license from Honeywell International, Inc. This product is manufactured by Resideo Technologies, Inc. and its affiliates.![]()
[xyz-ips snippet=”download-snippet”]