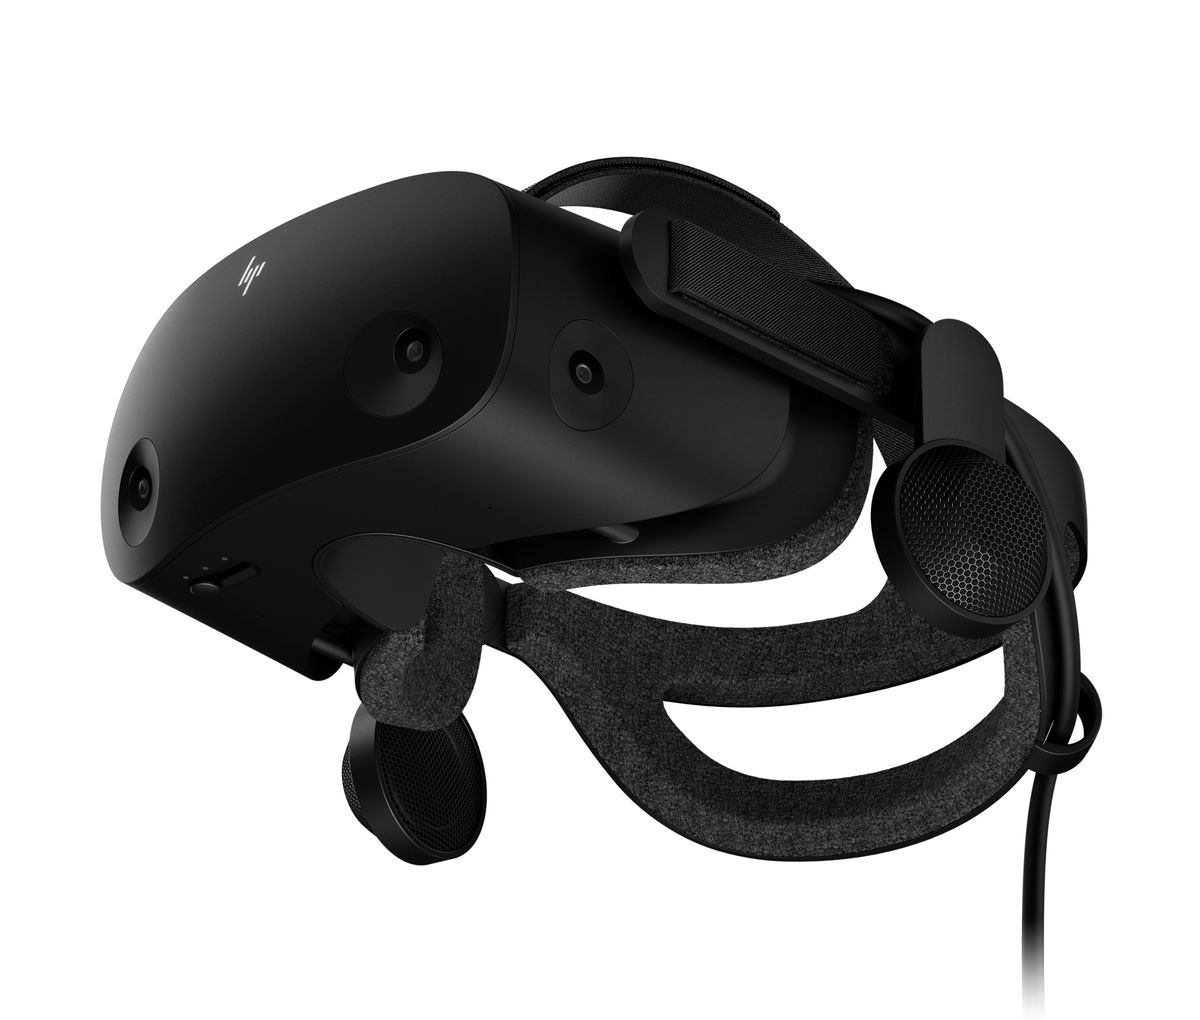
HP REVERB G2 VR Headset Setup
The HP Reverb G2 Virtual Reality Headset offers stunning immersive computing with significant ease of setup and use in a cost effective solution. This solution is well suited for Engineering Product Dev and design reviews, AEC (Architecture, Engineering & Construction) reviews, location-based entertainment, and MRO (Maintenance, Repair and Overhaul) training use environments.
Take advantage of the complete Windows Mixed Reality and SteamVR ecosystems.
IMPORTANT NOTE: HP Reverb G2 VR Headset is not recommended for children under the age of 13. All users should read the HP Reverb G2 Virtual Reality Headset User Guide to reduce the risk of personal injury, discomfort, property damage, and other potential hazards and for important information related to your health and safety when using the headset. Windows Mixed Reality requires Windows 10: version 1903/1909 (KB4577062 or later) or 2004 (KB4577063 or later) installed on the workstation or PC. Features may require software or other 3rd-party applications to provide the described functionality. To minimize the possibility of experiencing discomfort using a VR application, ensure that the PC system is equipped with the appropriate graphics and CPU for the VR application. Learn more about HP workstation VR Ready configurations here.
USING ADAPTERS:
Any display adapter must support 4K resolutions. Any USB adapter must support USB 3.0 or higher.
REFERENCES: [PDF]HP Reverb G2 VR Headset Datasheet [PDF]
RECOMMENDED MINIMUM SYSTEM SPECIFICATIONS
GRAPHICS: DX12 capable graphics. NVIDIA® GTX 1080, NVIDIA® Quadro® P5200, AMD Radeon™ Pro WX 8200, (update or later)PROCESSOR: Equivalent or better Intel® Core™ i7, Intel® Xeon® E3 1240 v5; equivalent or betterMEMORY: 16 GB RAM or moreVIDEO OUT: DisplayPort™ 1.3USB PORTS: 1x USB 3.0OS: Windows 10: version 1903/1909 (KB4577062 or later) or 2004 (KB4577063 or later)(KB4577063 or later)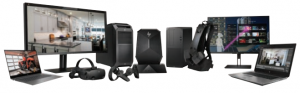
GETTING STARTED
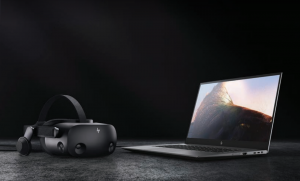
Connect to your computer. The HP Reverb G2 connects to your PC via aDisplayPort™ 1.3 and USB 3.0 cable. If you use an adapter, ensure that itsupports 4K resolutions.
Verify that the cable is fully inserted into the headset. Check to make sure thesmall dot on top of the cable is lined up to the top edge of the headset.
Begin the initial Mixed Reality Install. Setting up Windows Mixed Reality requires an internet connection. Even if there is nothing to download, Microsoft still requires internet for the initial set-up.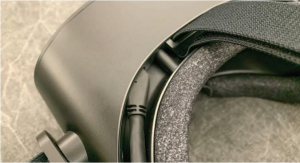
STEP 1Connect your headset to your host system. It should automatically launch the Mixed Reality Portal. You can also press the Windows key and type “Mixed Reality Portal” – select the app to launch manually.
Follow the on-screen instructions. There may be driver and firmware updates at this point. If so, allow them to install.
If you fail the system check, you may need to update a driver or use a different system.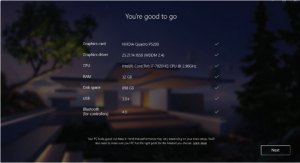
STEP 2Turn on your Mixed Reality motion controllers by pressing and holding the Windows button on each controller for two seconds. The provided controllers are pre-paired to the HMD via Bluetooth®.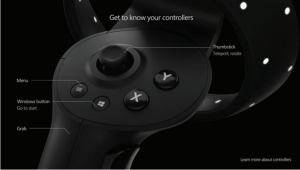
STEP 3Set up your VR space. If you have objects in the room you don’t want to collide with, choose Set me up for all experiences. This allows you to draw a visible boundary inside your VR experience.
If you don’t need a room boundary, you can choose Set me up for seated and standing.
STEP 4Follow the on-screen instructions to set up your VR space. Select Center. This marks the spot and forward-facing direction of the HMD and will be the default position inside VR experiences.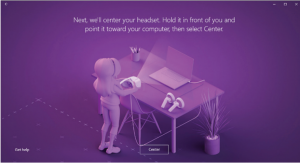
STEP 5If you chose all experiences in Step 3, you will now set up the VR room boundary. Before you click Trace, move the HMD away from the center and to where your boundary will be. Then, click Trace and use the HMD to trace your boundary.
Keep in mind you’ll want a buffer zone between you and any objects you may hit with your hands while using the controllers.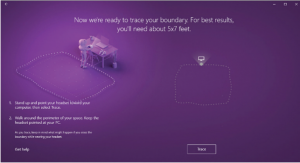
STEP 6Once you’ve successfully traced your boundary, you will be asked if you want to use speech in Mixed Reality. The HP Reverb G2 has built-in microphones, so you can take advantage of this option if you like.
For a list of speech commands, visit:Help – Windows 10 Speech in Windows Mixed Reality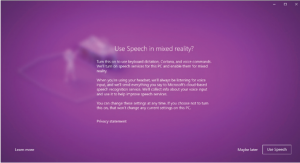
STEP 7You’re almost done! Mixed Reality will finish downloading now and install all necessary components. The full download is several gigabytes, so now might be a good time for a coffee break.
STEP 8Welcome to the Welcome Screen. You can access settings through the left navigation pane, as well as mirror the headset display with the play button.
You can complete set-up inside the HMD at this point. Make sure the cameras on the HMD can see the floor while scanning the room. Reflective surfaces (like windows) can confuse it.
Put on your HP Reverb G2 headset. For the best field of view, make sure the back strap is cradling your occipital lobe (the bump on the back of your skull).Within the portal, you can access a tutorial on how to interact with the VR environment using your motion controllers.
Once inside the Cliff House, your set-up is complete!

![]() MIXED REALITY PORTAL SETTINGS MENU:Press the menu button (3 lines, upper left) to access the settings menu.
MIXED REALITY PORTAL SETTINGS MENU:Press the menu button (3 lines, upper left) to access the settings menu.
![]() BOUNDARY:Turn on and off through settings. Run setup if you wish to redraw the boundary or discover a new VR space.
BOUNDARY:Turn on and off through settings. Run setup if you wish to redraw the boundary or discover a new VR space.
![]() WINDOWS MENU:Access the Windows menu by using the Windows button on your controller. Get mixed reality apps from the Microsoft store. Get help goes to an online help guide. Set-up controllers allows you to unpair and re-pair controllers. Settings takes you to the Windows system setting for mixed reality.
WINDOWS MENU:Access the Windows menu by using the Windows button on your controller. Get mixed reality apps from the Microsoft store. Get help goes to an online help guide. Set-up controllers allows you to unpair and re-pair controllers. Settings takes you to the Windows system setting for mixed reality.
Windows Mixed Reality Settings
> Selecting Settings from your Windows menu opens the system dialog box.
Bluetooth & other devices
To unpair any devices, select them from the list and choose Remove Device. To add Bluetooth® devices, select Add Bluetooth or other device.
Audio and speech
The default works quite well. If you want people outside of the VR experience to hear what the user hears, you will need speakers; enable the option to Mirror headset audio to desktop
For speech, the HMD has built-in microphones. For a list of speech commands, see Step 6.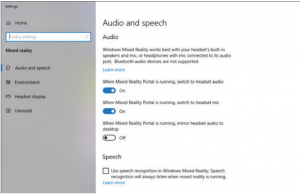
Clear environment data
This will delete the accumulated data about your VR space. You may want to rerun set-up after this. You can customize the Cliff House by moving things around and adding new windows or content. Reset my home will restore the default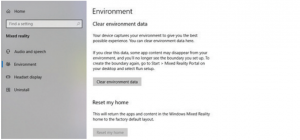
Headset display
You can set the Visual quality if your hardware has difficulty functioning at an acceptable frame rate.
In Experience options, you can change the refresh rate of the HMD. Some display technology may not keep up with the 90 Hz headset resolution; try 60 Hz.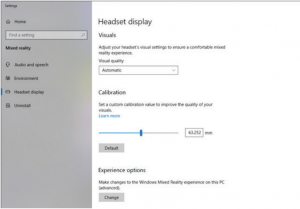
Powering down the headset
You can power down the headset while still using your PC by unplugging the AC connection adapter from the link box on the headset cable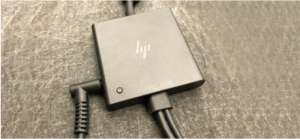
THE HP REVERB VR HEADSET PRO EDITION ALSO WORKS WITH STEAM VR!
WHEN STEAM VR IS INSTALLED, GO TO EXPLORE AND SEARCH FOR “MIXED REALITY FOR STEAM VR”.
HAVE QUESTIONS?Check out our HP Reverb G2 FAQ & Troubleshooting Guide.
Additional in formation on using SteamVR can be found in the FAQ
© Copyright 2021 HP Development Company, L.P. The information herein is subject to change without notice. The only warranties for HP products and services are set forth in the express warranty statements accompanying such products and services. Nothing herein should be construed as constituting an additional warranty. HP shall not be liable for technical or editorial errors or omissions contained herein. 4AA7-5420ENW, April 2021

[xyz-ips snippet=”download-snippet”]