![]()
HuddleCamHD WebcamUSB 2.0 Webcam INSTALLATION & OPERATION MANUAL
Please check HUDDLECAMHD.com for the most up to date version of this document
Ver 1.2 9/20
Precautions
Safety Tips……
- Please read this manual carefully before using the webcam.
- Avoid damage from stress, violent vibration, or liquid intrusion during transportation, storage, or installation.
- Take care of the webcam during installation to prevent damage to the webcam case, ports, or lens.
- Do not apply excessive voltage. (Use only the specified voltage.) Otherwise, you may experience electrical shock.
- Keep the webcam away from strong electromagnetic sources.
- Do not aim the webcam at bright light sources (e.g. bright lights, the sun, etc.) for extended periods of time.
- Do not clean the webcam with any active chemicals or corrosive detergents.
- Do not disassemble the webcam or any of the webcam’s components. If problems arise, please contact your authorized dealer.
- After the long-term operation, moving components can wear down. Contact your authorized dealer for repair.
In The Box
Supplied Equipment
- Webcam (1)
- Privacy Cover
- Quick Start Guide (1)
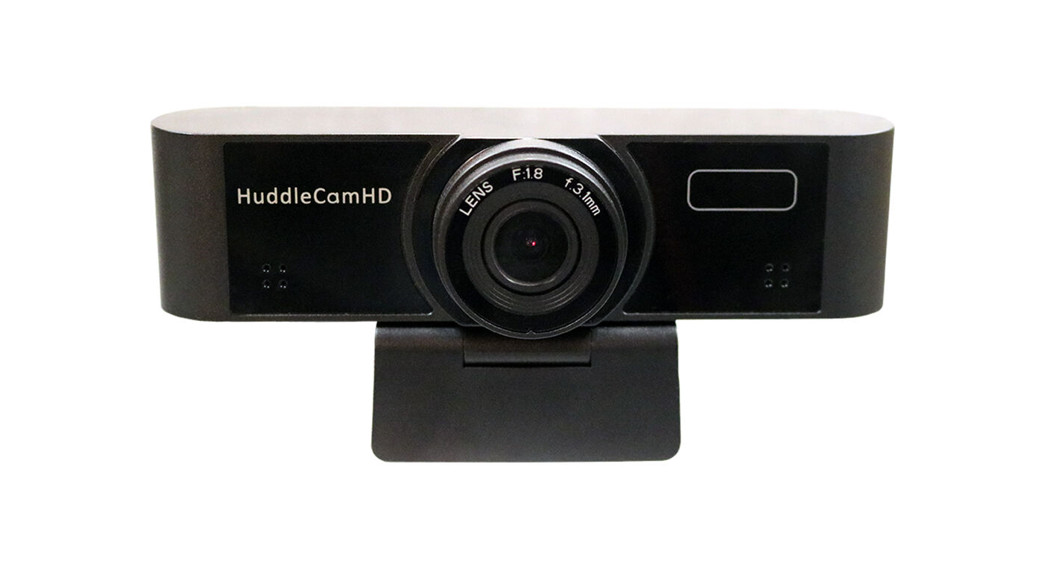
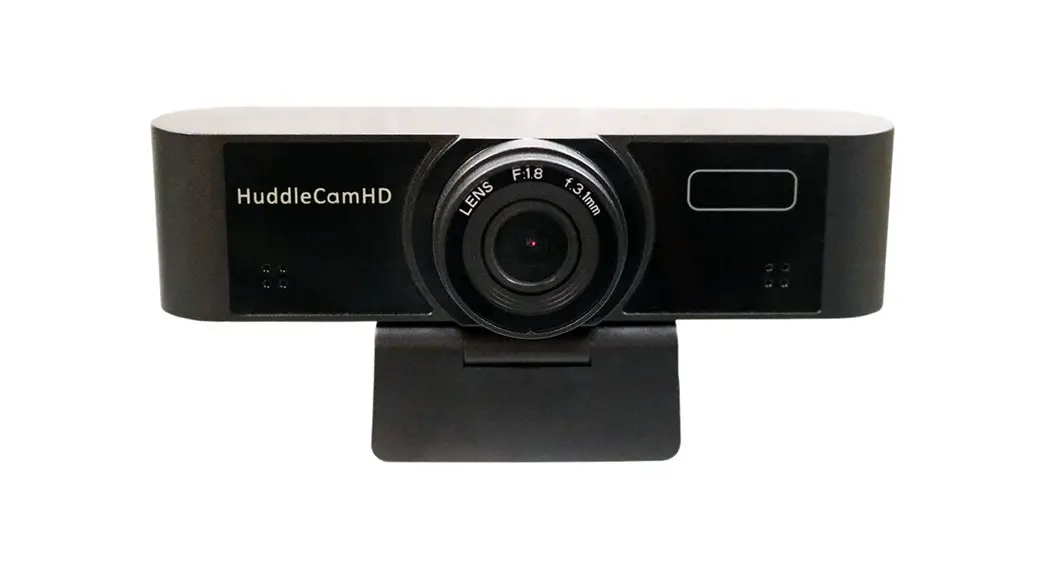
Physical Description……………
1. Front View……………………
- Lens94° field of view lens
- Power LEDBlue LED lights when the unit is powered and on.
- Microphone arrayInternal microphone array with up to a 15-foot range
- Top MountUsed for resting the webcam on a monitor2. Rear View………

- Built-in USB 2.0 cableFor connection to PC USB 2.0 port.
- Bottom MountUsed for securing the webcam in position on a monitor
- 1/4-20 MountUsed for mounting to any standard 1/4-20 mounting screw

OSD MENU……
On-Screen Display Menu – Use the OSD menu to access and change the webcam’s settings by using the HuddleCamHD Webcam OSD Menu application.
The webcam OSD Menu is as follows:
- Exposure
| Full Auto | |
| ▪ ExpCompMode | On/Off |
| ▪ Exp Comp | -7 ~ +7 (Available when ExpCompMode is “On”) |
| ▪ Gain Limit | 0 ~ 15 |
| ▪ Backlight | On/Off |
| ▪ DRC Strength | 0 ~ 8 |
| ▪ Anti-Flicker | Off/50Hz/60Hz |
| Shutter Priority | |
| ▪ Shutter | 1/30s, 1/60s, 1/90s, 1/100s, 1/125s, 1/200s,
1/250s, 1/350s, 1/500s, 1/725s, 1/1000s, 1/1500s, 1/2000s, 1/3000s, 1/4000s, 1/6000s, & 1/10000s |
| ▪ DRC Strength | 0 ~ 8 |
| Bright | |
| ▪ Bright | 0 ~ 17 |
| ▪ Gain Limit | 0 ~ 15 |
| ▪ DRC Strength | 0 ~ 8 |
| ▪ Anti-Flicker | Off/50Hz/60Hz |
- Color
| Auto | |
| ▪ AWB Sens | Low/Middle/High |
| ▪ RG Tuning | -10 – +10 |
| ▪ BG Tuning | -10 – +10 |
| ▪ Saturation | 60% – 200% |
| ▪ Hue | 0 – 14 |
| Indoor | |
| ▪ Saturation | 60% – 200% |
| ▪ Hue | 0 – 14 |
| Outdoor | |
| ▪ Saturation | 60% – 200% |
| ▪ Hue | 0 – 14 |
| OnePush | |
| ▪ AWB Sens | High/Low/Normal |
| ▪ RG Tuning | -10 – +10 |
| ▪ BG Tuning | -10 – +10 |
| ▪ Saturation | 60% – 200% |
| ▪ Hue | 0 – 14 |
| Manual | |
| ▪ RG Tuning | 0 – 255 |
| ▪ BG Tuning | 0 – 255 |
| ▪ Saturation | 60% – 200% |
| ▪ Hue | 0 – 14 |
| Image | |
| ▪ Luminance | 0 – 14 |
| ▪ Contrast | 0 – 14 |
| ▪ Sharpness | Auto/0 – 15 |
| ▪ Flip-H | Off/On |
| ▪ Flip-V | Off/On |
| ▪ Gamma | Default/0.45/0.5/0.56/0.63 |
| ▪ Style | Clarity/Bright/PC/Clarity (LED)/Norm |
| ▪ LDC | Off/-10 – +10 |
| Focus | |
| ▪ AF-Sense | Low/Medium/High |
| ▪ Focus Mode | Manual/Auto/One-Shot |
| ▪ Focus Area | Middle Area/Upper Half/All/Bottom Half |
| Noise Reduction | |
| ▪ 2D-NR | Close/Auto/1~5 |
| ▪ 3D-NR | Close/1~8 |
|
Displays current webcam settings |
|
Restore webcam default settings |
Connection Instructions………………
- Connect USB 2.0 cable from webcam to an available USB port on the PC.
- Select and configure the webcam in your software of choice.
NOTE: Failure to follow this sequence may result in no connection to the PC.
Care Of The Unit………Remove dust or dirt on the surface of the lens with a blower (commercially available).
Installation Instructions…………Monitor Installation………………When mounting the HuddleCam on a monitor, ensure that the mounting screw is fastened tightly to the webcam. Use the top mount to rest the webcam on the monitor. Position the bottom mount on the back of the monitor to secure the webcam in position.
Tripod Installation……………When using the HuddleCam with a tripod, screw the tripod to the bottom of the webcam mount. The tripod screw must fit the below specifications:
Note: Tripod must stand on a level surface.Troubleshooting
- No imageo, Check whether the USB cable is connected properly to the PC.o, Check whether the LED glows when USB is connected to the PC.
- Abnormal display of imageo, Check OSD of webcam through the OSD Menu app.o, Check settings of the software you’re viewing the video feed in.
- Image is shaky or vibratingo, Check whether the webcam is mounted solidly or sitting on a steady horizontal and level surface.o, Check the building and any supporting furniture for vibration.o Any external vibration that is affecting the webcam will be more apparent when in tele zoom (zoomed in) settings.
Important Notes Regarding USB Connectivity:USB 3.0 ports are backward compatible with USB 2.0 devices. USB 2.0 ports are not completely forward compatible with USB 3.0 devices (some USB 3.0 devices will connect to USB 2.0 with limited functionality). External USB hubs should be avoided (i.e. give the webcam its own USB port on the device) as they are not well suited to transmitting HD video reliably. USB extension systems must be fully compatible with the version of USB that you are using and must utilize an external power supply when required. Always connect the HuddleCam directly to the PC in order to associate the UVC drivers before attempting to use any extension system. USB power saving settings in the device’s operating system should be turned off completely for reliable USB webcam connectivity.
HuddleCam CamerasAll HuddleCamHD cameras utilize the UVC (USB Video Class) drivers that are built into Windows, Mac OS, and Linux to stream HD video to your device via your device’s USB port (USB 2.0 or USB 3.0 depending upon HuddleCam model). When your device successfully recognizes the camera, your device will register the HuddleCam as an “imaging device”. You can see this in your Windows Device Manager program (type “device manager” into the Windows search tool) as shown in the screenshot, below: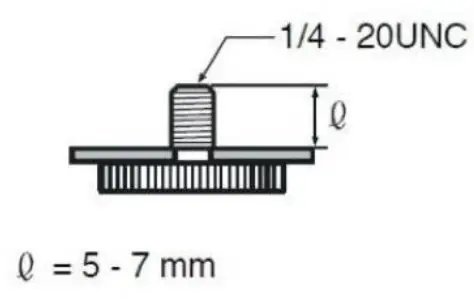
In this example, you can see the HuddleCam model in use connected as a fully functional USB 2.0 device (HuddleCamHD).
If your device has not connected to or has not recognized the HuddleCam as an imaging device (in which case, you may see a new “unknown device”, “Westbridge” or “CYTFX3” labeled device show up in Device Manager’s “Universal Serial Bus Controllers” section rather than in the “Imaging Devices” section), the HuddleCam will not be available to programs that utilize a webcam. In this case, try restarting the device and reconnecting the webcam via USB (USB 2.0 or USB 3.0 depending upon the HuddleCam model).
Similarly, you can see a connected device in System Information on a MAC. See screenshot below:
In this example, you can see the HuddleCam model in use connected as a fully functionalUSB 2.0 device (HuddleCamHD).
Specs…………………………………Model Number: HC-WEBCAM-94
| Camera & Lens | |
|
1/2.7” CMOS 2.07M Mega Pixel |
|
1080p-30/25, 720p-30/25,
960x540p-30/25, 640x360p-30/25 |
|
94° |
|
Focus: f=3.1mm |
|
0.05 Lux @ F1.8, AGC ON) |
|
5 years parts and labor |
| Rear Board Connectors | |
|
USB 2.0 |
|
USB 2.0 5V |
| Physical | |
|
Aluminum, Plastic |
|
4.6”W x 1.4”D x 1.2”H
report this ad (118mm x 36mm x 30mm) |
|
0.2 lbs (93 g) (not including mounting bracket) |
|
5.5”W x 3”D x 3.125”H (139.7mm x 76.2mm x 79.4mm) |
|
0.75 lbs (0.34 kg) |
|
Black |
|
14°F to +104°F (-10°C to +40°C) |
|
-40°F to 140°F (-40°C +60°C) |
|
Indoor only |
References
[xyz-ips snippet=”download-snippet”]