HuddleCamHDLarge Base Camera Ceiling MountUser Guide
HCM-2C
What’s Included
- QTY 1—Large Ceiling Mount BK/WH
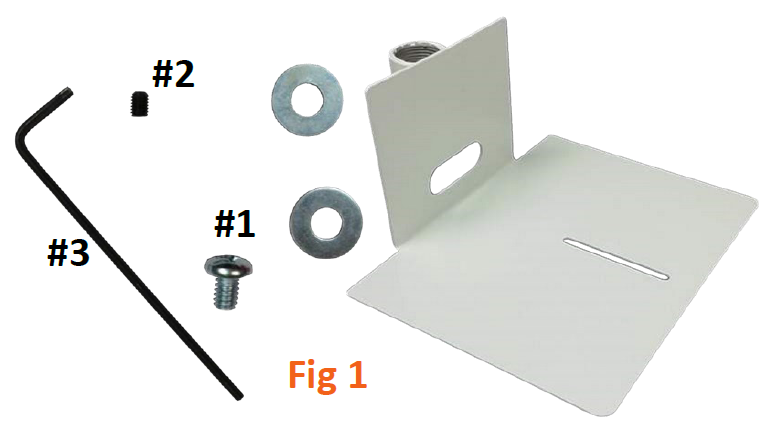
- QTY 1—1/4″-20x 3/8″ PPH and QTY 2—1/4” Machine Screw Flat Washer (Fig 1, #1)
- QTY 1—10/32 x 1/4” cup point set screw (Fig 1, #2)
- QTY 1— 3/32” long arm hex wrench (for set screw) (Fig 1, #3)
Mounting Instructions
Step 1
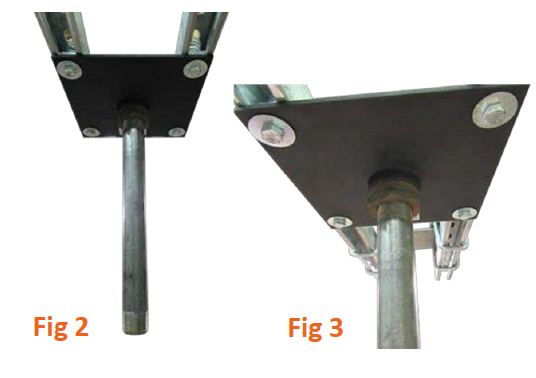
Screw 1” NPT pipe, or pipe nipple, to a properly installed mounting plate or pipe flange (Fig 2).
Tighten until pipe can no longer be tightened with a pipe wrench.
If using a 1.5” plate or flange you must us a 1.5” – 1” reducing bushing (Fig 3).
NOTE: Plate/flange, reducer bushing and 1” NPT pipe or nipple are not included.
Step 2
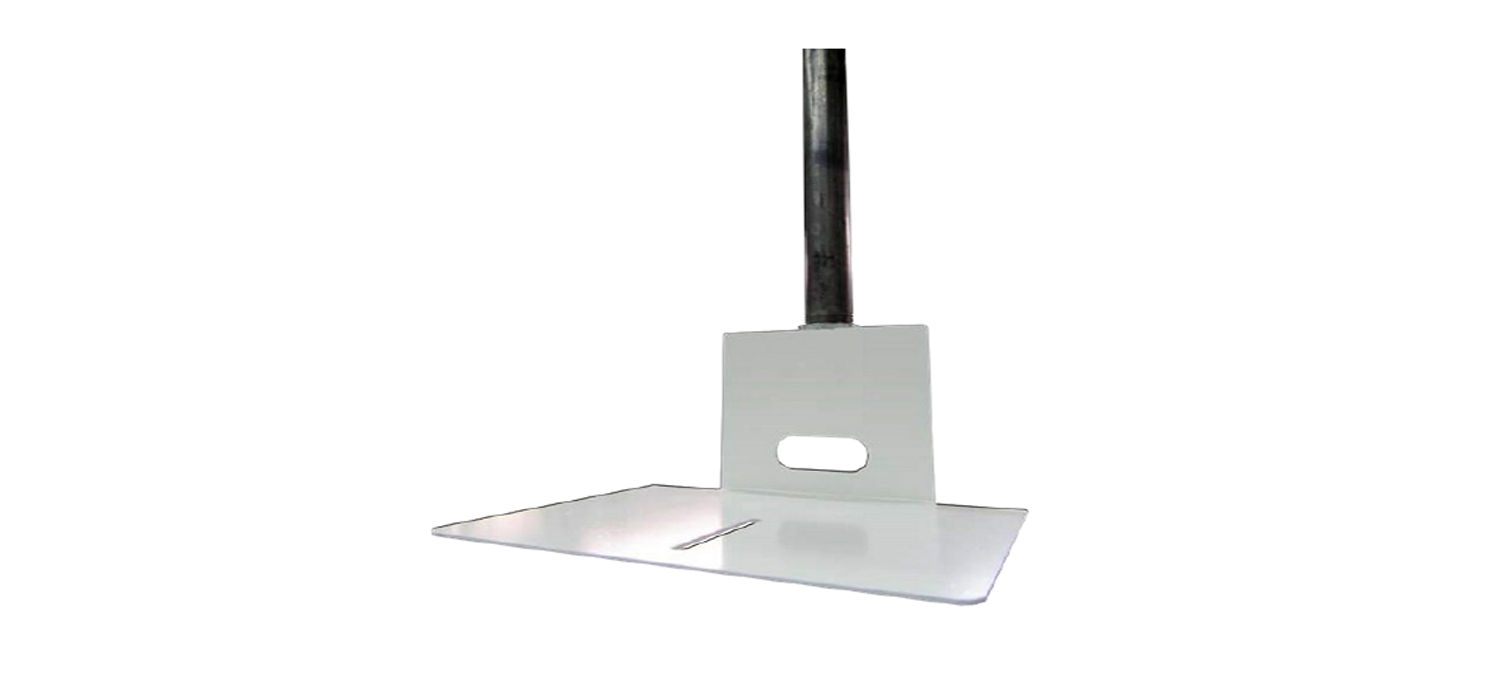
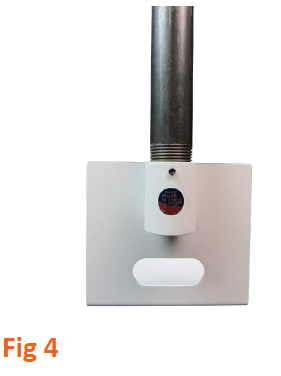
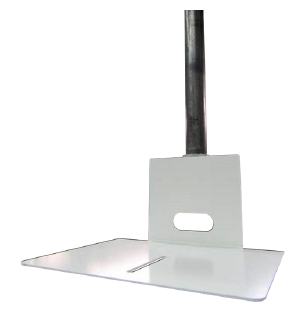
Screw mount to pipe securely, engag-ing a minimum of 1/2” of pipe into mount (Fig 4). When aligned to desired location, tighten set screw (Fig 1, #2) to 30-36 in-lbs of torque (this is ap-proximately when the set screw will stop moving and the long arm of the “long arm hex wrench” (Fig 1, #3) will start to bend slightly).
Step 3
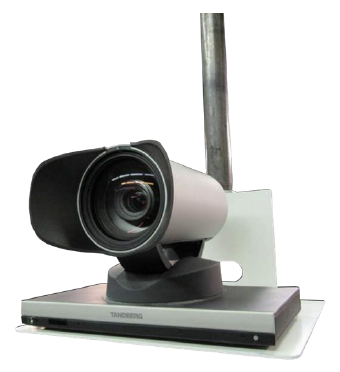
Mount camera upright to top of mount or invert to bottom of mount with includ-ed 1/4-20 machine screw. (Fig 1, # 1) Uti-lize (0,1,2) 1/4” machine screw flat wash-ers as required. (Fig 1, #1)
Note: 1/4” machine screw flat washers are to be used depending upon depth of thread insert in base of camera, in order to achieve a snug fit.
Step 4
Pass cabling through pipe or dress to outside of pipe and connect for a clean installation.
Mount Compatibility
HuddleCamHD
HC12X-HUDDLEVIEWHC20X-SIMPLETRACK2Generation 1 USB 3.0 HuddleCamHD cameras
Other Cameras…
This mount has been designed for use with most larger based cameras utilizing a 1/4-20” mounting hole as can be found on SONY, Panasonic, Cisco, Polycom and Vaddio cameras.
References
[xyz-ips snippet=”download-snippet”]