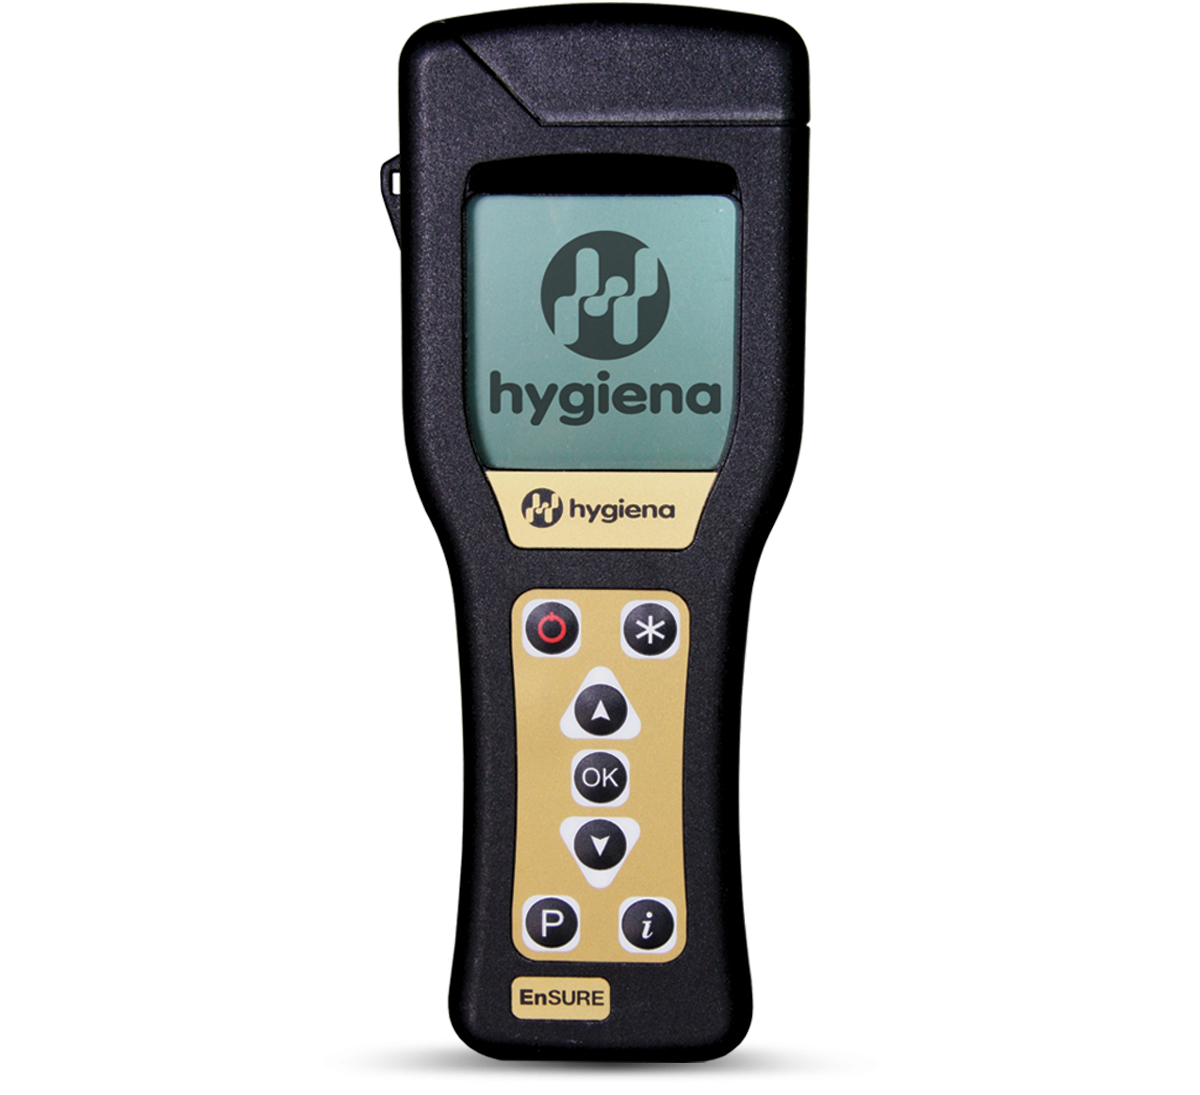
Hygiena Luminometer EnSure System
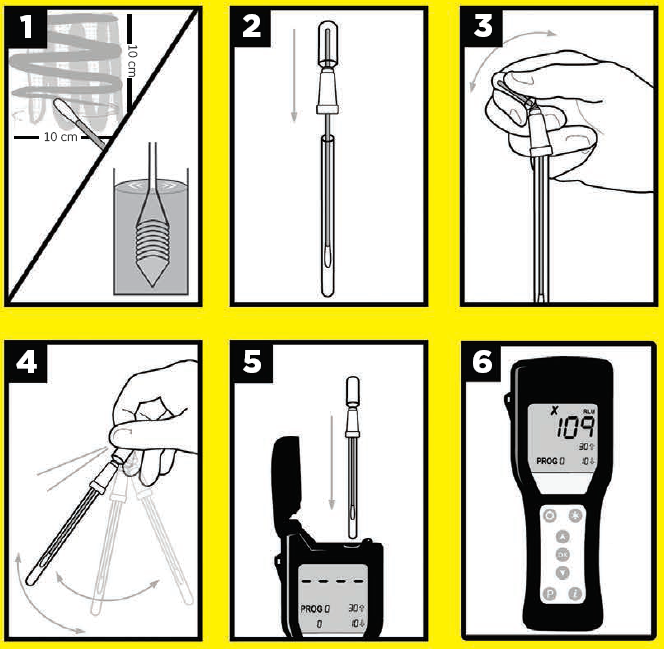
ATP Testing Procedure
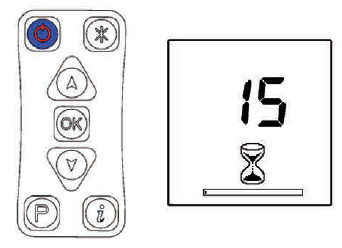
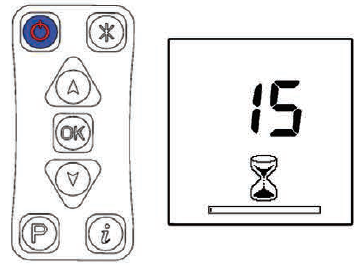
Turn on luminometer and wait 15 seconds for calibration.
- Remove swab from test tube and collect sample. Refer to instructions included with the testing device or watch an instructional demo at www.youtube.com/HygienaTV
- Place swab back in test tube.
- Snap bulb by bending back and forth and squeezing to expel liquid reagent into swab tube.
- Lightly shake for 5 seconds, bathing swab in liquid.
- Place swab test in luminometer and close lid.
- Press “OK” and reading will appear in 15 seconds.
Helpful Tips
- When taking sample readings, be sure to hold the luminometer upright.Do not overload test swabs. Collecting samples from visibly contaminated surfaces could inhibit reaction. Do not test a surface that is visibly dirty.
- Before using AquaSnap test devices, flick test in a downward motion to bring extractant liquid into bottom of tube.
- If the instrument will not calibrate, be sure the lid is completely closed by tucking the rubber flap over the data port underneath the plastic edge.
- Do not allow any material or liquids into the test chamber of the luminometer. Always close the I id when not in use. Ensure outside of the test device is dry before inserting tests for reading.
- Once activated, swab tests must be read within 60 seconds.
- If the luminometer is moved to different areas with ±5 °C ( ±10 °F) or greater varying temperature, a temperature calibration should be performed in each new climate. Hold down “OK” button for 3 seconds to start a 15 second temperature calibration.
- Watch instructional videos for al I Hygiena products at www.youtube.com/Hygiena TV
Selecting a Test Plan
- Turn on the unit and let it go through the 15 second self-calibration.
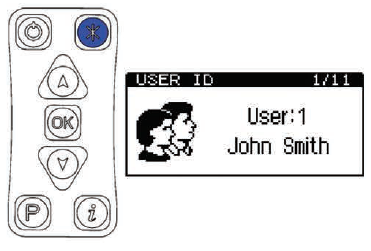
- Once calibrated, press the “*” button to access the menu.
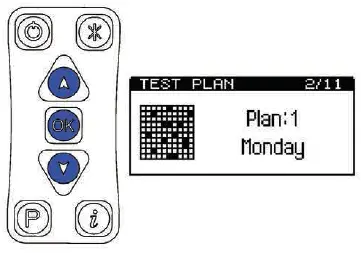
- Using the up or down arrows, find the 2nd option, “TEST PlAN”, and press “OK” to select. The TEST PlAN option will begin to flash.
- Use the up or down arrows to find the desired test plan and press “OK” to select. Press the “*” button to return to the main menu to conduct the test.
 Use the up or down arrows to find the desired test plan and press “OK” to select. Press the “*” button to return to the main menu to conduct the test.
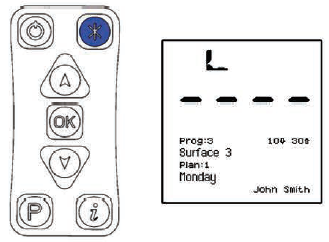
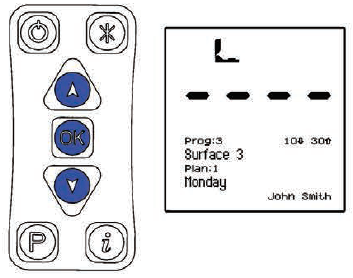
Selecting a Test Location
- Turn on the unit and let it go through the 15 second self-calibration.
- Once calibrated, press “P” button. “PROG #” will begin flashing.
- Using the up or down arrows, find the desired test location and press “OK” to select. Test device may now be inserted for measurement.

For more information on using your Hygiena luminometer, refer to the operator’s manual that came with your system. Watch instructional videos at www.youtube.com/HygienaTV
![]()
Web: www.hygiena.com
References
[xyz-ips snippet=”download-snippet”]