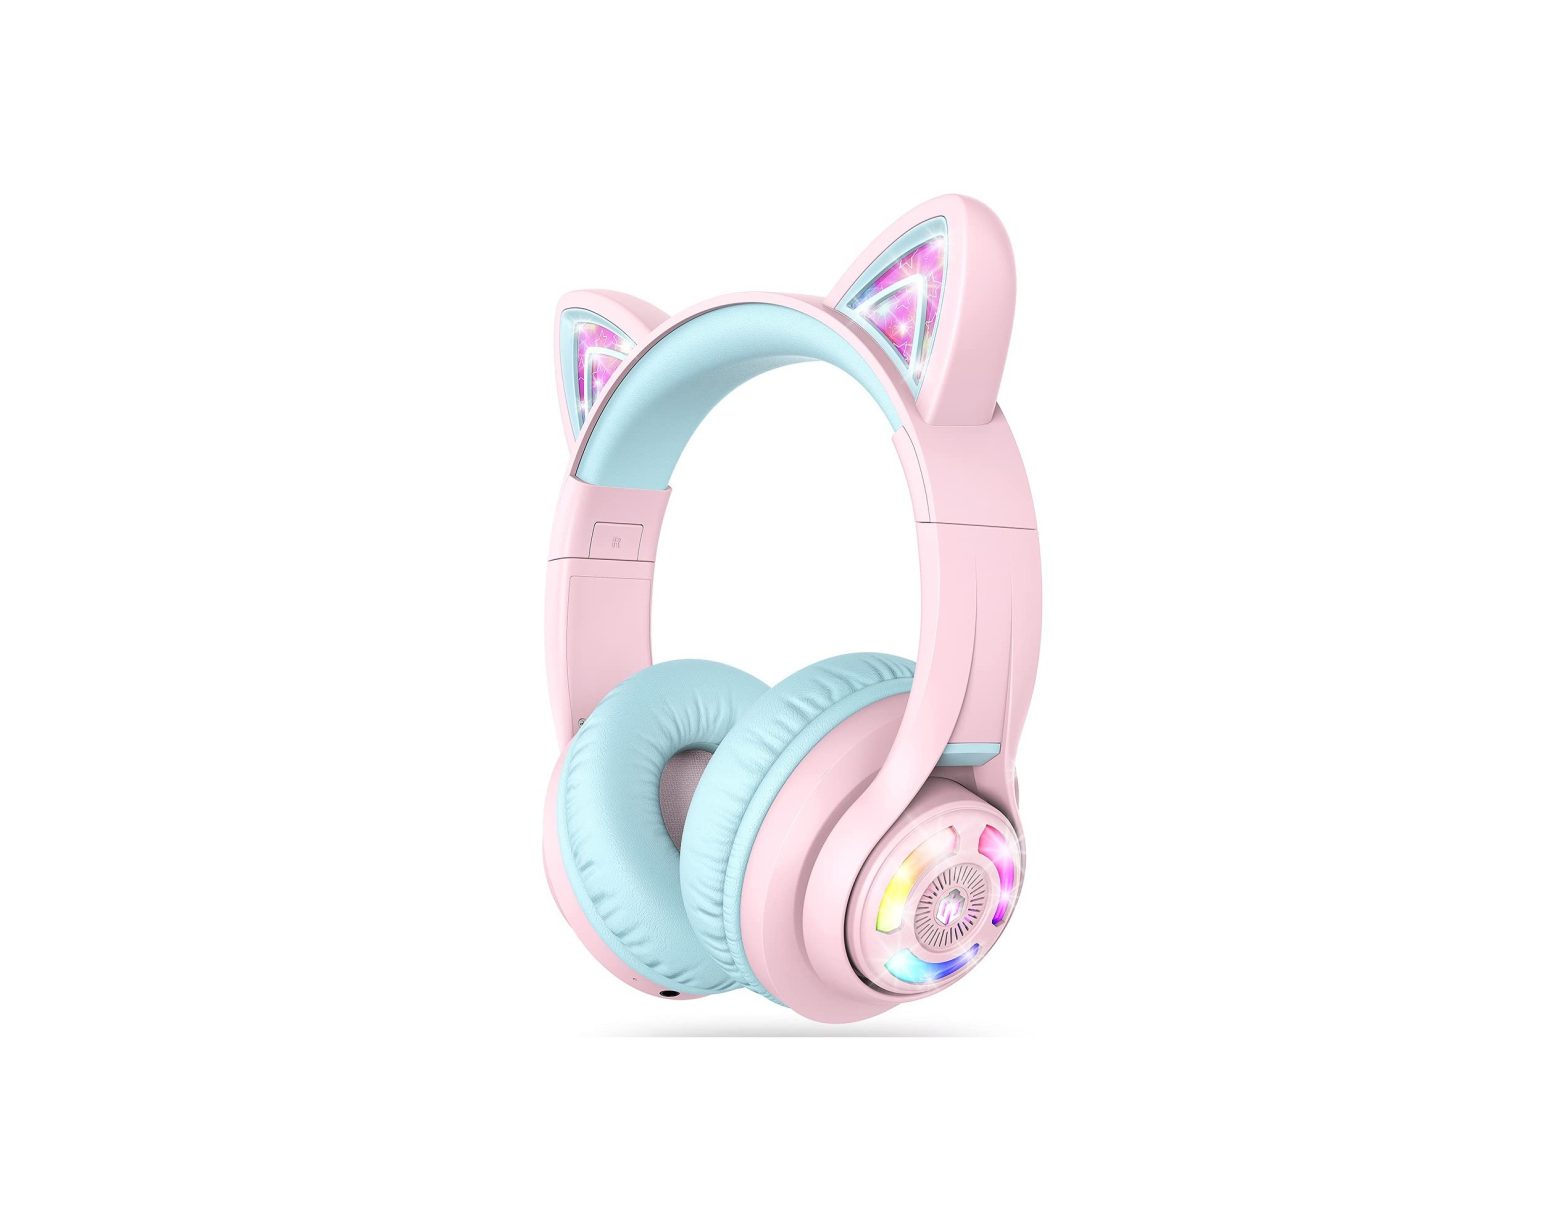
iclever BTH13 Wireless Headphone User Manual
PACKAGE CONTENT
- 1 x ‘Clever BTF113 Wireless Headphones

- 1 x User Manual
- 1 x 3.5mm Audio Cable
- 1 x USB Type-C Cable
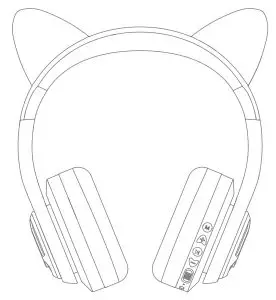
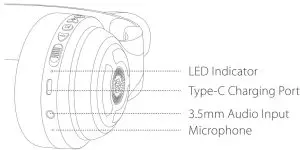
PRODUCT DIAGRAM
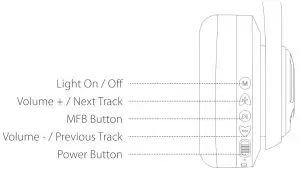
ON/ OFF
- Power on: Switch the button to the “ON” direction. Then the LED indicator flashes blue for 1 second, and the colorful lights are on.
- Shutdown: Switch the button to “OFF’direction, and the head phone is turned off. The LED indicator flashes blue for 1 second and then goes oft
Bluetooth Pairing
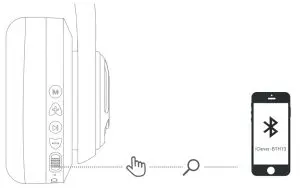
- In the power-on state, switch the button to the “ON” direction; the colorful lights are on; Bluetooth enters the pairing state, and the red and blue lights flash alternately.
- Turn on the Bluetooth of the mobile phone. Then find and select the”iClever-BTHI3″Bluetooth pairing name in the device list for Bluetooth pairing connection.
Light On / Off
Short press the Light On i Off” button to turn on / off the light.
Volume Limit Gear Switching
- Press and hold the “+”&”-” buttons at the same time to switch the volume limit to 74dB, and the voice broadcast to “74dB”.
- Press and hold the “-Faigt”-” buttons at the same time to switch the volume limit to 85dB, and the voice broadcast to”85cIB”.
- Press and hold the “-Eni&”-” buttons at the same time to switch the volume limit to 94dB, and the voice broadcast to “94dB”.
| Volume up | Short press the “+” button |
| Volume Down | Short press the “–“button |
| Next Track | Press and hold the”+” button for 2 seconds. |
| Previous Track | Press and hold the”? button for 2 seconds. |
| Play / Pause | Press the MFB button once. |
| Answer / End A Call | Press the MFB button once. |
| Reject A Call | Keep pressing the MFB button for seconds. |
| Activate Siri | Press the MEG button twice. |
| Clear The Pairing List | Press and hold the”+” button and”? button simultaneously for 4 seconds in the power-on state to clear the pairing list. Then the headphone will automatically enter pairing state. |
Voice Prompt
| Power On | Power on |
| Power Off | Power off |
| Pairing | Pairing |
| Successful Pairing | Connected |
| Disconnection | Disconnected |
| Low Power | Battery Low |
How to Charge the Headphone
Connect the Type-C cable to the Type-C port on the headphone, and a 5V power outlet (power adapter is not included). The indicator light will glow red to indicate charging. When the headphone is fully charged, the indicator light will change from red to blue.
FCC Statement
Changes or modifications not expressly approved by the party responsible for compliance could void the user’s authority to operate the equipment. This equipment has been tested and found to comply with the limits for a Class B digital device, pursuant to Part 15 of the FCC Rules. These limits are designed to provide reasonable protection against harmful interference in a residential installation. This equipment generates uses and can radiate radio frequency energy and, if not installed and used in accordance with the instructions, may cause harmful interference to radio communications. However, there is no guarantee that interference will not occur in a particular installation. If this equipment does cause harmful interference to radio or television reception, which can be determined by turning the equipment off and on, the user is encouraged to try to correct the interference by one or more of the following measures:
- Reorient or relocate the receiving antenna.
- Increase the separation between the equipment and receiver.
- Connect the equipment into an outlet on a circuit different from that to which the receiver is connected.
- Consult the dealer or an experienced radio/TV technician for help.
This device complies with part 15 of the FCC rules. Operation is subject to the following two conditions
- (1) This device may not cause harmful interference.
- (2) This device must accept any interference received,including interference that may cause undesired operation.
[xyz-ips snippet=”download-snippet”]