ICO B000SSQQ1Q Professional Whipped Cream Maker Dispenser Instruction Manual
Thank you for your purchase
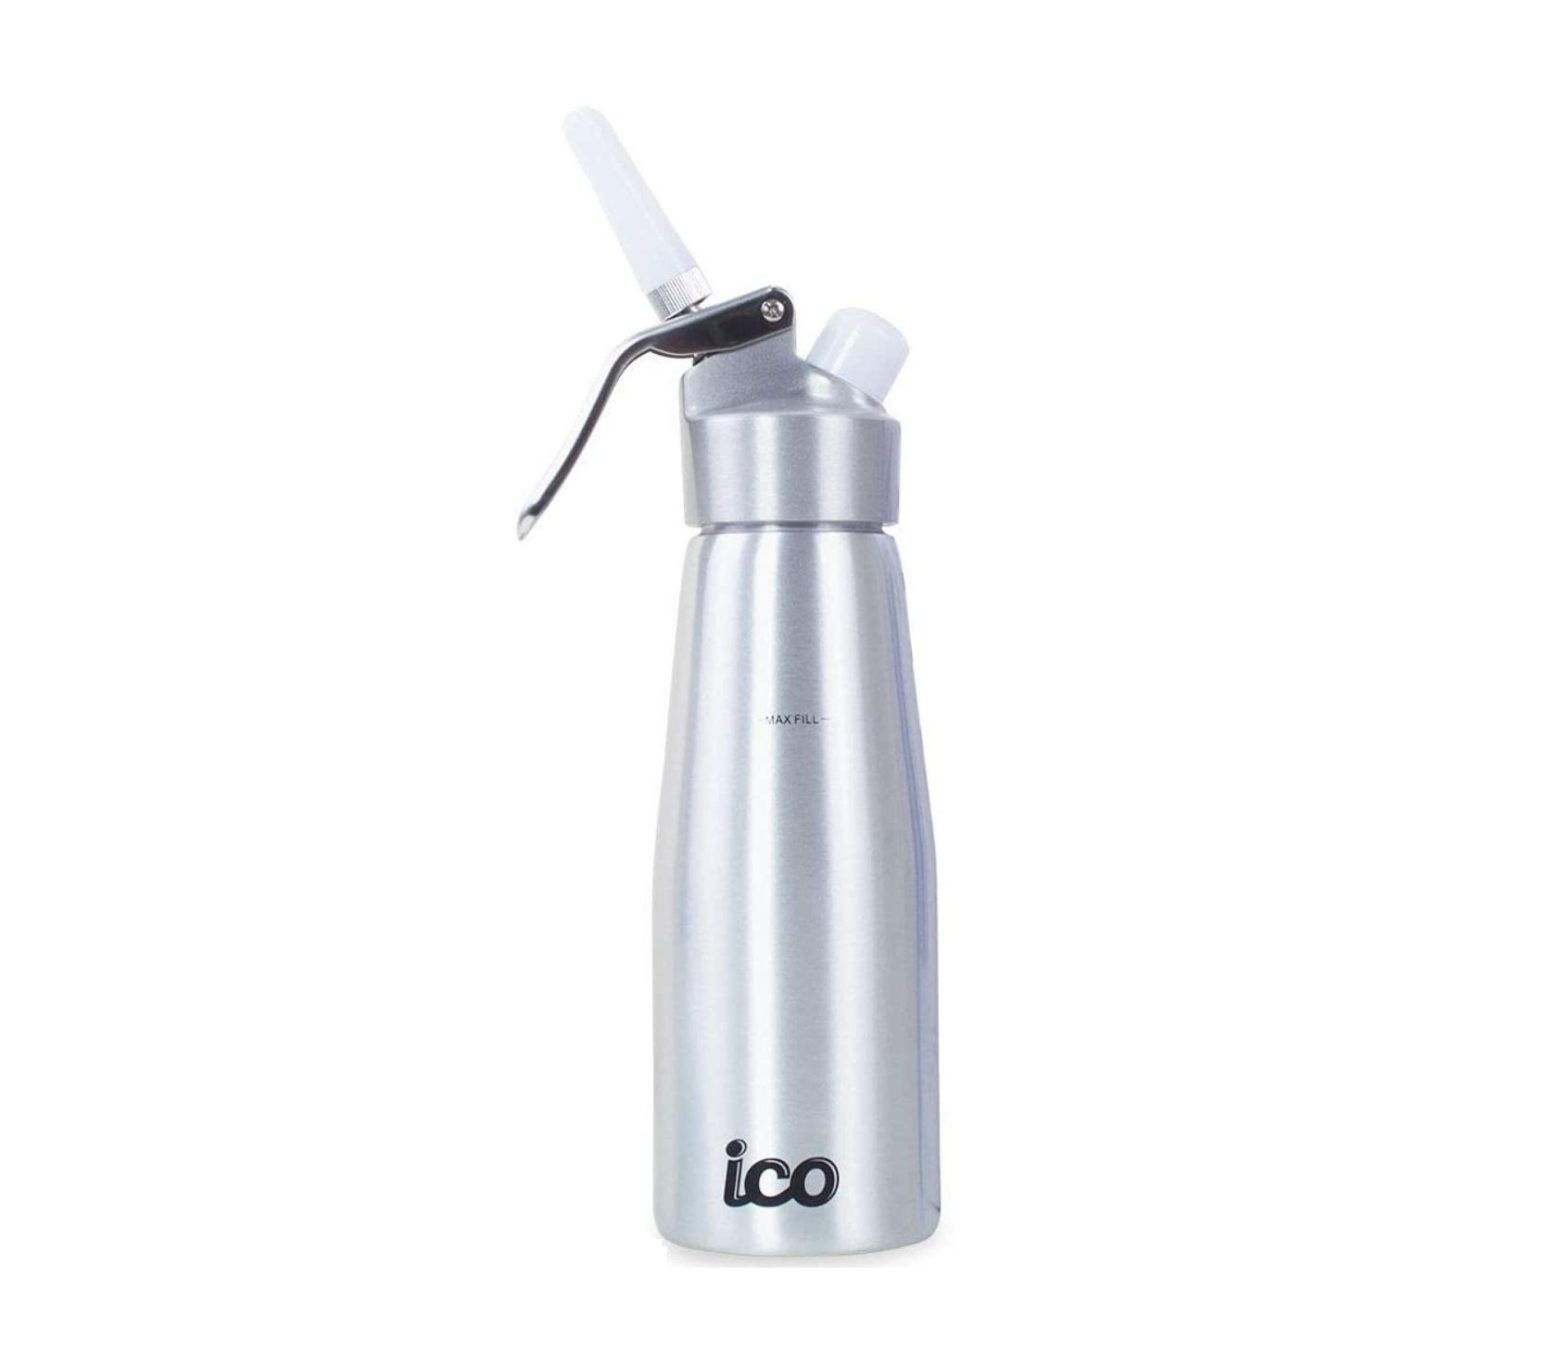
Thank you for your purchase of an ICO brand whipped cream dispenser.
Your whipped cream dispenser can be used to prepare fresh, fluffy whipped creams, delicious desserts, culinary creams, Spanish espumas, zesty mousses, sauces, and creamed soups in a matter of seconds.
Visit us at www.icotrading.com for free recipes, product videos, and warranty registration.
Important Safety Instructions
- Plastic head models are suitable for cold preparations only.
- Aluminum and stainless-steel head models are suitable for cold or warm preparations (up to 40°C/104°F). The preparation should be warm when poured into the dispenser. A non -pressurized dispenser can be kept warm in a baine-marie up to 40°C/104°F. Never heat a pressurized dispenser.
- Stainless steel bottles are dishwasher safe (do not put stainless steel, aluminum, or plastic headsets in the dishwasher).
- Aluminum bottles should be washed by hand.
- All headsets should be washed by hand.
- When screwing on the charger, do so away from others and keep your face away from the dispenser. Do not bend over the dispenser.
- Never point the device at yourself or anybody else when pressurizing the device (ie. screwing on the charger) or when the device is pressurized.
- Never apply undue force.
- Store product components and chargers out of reach of children. This device is only to be used by competent adults over 18 years of age. Keep out of reach of children.
- Do not discharge cartridges inside an empty dispenser.
- Only use this device for the purposes specified in this instruction manual.
- Do not use this device for cryogenic applications (with liquid nitrogen, for example).
- Only ever combine device heads and bottles of the same device type (do not use stainless heads with aluminum bottles for example).
- Only use ICO brand replacement parts. Never combine parts of your ICO whipped cream dispenser with parts produced by other manufacturers. Replacement parts are available at www.icotrading.com.
- Never attach the device’s headset so that it is crooked.
- Never lean your body over the device when screwing in the charger, when the device is pressurized, or during use.
- Never unscrew the device’s headset from the device when it is pressurized. Ensure all gas and liquid have left the device before attempting to open the headset for cleaning.
- The device can become warm to the touch when preparing warm sauces.
- Never use the lever as a carrying handle.
- Never heat a whipped cream dispenser on a stove top, in the oven, or in the microwave. ONLY use a baine marie up to 40°C/104°F to keep the dispenser warm if you are using an aluminum or stainless-steel dispenser with an aluminum or stainless-steel headset and the dispenser has not been pressurized yet. NEVER HEAT A PRESSURIZED WHIPPED CREAM DISPENSER.
- Never store a filled or pressurized device in the freezer or deep freeze compartment. This device cannot be used to make ice cream.
- Damage to your whipped cream dispenser may make it unsafe to use. If you drop or damage your dispenser, discontinue use, and contact us at www.icotrading.com. DO NOT use the dispenser if damage is suspected.
- Only disassemble your whipped cream dispenser in accordance with the “How to Clean Your Whipped Cream Dispenser” section of this manual.
- Check the material compatibility of any cleaning/disinfectant solution that is used before attempting to clean your dispenser. Using incompatible cleaners may strip the interior lining of your dispenser, rendering it unusable. If this occurs, please contact us.
- Do not attempt to alter or retool your whipped cream dispenser as this will invalidate your warranty and may make the dispenser dangerous to use.
- Your whipped cream dispenser is compatible with all standard size 8g N2O cartridges; however, ICO only guarantees the quality of the ICO brand of cartridges.
- All ICO whipped cream dispensers with aluminum and stainless-steel headsets can be used with ICO brand N2 Nitrogen Chargers to make delicious nitro cold brew coffee. Only ever use chilled coffee. Do not pour hot coffee into a whipped cream dispenser.
- Read this manual thoroughly and store it in a safe and accessible place to avoid errors in operation.
- This instruction manual will be updated from time to time. You can download a PDF version of this manual or any updates to this manual at www.icotrading.com free of charge. Always use the most current version of this instruction manual.
List of Materials
| Product Component | Material and Model |
| Bottle | Aluminum (ICO001, ICO002, ICO003)Stainless Steel (ICO004, ICO005) |
| Headset | Aluminum (ICO001, ICO002, ICO003)Stainless Steel (ICO004, ICO005) |
| Removable Piston | Aluminum (all models) |
| Head Gasket | Silicon (all models) |
| Charger Gasket | Silicon (all models) |
| Decorator Adapter | Aluminum (all models) |
| Decorator Tips | ABS Plastic (ICO001, ICO002, ICO003)Stainless Steel (ICO004, ICO005) |
| Charger Holder | ABS Plastic (ICO001, ICO002, ICO003)Aluminum (ICO004, ICO005) |
Technical data is subject to change with prior notice.
Spare Parts
| Product Component | ICO Part Number |
| Cleaning Brush | RP007 |
| Device Headset | Aluminum: RP009 Stainless Steel: RP010 |
| Removable Piston | Aluminum: RP005 |
| Head Gasket | RP001 |
| Charger Gasket | RP011 |
| Decorator Adaptor | RP008 |
| Decorator Tops (Set of 3) | ABS Plastic: RP003 Stainless Steel: RP012 |
| Charger Holder | ABS Plastic: RP004 Aluminum: RP002 |
To order spare parts, visit us at www.icotrading.com.
Instructions for Use
Before using your dispenser for the first time, disassemble the device and fully clean the unit as per the cleaning instructions in this manual.
Prior to Filling
- Check whether the head gasket (RP001) is inserted in the device’s headset (RP009/RP010) and that the piston (RP005/RP006) is clear of all obstructions.
- Lightly screw the preferred decorator tip onto the dispenser valve until it no longer turns.Filling
- Fill the dispenser with your cream, soup, or other preparation. Use a sieve if your preparation contains solid ingredients (like fruit seeds, cloves, or granulated sugar).Do not pour liquids at a temperature higher than 40°C/104°F into the device.Note: The maximum filling amount is 500ml (ICO002, ICO003, ICO004) or 1L (ICO003, ICO005). Pay attention to the external filling line and labelling on the base of the bottle. DO NOT OVERFILL YOURDISPENSER. The remaining empty space is required for optimum aeration. For best results, use a measuring cup when filling your dispenser. Warning: Fully dissolve sugars or powdered inCharging
- Screw the device’s headset onto the bottle so that it is straight and sealed tightly.Warning: NEVER attach the head so that it is crooked.
- Insert one 8g N2O cartridge into the charger holder.Warning: NEVER use more than one 8g N2O charger at a time.Warning: NEVER charge the dispenser with anything other than 8g N2O cartridges, 8g Co2 cartridges, or 2g N2 cartridges.Warning: NEVER insert the charger if there is no decorator nozzle attached to the dispensing valve.
- Screw on the charger holder (with the charger inserted) to the device’s headset until you hear all the contents of the charger release into the bottle (a quiet “sss” will be heard).Warning: NEVER lean your body over the device when charging your dispenser.Warning: The device is now pressurized. Caution should be taken at all times when handling a pressurized whipped cream dispenser. NEVER point a pressurized whipped cream dispenser at yourself or anyone else.Warning: NEVER HEAT A PRESSURIZED WHIPPED CREAM DISPENSER.
- Unscrew the charger holder from the device and remove the empty cartridge from the device and discard it.Warning: DO NOT use the device with the charger holder still attached to the dispenser. The charger holder and the empty charger MUST BE REMOVED from the dispenser before it can be used.Note: There may be a slight hissing sound when unscrewing the charger holder. This is a normal biproduct of the charging process.
- Shake the device up and down to aerate your preparation. The more the device is shaken the stiffer the preparation will be when dispensed.
Note: The required number of shakes is important for achieving the optimum consistency for your preparation. Shaking the device too many times will cause the contents to solidify and it will be difficult to dispense.
Refer to the following table to find the recommended number of shakes:
| Type of Cream | Fat Content | Required Shakes |
| Fresh Cream | 33% – 36% | 10-12 |
| Non-perishable Cream | 32% | 15-20 |
For preparations with a low-fat content (minimum 30%), or if the consistency is too soft, shake again until desired consistency is reached.
Dispensing
To dispense the contents of your dispenser, turn the device upside down (with the decorator tip in the vertical position) and gently press the lever.
Note: Always dispense a small amount to test the consistency first.
Warning: Your dispenser may get warm when using a warm preparation.
Storage
A full/pressurized whipped cream dispenser can be stored in the fridge for up to 14 days. Do not store a pressurized dispenser on its side.
Tips and Tricks
- When preparing a chilled preparation, the liquid should be chilled when poured into the dispenser.
- If your preparation contains gelatin, set it aside to cool to room temperature before pouring it into the bottle. After allowing the preparation to cool, fill and charge your dispenser. Store the filled dispenser in the refrigerator for at least 4-6 hours before dispensingWarning: NEVER store a filled or pressurized dispenser in the freezer or a deep freeze compartment (including a blast chiller).
- When preparing warm preparations, heat the liquid before pouring it into thedispenser. NEVER use a liquid over 40°C/104°F with your whipped cream dispenser. DO NOT use warm preparations with a plastic head dispenser. Aluminum or stainless-steel dispensers with an aluminum or stainless-steel headset can be kept warm in a baine marie up to a maximum temperature of 40°C/104°F until they are pressurized.
Warning: DO NOT HEAT A PRESSURIZED DISPENSER.
Warning: The dispenser will get warm when preparing warm preparations.
- If a warm preparation must be quickly cooled to room temperature after pouring it into the bottle, the filled dispenser can be left open in the fridge to cool (without the headset).
- The preparation should be dispensed from the device as close to possible to the time of consumption.
- Periodically clean the decorator tips during use to avoid clogs.
- Regularly oil the charger holder thread to avoid grinding (common cooking oils such as sunflower or olive oil should be used – do not use non-cooking oils).
Service
- Spare parts can be purchased from www.icotrading.com.
Storage
- Store your whipped cream dispenser clean and disassembled.
How to Clean your Whipped Cream Dispenser
Watch our video on how to clean your dispenser at www.icotrading.com.
Warning: check the material compatibility of the cleaning/disinfectant solution used before cleaning. Using an incompatible cleaner can damage the components of your dispenser and make it unsafe to use.
- Holding the dispenser upside down, press the lever down until the device is completely empty and depressurized. Do not attempt to open the device’s headset if the device is not completely empty.
- Carefully remove the device’s headset. Do not point the headset towards yourself or anyone else when removing the device’s headset.
- Remove the headset’s components (the head gasket, piston, nozzle attaching valve, nozzles, and charger holder).
- Rinse the dispenser’s components with warm (not hot) water.
- Clean the nozzle attaching valve, decorator tips, and piston with the included cleaning brush. Fully remove any fat or protein residues.
Warning: Do not wash aluminum dispensers (ICO001, ICO002, ICO003) or any of their components in the dishwasher. Hand wash only in water up to 40°C.
Stainless-steel bottles (ICO004, ICO005) can be washed in a dishwasher up to 100°C. Do not put a stainless-steel headset in the dishwasher.
Warning: Never use scouring agents or abrasive sponges and brushes (even on stainless steel components).
Note: ICO recommends cleaning your dispenser after each complete use (ie. when all the cream or preparation has been completely used). This will increase the life of your dispenser and keep all your preparations tasting fresh.
Never store your dispenser with the head screwed on.
Troubleshooting
Warning: NEVER ATTEMPT TO OPEN A PRESSURIZED DISPENSER. You can be seriously injured or killed by this device if you open it when it is pressurized. ALWAYS completely release the pressure in your dispenser before attempting to remove the device’s headset.
Problem: Dispenser’s lever is stuck and will not dispense
Solution: Release the pressure in your dispenser without using the lever.
Warning: NEVER position your body over your whipped cream dispenser when releasing pressure in this way. Do not use excessive force.
Note: Only attempt to release your dispenser’s pressure in a sink, as it can be very messy.
- DO NOT attempt to remove the device’s headset.
- Unscrew the nozzle and nozzle attaching valve so the piston is exposed.
- Cover the exposed piston with a towel. The towel will absorb all the excess cream/preparation in the dispenser.
- Firmly push down on the piston so that it moves, releasing the gas in the dispenser. DONOT USE EXCESSIVE FORCE.
- The gas and preparation inside the dispenser will be dispensed into the towel.
See our video at www.icotrading.com on how to safety perform this procedure.
IF YOUR DISPENSER’S PRESSURE CANNOT BE RELEASED IN THIS WAY, DO NOT ATTEMPT TO RELEASE IT IN ANY OTHER WAY. Contact us at www.icotrading.com.
Problem: The contents cannot be dispensed/contents sputter from the tip.
Solution: There is a blockage caused by undissolved ingredients, sugar, fruit pulp, or cores/seeds. Release the pressure in your dispenser without using the lever as described above. Once the pressure is fully released, remove the headset, and thoroughly clean all components of your dispenser.
Problem: The dispensed preparation is too runny
Solution #1: The device has been overfilled. Release the pressure in your dispenser and pour out the excess content. You may now re-charge and use the dispenser. Solution #2: The preparation used does not have a high enough fat content. Cream used in your dispenser must have a minimum fat content of 30%. Solution #3: The preparation needs more shaking so that the gas incorporates with the cream.
Problem: The cartridge has not been pierced (gas is not entering the dispenser)
Solution #1: The cartridge was inserted incorrectly. Remove the cartridge and try again, following the steps in this manual closely.Solution #2: The piercing needle has been damaged. Contact us at www.icotrading.com for assistance.
Problem: It is difficult to screw on the charger holder
Solution: There is too much resistance between the threads of the charger holder and the piercing needle. Remove the charger holder and oil it using a paper towel and a common kitchen oil like sunflower oil or olive oil.
Problem: Gas escapes through the valve or decorator tip during charging
Solution #1: the device was charged without the decorator tip attached. Ensure that the decorator tip is screwed onto the valve before attaching the charger.Solution #2: The dispensing gasket contains residue. Release the pressure on your dispenser and clean the device before using it again. Solution #3: One or more of the silicon gaskets on the device have been damaged. Release the pressure on your dispenser and contact us at www.icotrading.com to arrange for replacement gaskets.
Problem: Gas escapes between the bottle and the head during the charging process
 report this ad
Solution #1: There is no head gasket installed. Release the pressure on your device, insert the requiredgasket, and re-charge your dispenser.Solution #2: One or more of the silicon gaskets have been damaged. Release the pressure on yourdispenser and contact us to arrange replacement gaskets.Solution #3: The headset was not screwed on tightly enough. Screw the head onto the bottle inaccordance with this instruction manual so that it is on straight and sealed tightly.Solution #4: Dispenser has been damaged. Contact us for assistance at www.icotrading.com.
References
[xyz-ips snippet=”download-snippet”]