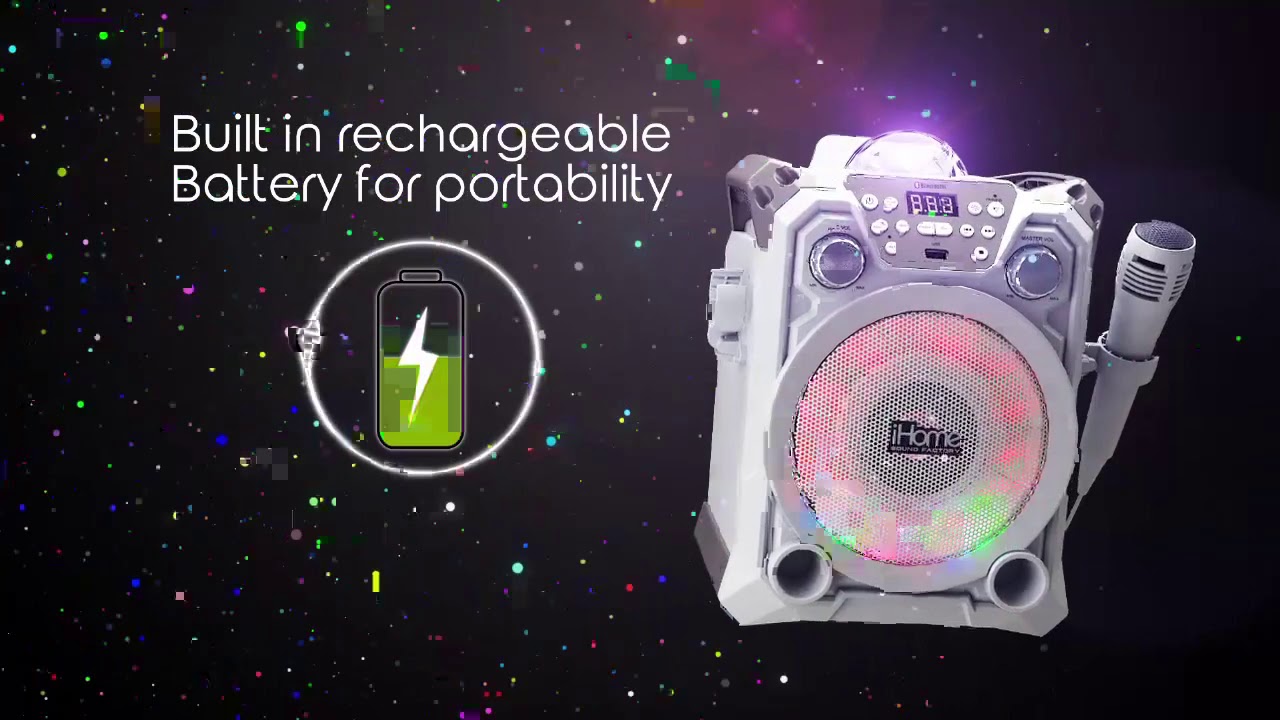

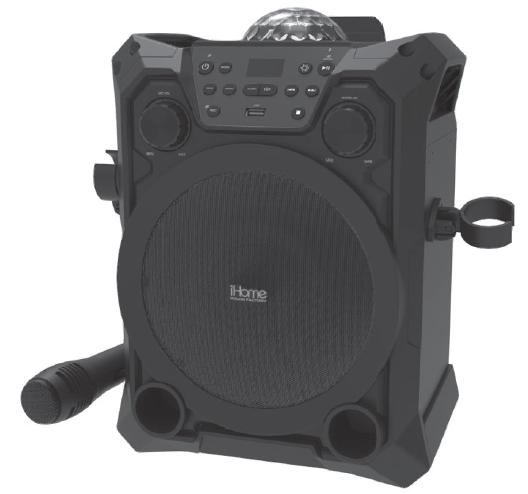
iHOME iSF-22 Karaoke Machine with Bluetooth Speaker and Wired Microphone
Important Message to CustomersThank you for purchasing one of our top-quality electronic products. Please take a moment to read through these instructions to help you understand the safe and proper way to use this toy to extend its usability.Keep these instructions for future reference as they contain important information.
Getting Started
There are three ways to listen to music with this unit:
- In USB Mode you can connect a flash drive to the unit and listen to your stored songs.
- In AUX Mode you can connect any audio device using a 3.5mm audio cable (not included).
- In Bluetooth Mode you can stream music from your smartphone or other Bluetooth device.
Note: After 15 minutes of no audio activity, the unit will time out. Press the Power ON/OFF button to resume audio function.
Charging The Unit
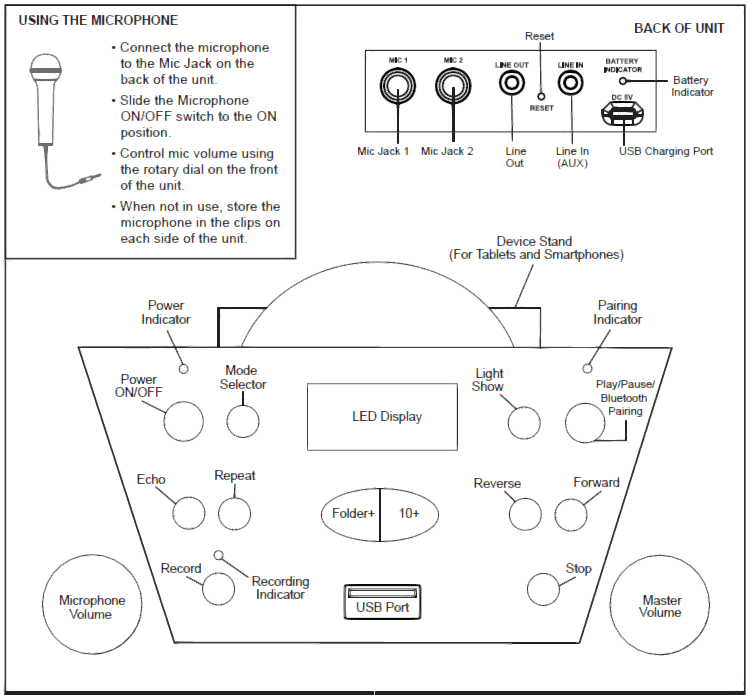
- Connect the included micro USB cord to the micro USB charging port on the back of the unit.
- Connect the standard USB plug end of the cord to a power USB port on a computer or other USB charging device.For first time use, charge unit for about 5 hours.
Note: The display will read ‘Lo’ when it is time to charge the unit. The battery indicator on the back of the unit will glow red while charging, and will shut off when fully charged.
Charge via USB AC adaptor, computer USB port, or other powered USB port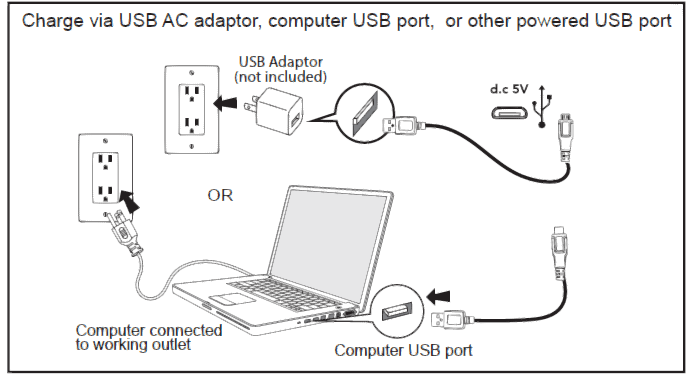
Using USB Mode
Use the Mode Selector to set the unit to USB Mode.
- Connect a USB flash drive to the USB port on the front of the unit. (USB Mode is compatible with .mp3 and .wav files only.)
- Press the Power Button to turn the unit ON.
- When a USB drive is detected, the number of files on the USB drive will appear on the LCD display.
- Press Play, then press the ”Folder+” Button to advance through the files on the USB drive. If you have a large amount of files saved, press the “10+” Button to advance through 10 folders at a time.
Repeat Button (Works only in USB Mode):
- Press the Repeat Button to repeat the current track.
- Press again to repeat all tracks within a folder.
- Press a third time to repeat all songs on the flash drive.
- Press a fourth time to turn the Repeat function OFF.
Using AUX Mode
- Use the Mode Selector to set the unit to AUX Mode.
- Connect one end of a 3.5mm audio cable (not included) to the Line-In Jack on the back of the unit.
- Connect the other end of the audio cable to the headphone jack of any audio device.
- Use the controls on your audio device to navigate tracks and play/pause audio.

Modes
Light Modes
By default, the unit will display a repeating light pattern when no music is playing. When music plays, the unit will activate ‘beat detection’, and lights will pulse along to music.
• Press the Light Show Button to play repeating Light pattern• Press again to turns light off• Press again to return to default setting• Press and hold to turn the top dome light ON/OFF
Echo Modes
Press the Echo Button for cool vocal effects! Press repeatedly to cycle through 8 different echo modes as you sing through the microphone.
Using Bluetooth Mode
- Use the Mode Selector to set the unit to ‘bt’ Mode.
- Turn on your Bluetooth device and make it “discoverable” by turning on Bluetooth mode (check in Options or Settings).
- “Karaoke 22” should appear in your device’s Bluetooth menu. If “Not Connected” or a similar message appears, select “Karaoke 22” to connect it.
- The Bluetooth indicator will glow solid once connected. Put your Bluetooth device in play mode to begin streaming music.
- Use the “Forward” “Reverse” and “Play/Pause” buttons on the unit to navigate tracks.
- Pairing automatically occurs in Bluetooth mode. If no device is connected within 3 minutes, pairing mode will time out. Press and hold the Play/Pause/Bluetooth Pairing button to re-pair a device.
Recording to the USB Drive
Record your performance and save it to a USB flash drive! (Note: you can record in Bluetooth or AUX modes only).Recording Audio in Bluetooth Mode or AUX Mode:
- To start, use the Mode Selector to set the unit to either Bluetooth Mode or AUX Mode.
- Plug a USB flash drive into the USB port on the front of the unit.
- Make sure the microphone is connected to the unit and the Microphone ON/OFF Switch is turned ON.
- Select a song from your audio device, and press Play.
- Press the Record Button. The Recording Indicator will glow to confirm the unit is recording audio. Sing into the microphone to record your voice over the music.
- When you finish your performance, press the Record Button again to stop recording. The audio will be saved to your USB flash drive.
Listening to Recordings:
- Use the Mode Selector to set the unit to USB Mode.
- Use the Forward, Reverse, Folder+ or 10+ Buttons to navigate through files on your connected USB flash drive, then press Play to listen!
Sharing Recordings: Remove the USB flash drive from the unit and connect to a computer to share your performances!
Troubleshooting
If the unit does not respond:
- Make sure unit is completely charged.
- To re-pair your device, press and hold the Play/Pause/ Bluetooth Pairing Button.
- In the event of interrupted operation, use the extended tip of a paper clip or other thin tool to press in the Reset Button on the back of the unit.
Maintenance
- It is important to keep the unit as dry and clean as possible. You may clean the cabinet with a cloth or sponge moistened with mild soap and water. Do not attempt to use strong cleansers or solvents, as they may cause damage.
- Battery chargers used with the toy are to be regularly examined for damage to the cord, plug, enclosure and other parts. In the event of such damage, do not use until the damage has been repaired.
Questions or Comments
 report this ad
For questions or comments regarding this or other eKids products, please call our toll-free number: 1-800-288-2792.Also visit our website: www.ekids.comIf problems persist, please do not attempt to repair unit; see warranty for factory service.
References
[xyz-ips snippet=”download-snippet”]