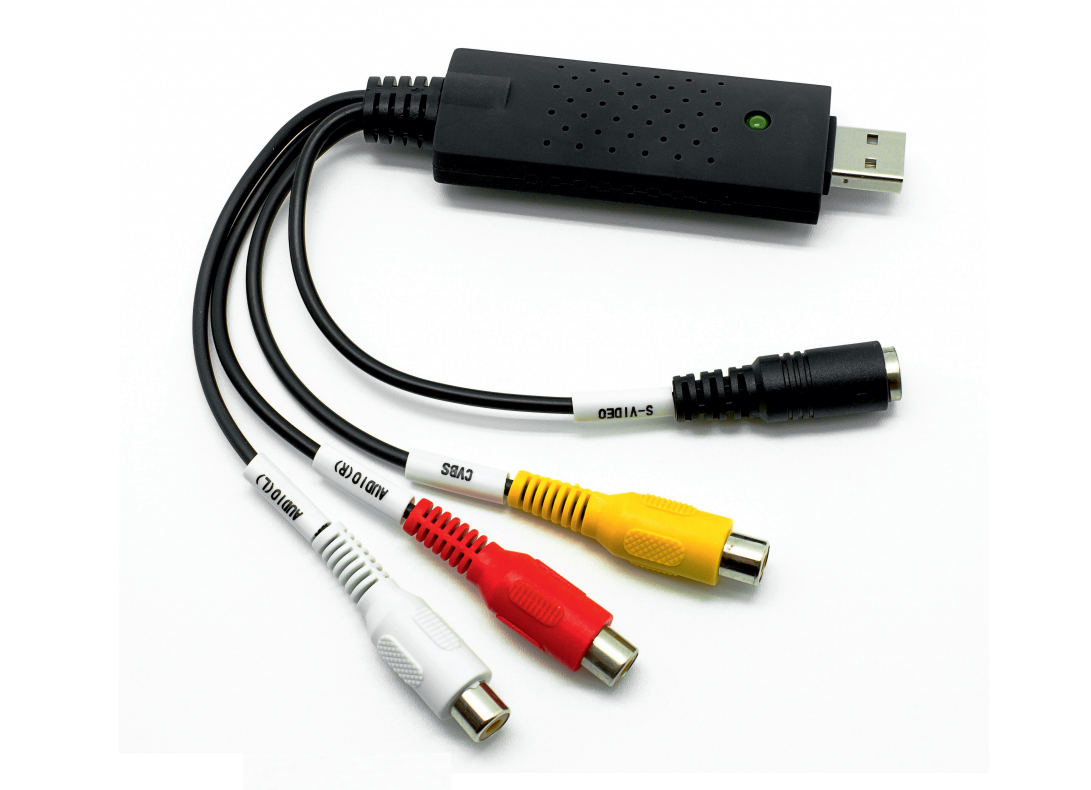
imperii USB Analogical to Digital Converter

Guide of installation
Thanks for acquiring our Converser Analogous-Digital. Let’s explain to you you how to install it and enjoy it. With this product, you can convert your old recorded films on supports like: VHS, Hi8, sVHS, etc. to a stock of video digital like: AVI, MPEG1, MPEG2, WMV, or AFS; or copy them directly on CD/DVD.Before you go ahead with the installation of the Converter Analogous-Dig Ital, please, make sure your computer full fills the following requiring.
| O.S | Windows Vista / 2000 I XP |
| RAM | 256MB (512MB for the edition) |
| Processor | Pentium 111 800MHz or higher |
| HDD | 600MB (installation) 14GB (edition) |
| Display | Compatible with HD resolutions |
| Hardware | CDROM, CD-R/RW, DVD-R/RW |
![]() WARNING: You may need a RCA cable with two male plugs. This cable will help you to connect the Converter Analogous-Digital to your camera / reproducer
WARNING: You may need a RCA cable with two male plugs. This cable will help you to connect the Converter Analogous-Digital to your camera / reproducer
Connection
Connect the Converter Analogous Digital is very easy: Plug the USB (1) toyour USB computer’s port. Next, connect the cable RCA (2) to the RCA entry of your camera/ reproducer Analogous (3). Make sure you did no mistakes with colors. Once connected, tum on your camera I reproducer analogous.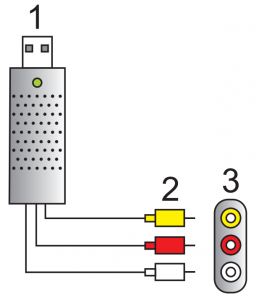 If this is the first time you are connecting the Converter Analogous-Digital to your computer, please, go ahead with the following instructions. During the installment process, the computer will indicate the moment you are to connect.
Installation of Drivers
When you introduce the CD, this one will reproduce automatically. If not, youmust enter the CD unit and start it manually. For that you need to make double click on “autorun.exe”If it starts automatically as if you are booted it manually, it shall be shown the following screen:
This is the initial screen of the CD or the menu of the CD. At this moment you must select the option “Install Drivers“. The Drivers will allow your Computer to recognize the Converter Analogous Digital and be able to work with it.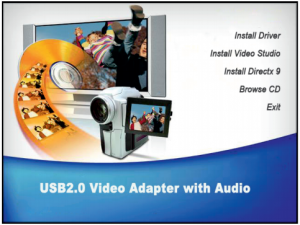
Now choose the language you want for the installation and press “Accept”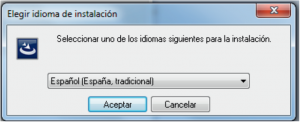
Then read the license agreement, press the button “I accept the license closes, and press the button “Next”. If you want you can also print this license agreement.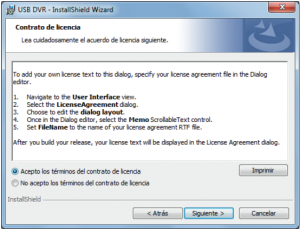
At this moment, you have to introduce you name and declare the organization you belong to. If you are not member of an organization you can write “house” or leave that field in white.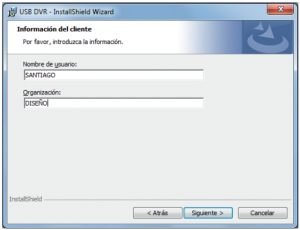
At this point, you can select the type of installation: “complete” if you want a standard installation and “personalized” to select manually the parts.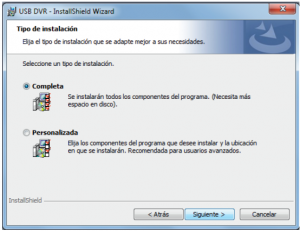
From the moment you have shaped all the parameters, you can start installing. For that you just need to press “Install” and the files record will start automatically.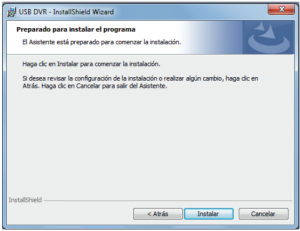
Software installation
Now, it is time to install your software. Whit this program you will be able to edit your films: order the shots, agree upon them, apply effects, introduce music, transitions, etc.Now initiate the installation, you have to insert the installation CD or start it manually {see the previous device)
Choose the option “Install Video Stud ion to start the filter. Our recommendation is to have installed the last version of DirectX: “Install DirectX 9″will install in your computer the version you need to manage the software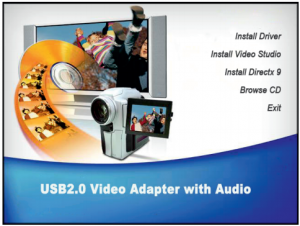
In that page you must select the language you prefer to realize the installment. Pres “Next’ after you select language.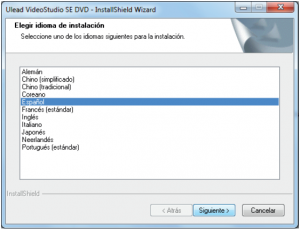
After, you have to read and accept the license closes. Once you select on Accept the license closes”, press “Next”
Now it opens to us a new page where you have to introduce your name, the organization you belong to {office, house, mobile, name of your enterprise, etc.) and product serial number, the one that appears on the CD envelop. After you fill all these areas, press “Next”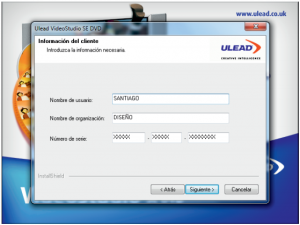
On this page you are to select the file where you want to install the program. By default, the filter will create a new file in your Hard Disk. If you don’t want to install the program in a special file, click on “Next” to have it installed in a file by default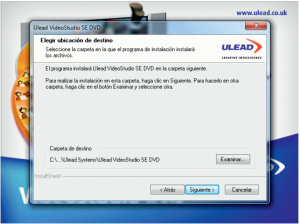
Next, you must select the standard code (PAL/ NTSC} In Europe we use PAL (SECAM in France) and in USA we use NTSC. This step is very important because the images to convert will be codified in PAL if the video-camera or the analogous reproducer has been bought in any European country. If you have bought your video camera or analogous reproducer in USA, select NTSC. Later you can convert your films in PAL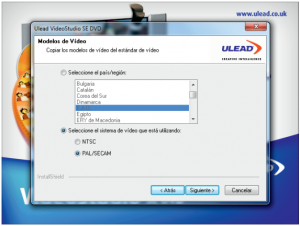
Finally, allow the programmed so that you can start to copy the archives in the file that you have selected or created before. Press “Next” to start the installation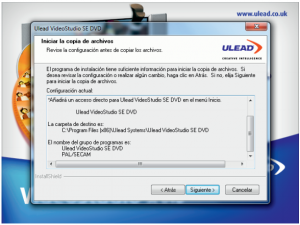
Once the program is installed, you will have created a shortcut icon in yourdesktop. Make double click on it to initiate the program. To know hoy to use this software, please, discharge the manual in the following link:www.imperiielectronics.com/manuales/ulead.pdf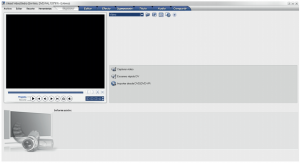
Limited Warranty
✓ This product is guaranteed for 2 years from the date of purchase.✓ Warranty is effective since the commercial invoice duly is filled and sealed settlement.✓ If there is any problem with the product, the user should contact us in the adress:[email protected]. Once received, the doubts, incidents and problems will be resolved by email. If this is not possible and the problem persists, the guarantee will be processed in accordance with current law.✓ The warranty is extended for two years, referring only to manufacturing defects✓ The expedition to the nearest service center or our central office to be made prepaid. The item must arrive well packed and with all its components.✓ Assume no liability for damages arising from misuse of the product✓ The warranty does not apply in the following cases:
- If you have not been followed this manual correctly
- If the product has been tampered
- If it has been damaged by improper use
- If the defects have arisen as a result of power failures
PRODUCT__________________________MODEL____________________________SERIES_____________________________
TECHNICAL SERVICE : http://imperiielectronics.com/index.php?controller=contact
![]()
imperii USB Analogical to Digital Converter User’s Manual – imperii USB Analogical to Digital Converter User’s Manual – imperii USB Analogical to Digital Converter User’s Manual –
[xyz-ips snippet=”download-snippet”]