
![]()
Outdoor Smart OutletINK-WP03User’s Manual
- Indicator Light
- Power Button
- AC Power Socket
- Power Plug
What’s Included
Outdoor Smart Outlet*1User’s Manual*1
Free App Download
Search the InkbirdSmart app from Google Play or App Store to download it for free, or you can scan the QR code to download it directly. http://www.ink-bird.com/inkbird-app-download.html
![]() InkbirdSmart
InkbirdSmart
Register before using the InkbirdSmart app. Select your Country/Region, enter your e-mail, then a verification code will be sent to your mailbox, enter it to confirm your identity and the registration is done. The device is only compatible with 2.4 GHz networks. Please make sure that the device is connected to the 2.4 GHz network before installing the app.
Basic Operation
Press the power button to turn on or turn off the power. Plugin the smart Wi-Fi plug, press the power button to turn on the device. The indicator light will turn red if the power is on and the indicator light will turn off if the power is off. Hold the power button for about 5 seconds to enter Quick Connection mode, the indicator light will turn blue and flash rapidly in this mode. Hold the power button for about 10 seconds to enter AP mode, the indicator light will turn blue and flash slowly in this mode.
Note: The power button controls the power supply of the socket. The Wi-Fi plug will be turned on automatically when plugged in. The indicator light will stay red if the power of the socket is turned on, and it may looks like purple if the smart Wi-Fi plug is in the Quick Connection mode or AP mode as the indicator light flashes in blue. The mix lights of two different color indicator lights looks like purple and the indicator light will stay blue when the smart Wi-Fi plug is successfully connected.
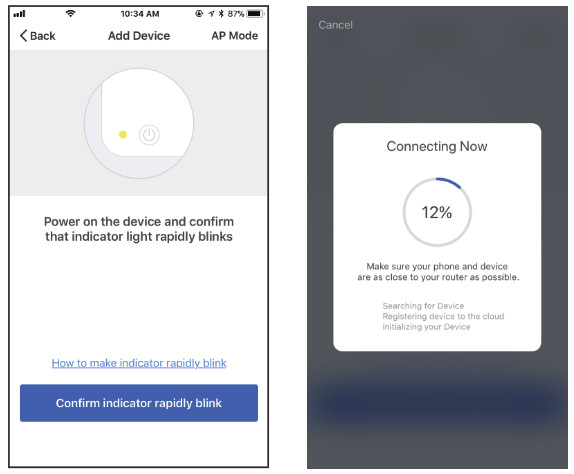
Add device in quick connection
- Plug the device in the socket and make sure that the device is in the Smart configuration state(the LED symbol is flashing, interval flashing 250ms).
- Click “Confirm indicator rapidly blink” and then select Wi-Fi network, enter Wi-Fi password, click “confirm” to enter connection process.
- The device only supports 2.4GHz Wi-Fi router.

Add device in AP mode
Plug the device in the socket and make sure that the device is in the AP Configuration State (the LED symbol is flashing slowly, interval flashing 1500ms).Click “Confirm indicator slowly blink” and then select Wi-Fi network, enter Wi-Fi password, click “confirm” to enter connection process.Press “Connect now” and it will go to your WLAN setting in your smartphone, select the “SmartLife-XXXX” to directly connect to the router without putting in password.Go back to app to enter into the automatic connection interface.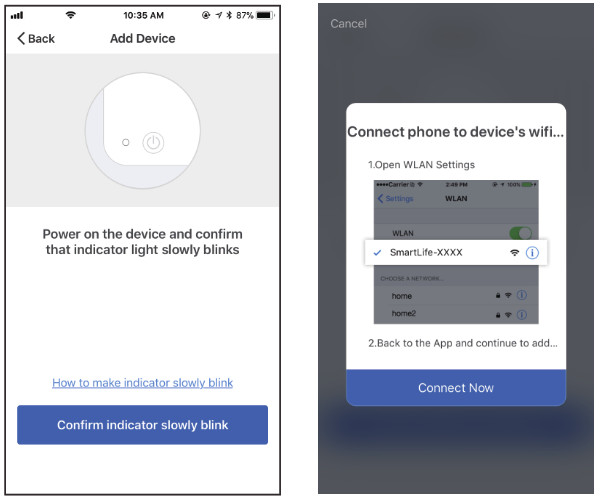
Operations
- Click the button in the center of the interface or “switch” to turn on/off the Wi-Fi plug on your phone.
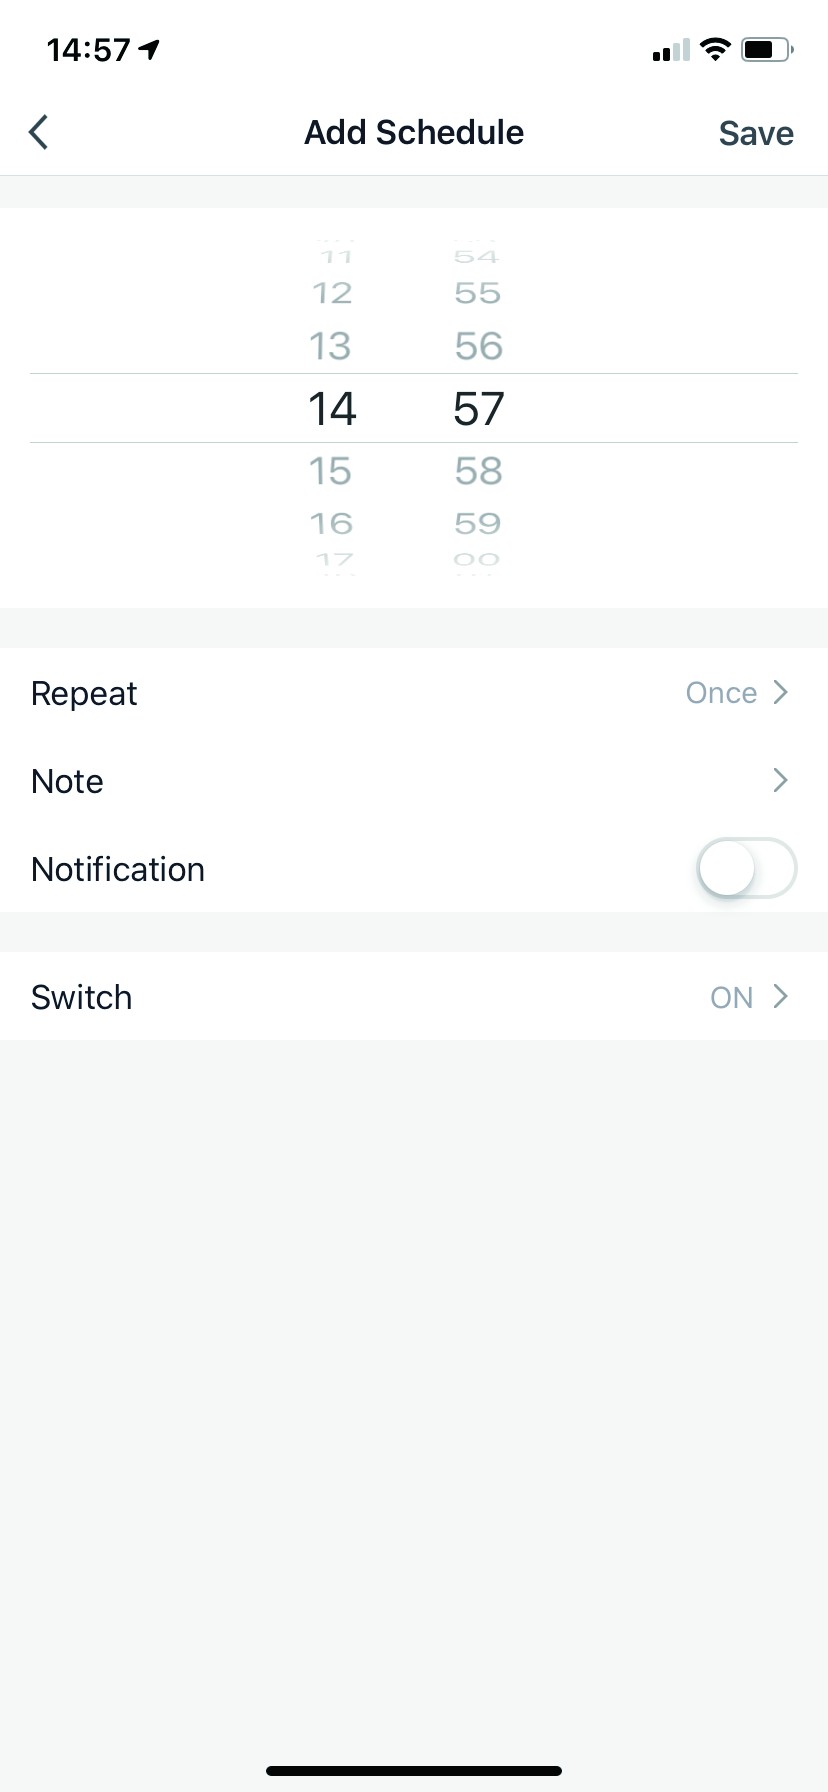
- Click “Schedule” to set a repeatable timer.
- Or you can click “timer” to set a repeatable timer.
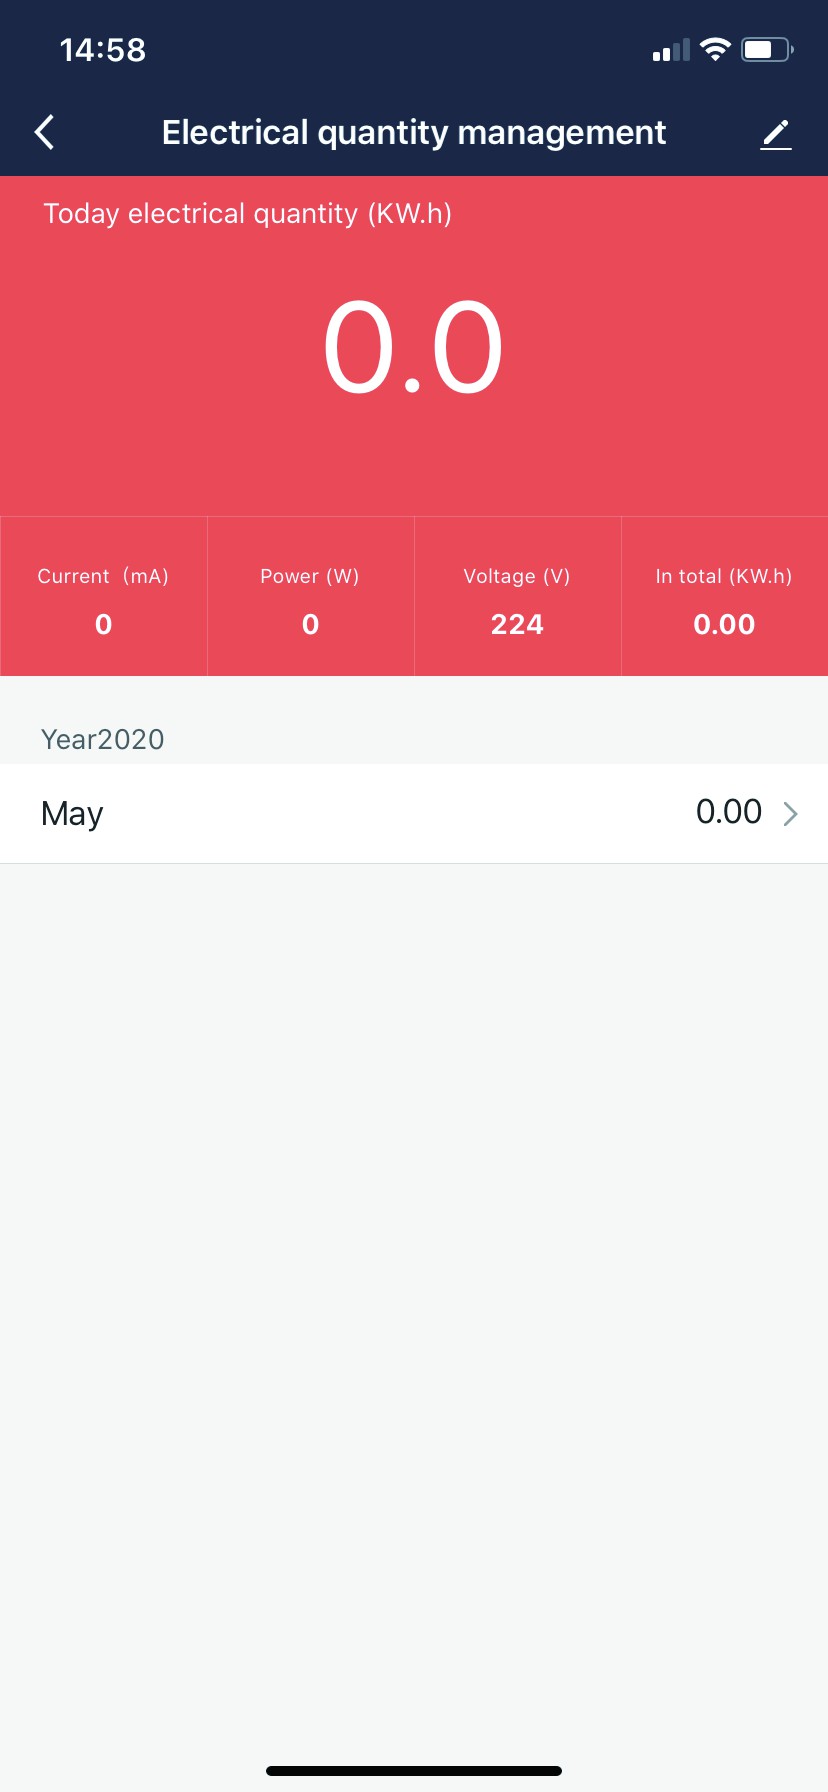
- Click “Statistics” to view how much electricity do you use.


Wi-Fi Reset
Hold the power button for about 5 seconds to reset Wi-Fi and enter into Quick Connection mode. Hold the power button for about 10 seconds to reset Wi-Fi and enter into AP mode.
Third-party Access Service
Tap “Me”, choose “More Services” to enter Third-party Access Service.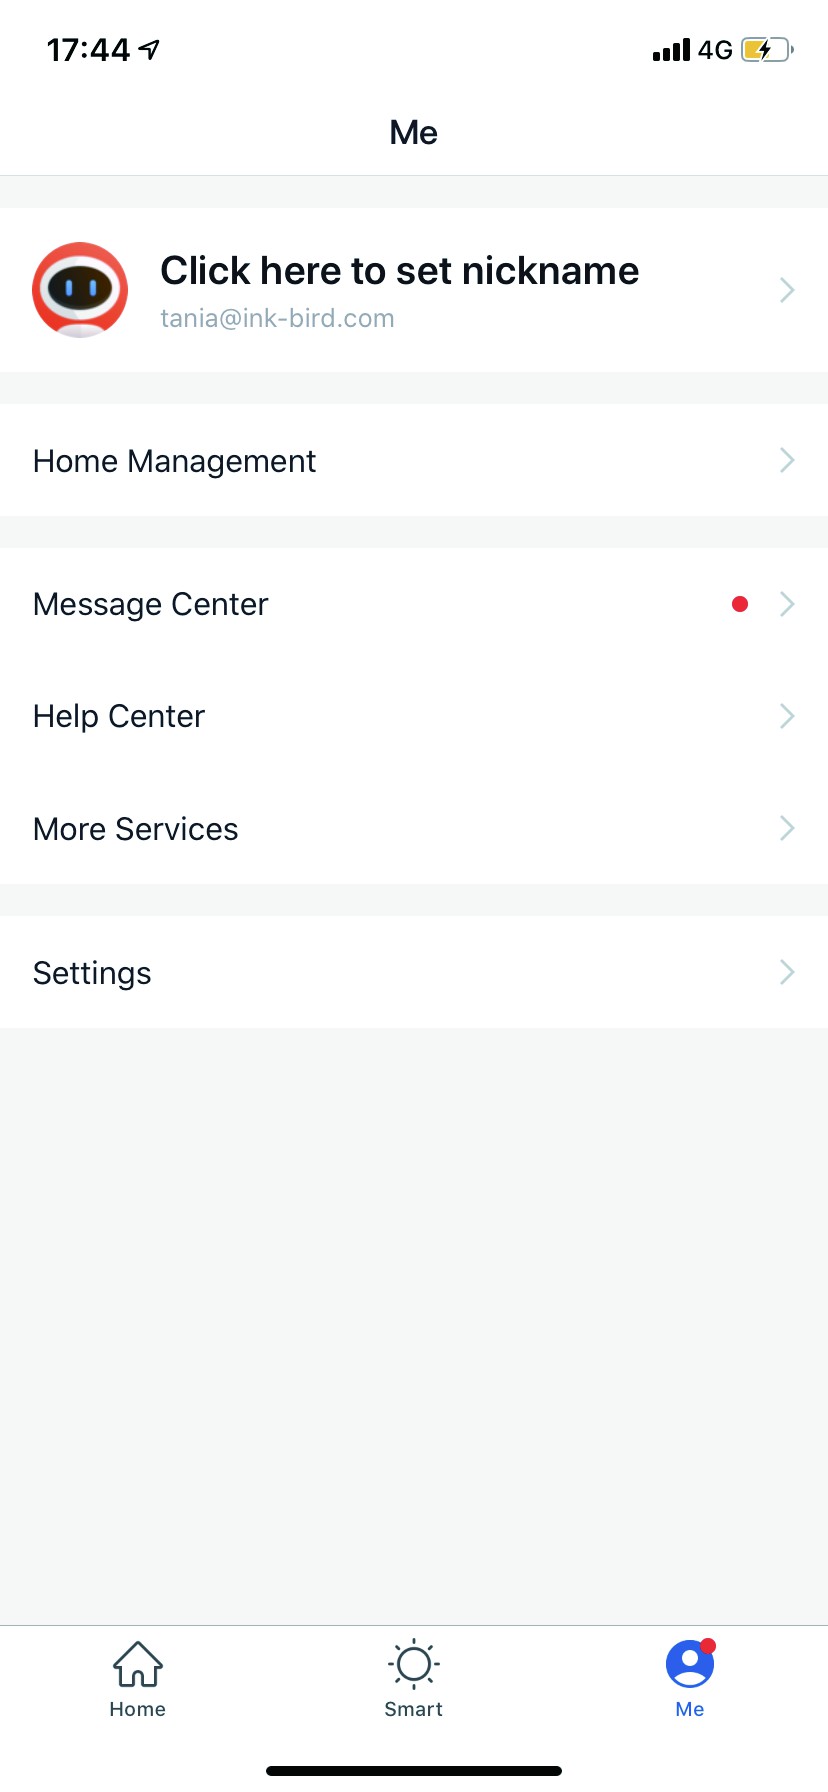
The Wi-Fi plug supports Alexa and Google Assistant, please choose the Third-party you need and set the smart Wi-Fi plug according to the instruction.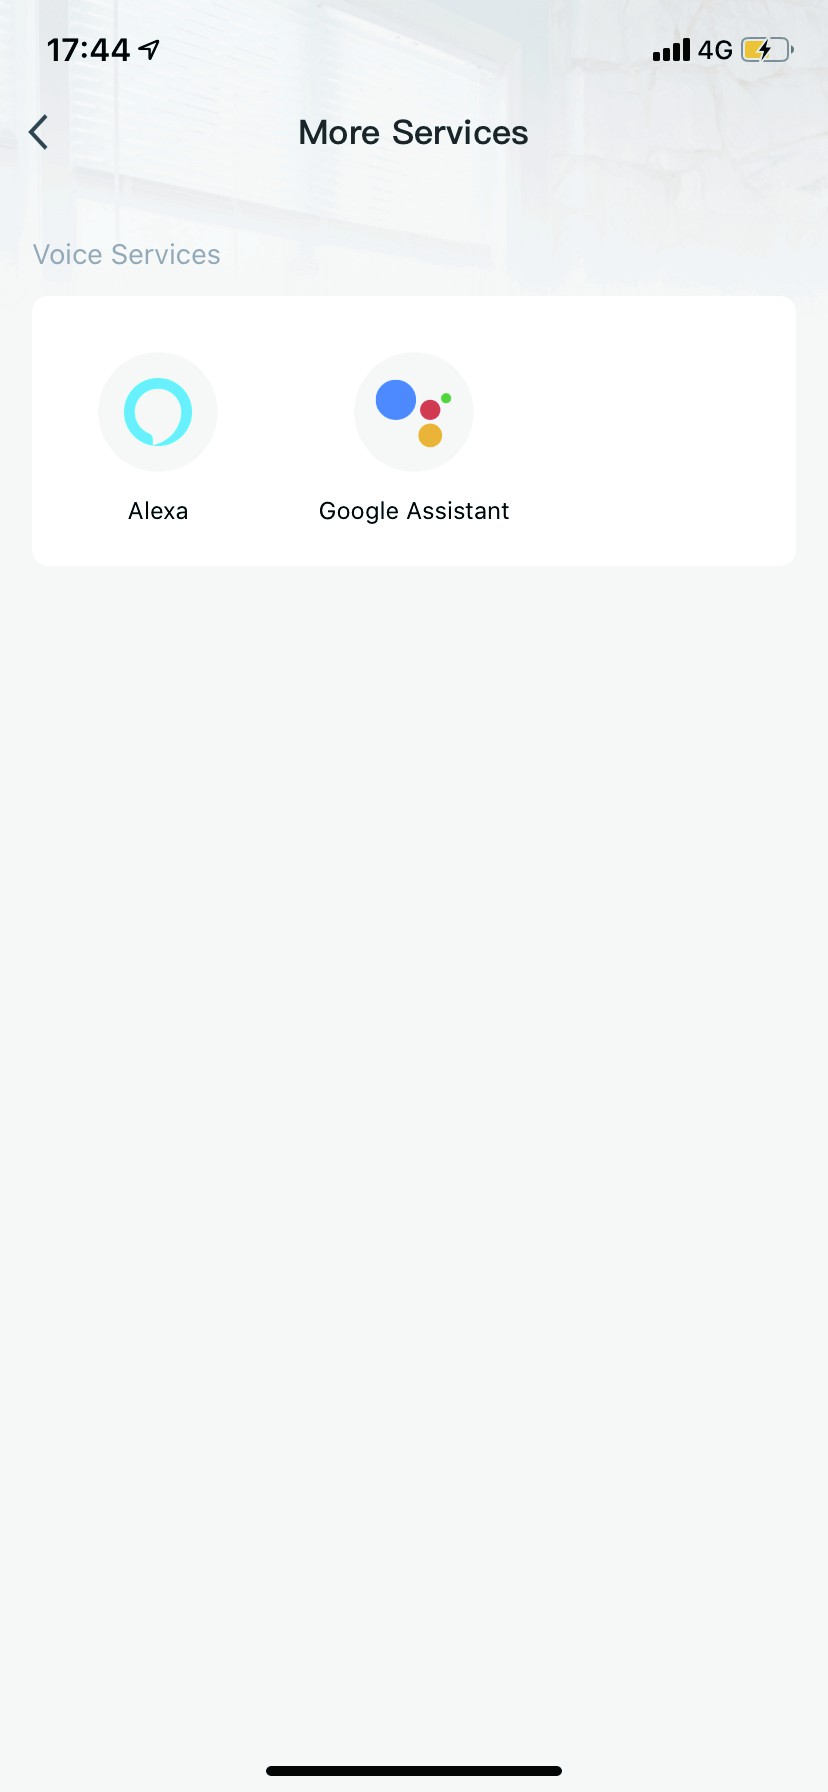
How do I connect to Alexa
The following is an example using Amazon Echo.
- Complete product networking configuration in the InkbirdSmart App.Complete the device’s networking configuration according to the prompts in the App.Note: In the App, change the name of the device to an easily identifiable name such as Alexa; names are usually in English, such as “bed light”.
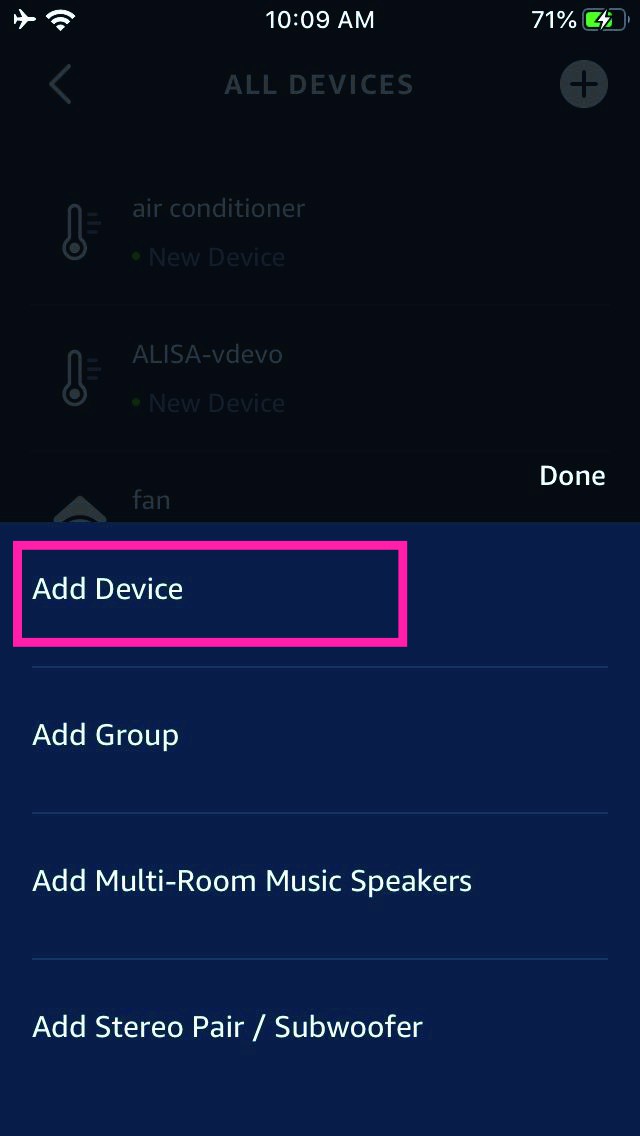
- Configure the Amazon Echo device.(If you have already configured Amazon Echo, you can skip this step. The following instructions are based on the iOS client).1. Make sure your Amazon Echo device is powered on and connected to a Wi-Fi network.2. Open the Alexa app on your phone. After successful login, tap on the menu in the upper left corner of the Home page, select “Settings” and tap “Set Up A New Device” to set up the Amazon Echo.
- Choose your Amazon Echo device type and language for connecting. Press and hold the small dot on the device until the light turns yellow. Then tap “Continue” to connect to the hotspot.After connecting to the Amazon Echo hotspot, return to the page. At this point, the connection is successful. Tap “Continue” to proceed to the next step. Choose a Wi-Fi network to connect to. Amazon Echo will take a few minutes to try to connect to the network.After connecting to the Amazon Echo hotspot, return to the page. At this point, the connection is successful. Tap “Continue” to proceed to the next step. Choose a Wi-Fi network to connect to. Amazon Echo will take a few minutes to try to connect to the network.
 After connecting to the Amazon Echo hotspot, return to the page. At this point, the connection is successful. Tap “Continue” to proceed to the next step. Choose a Wi-Fi network to connect to. Amazon Echo will take a few minutes to try to connect to the network.
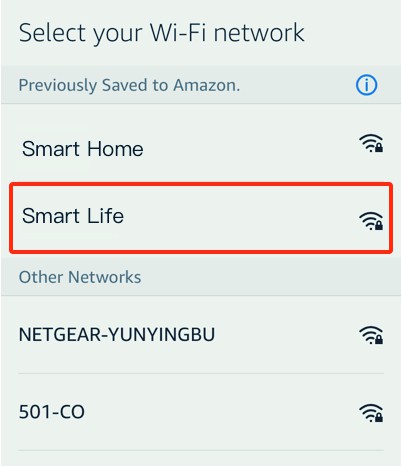 After connecting to the Amazon Echo hotspot, return to the page. At this point, the connection is successful. Tap “Continue” to proceed to the next step. Choose a Wi-Fi network to connect to. Amazon Echo will take a few minutes to try to connect to the network.
Key step – link Skill
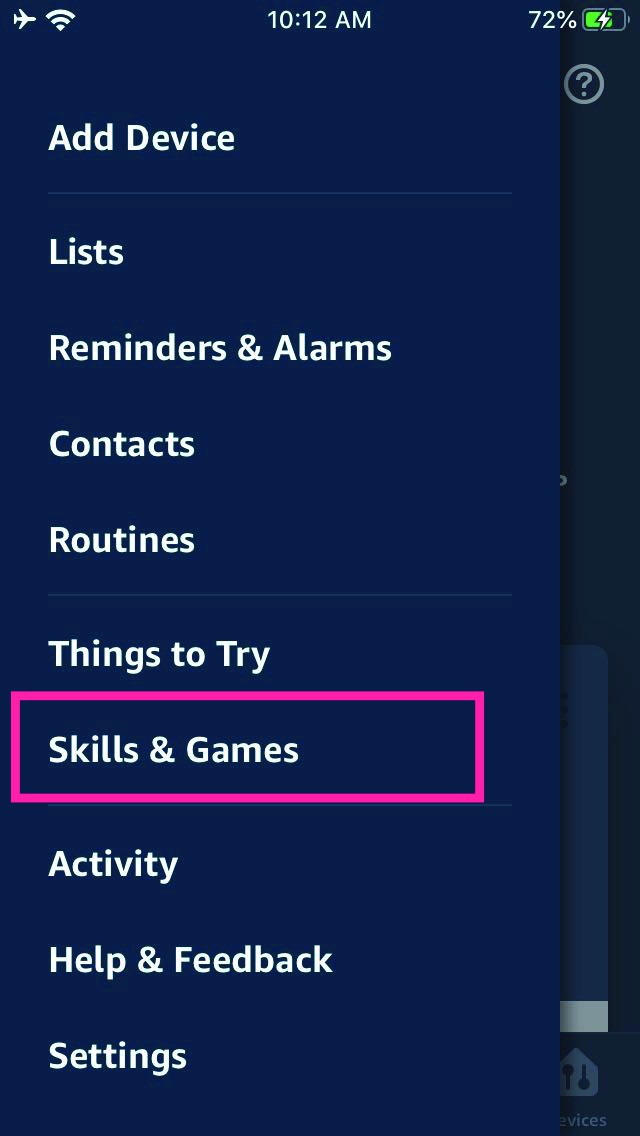
- Tap on “Skills” in the Alexa app menu
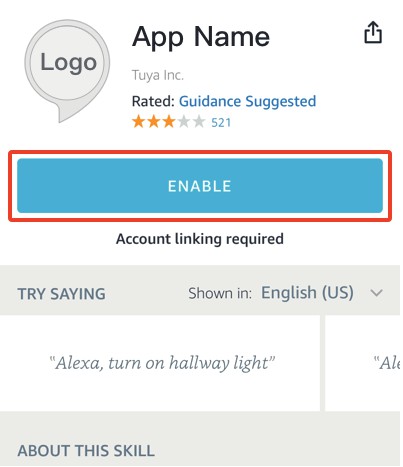
- Then search for “Smart Life”. Tap “Enable” to enable the Skill.
- Enter the InkbirdSmart APP account and password, then tap “Link Now” to link your InkbirdSmart account to enable the skill. Now you can start your smart home journey.

Common commands
Control the device via voice commands Now you can control your smart device with Echo. You can control your device (such as your bedroom light) with the following commands: Alexa, turn on/off bedroom light. (Turn on/off the light)
Alexa, set bedroom light to 50 percent. (Set the light to any brightness)Alexa, brighten/dim bedroom light. (Increase/weaken the brightness of the light)Alexa, set bedroom light to green. (Adjust the color of the light)
How to connect to Google Assistant
- Complete product networking configuration in the InkbirdSmart AppComplete the device’s networking configuration according to the prompts in the AppNote: In the App, change the name of the device to an easily identifiable name such as Alexa; names are usually in English, such as “bed light”.
- Configure Google Home device(If you have already configured Amazon Echo, you can skip this step. The following instructions are based on the iOS client).1. Make sure your Google Home device is powered on and connected to a Wi-Fi network.2. Open the Google Home app on your phone. After successful login, tap on the menu in the upper left corner and select “SET UP” to set up Google Home.
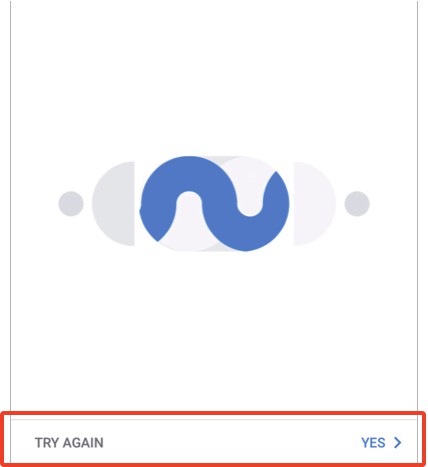
- It will notify you with a sound to ensure that you are connected to the correct device. After you hear the sound, tap “YES” to proceed to the next step.
- You can choose to differentiate the room where Google Home is located from other Google devices. Then, select the Wi-Fi network and language, wait for the system to complete the configuration, and tap “next.”
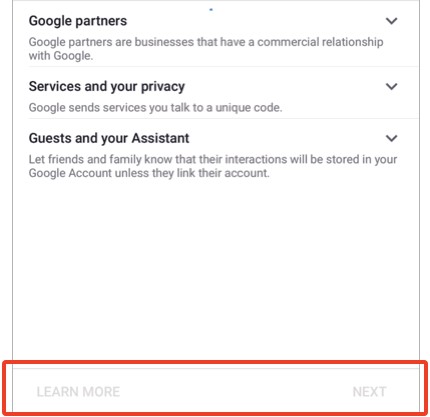
- According to the page prompts, choose whether to agree to the corresponding operation. When the page displays “Google Home is ready,” select “continue” to continue to the next step.
- Next is the voice control guide tutorial. Once you’re done listening, tap “FINISH SET UP.” At this point, Google Home setup is complete.


Key step – link Action
- On the main page of the Google Home app, tap the sidebar menu in the top left corner and select “Home Control.”
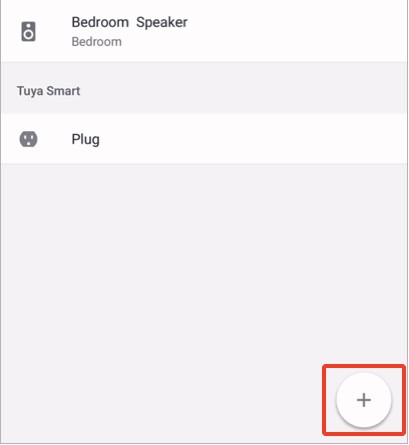
- Then tap the plus sign in the lower right corner and search for “Smart Life.”
- Find Smart Life on the list and open it, select the country where your InkbirdSmart app account is located, enter your InkbirdSmart app account and password, and tap “Link Now.”
- You can choose to differentiate the room where Google Home is located from other Google devices. Then, select the Wi-Fi network and language, wait for the system to complete the configuration, and tap “next.”


Control your smart device with Google Home
Now you can control your smart device with Google Home. With the bedroom light as an example, the supported commands include (Google Home currently only supports English commands):
Ok Google, turn on/off bedroom light. (Turn on/off the light or other device)Ok Google, set bedroom light to 50 percent. (Set the light to any brightness)Ok Google, brighten bedroom light. (Brighten the light)Ok Google, set bedroom light to red. (Set the color of the light, only color-changing lights support this function)
SAFETY PRECAUTIONS
- Read all the instructions before using the product.
- Do not use on an aircraft or in a hospital.
- To reduce the risk of injury, close supervision is necessary when the product is used near children.
- Do not expose the device to any moisture.
- Do not use the device in excess of its output rating. Overloaded outputs above rating may result in a risk of fire or injury.
- Do not use the device if damaged or modified. Damaged or modified smart plug may exhibit unpredictable behavior resulting in fire, explosion or risk of injury.
- Do not disassemble the device. Take it to a qualified service person when service or repair is required. Incorrect reassembly may result in a risk of fire or injury.
- Do not expose the device to fire or excessive temperature. Exposure to extreme heat may cause explosion.
- Have servcing performed by a qualified repair person using only identical replacement parts. This will ensure that the safety of the product is maintained.
FCC Statement
Chanages or modifications not expressly approved by the party responsible for compliance could void the user’s authority to operate the equipment. This equipment has been tested and found to comply with the limits for a Class B digital device, pursuant to Part 15 of the FCC Rules. These limits are designed to provide reasonable protection against harmful interference in a residential installation.This equipment generates uses and can radiate radio frequency energy and if Changes or modifications not expressly approved by the party responsible for compliance could void the user’s authority to operate the equipment. This equipment has been tested and found to comply with the limits for a Class B digital device, pursuant to Part 15 of the FCC Rules. These limits are designed to provide reasonable protection against harmful interference in a residential installation.This equipment generates uses and can radiate radio frequency energy and, if not installed and used in accordance with the instructions, may cause harmful interference to radio communications.However, there is no guarantee that interference will not occur in a particular installation. If this equipment does cause harmful interference to radio or television reception, which can be determined by turning the equipment off and on, the user is encouraged to try to correct the interference by one or more of the following measures:Reorient or relocate the receiving antenna. Increase the separation between the equipment and receiver. Connect the equipment into an outlet on a circuit different from that to which the receiver is connected. Consult the dealer or an experienced radio/TV technician for help.
This device complies with part 15 of the FCC rules. Operation is subject to the following two conditions (1) this device may not cause harmful interference, and (2) this device must accept any interference received, including interference that may cause undesired operation.

INKBIRD TECH.C.L[email protected]www.ink-bird.com+86-755-25738050Shenzhen, GD, 518000, China MADE IN CHINA
References
[xyz-ips snippet=”download-snippet”]