Intezze TWS Sport Earphone Instruction Manual

Operating instructions
ON/OFF
ATTENTION! Fully charge the earphones together with the case prior to first use. In order to connect the charging pins, it is necessary to first remove the protective film from the earphone pins!
Switching ON
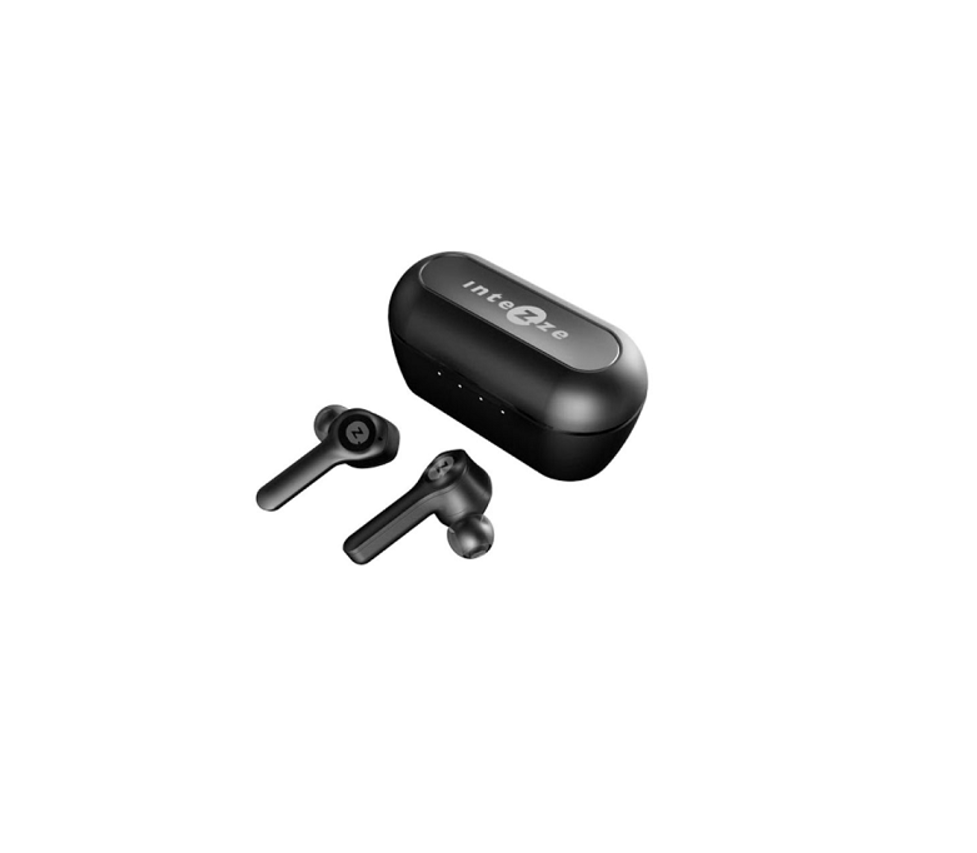
The earphones will automatically switch on after removing them from the case (does not apply to switching on for the first time, when it is necessary to remove the film – see above). When switching the earphones on manually, hold both touch areas below the “Z” logo for about 3 seconds.
Switching OFF
The earphones will automatically switch off after inserting them into the case. When switching the earphones off manually, hold both touch areas below the “Z” logo for about 5 seconds.The earphones will switch off automatically if they are not connected to any device for 5 minutes.
Pairing
Prior to the first use with every device, it is necessary to pair the earphones. Pairing does not have to be performed again and the earphones automatically try to connect to any previously paired devices within range
- earphone pairing mode is activated. You can also activate pairing mode manually by holding the touch area for about 5 seconds when the earphones are switched
- Select “Intezze MOVE” from the available BT devices on your phone and select Connect (if necessary, confirm the intention to pair the earphones).
Operation
Listening to music
PLAY/Pause Double-tap the L/R touch area quicklyPrevious track Hold the L touch area for approx. 2 secondsNext track Hold the R touch area for approx. 2 secondsVolume UP Tap the R touch area onceVolume DOWN Tap the L touch area once
Phone calls
Answering a call Double-tap the L/R touch area quicklyFinishing a call Double-tap the L/R touch area quicklyRejecting a call Hold the L/R touch area for approx. 2 seconds
Charging
Charging the earphonesAfter inserting the earphones into the case, automatic charging is activated. The case must be sufficiently charged.
Charging the caseTo charge the case, use the provided microUSB cable and a charging USB port or phone charger. Fully charge the earphones together with the case prior to first use.
Pairing one earphone (MONO)
In order to listen with only one earphone, pair both earphones with the phone first. Then insert both earphones back into the case and remove only the earphone that you want to use. Only one earphone will connect automatically.
RESET
- Switch on both earphones.
- Make sure that they are mutually paired and not connected to any device.
- Triple-tap the L or R touch area quickly. The LED on both earphones will turn red for 1 second and then both earphones will switch off.
- Insert the earphones back into the case. Repeat the “Pairing with the phone” process after they are removed.
LED indication on the earphones
STATUS LED indicator lightsSwitched ON LED is blue for 1 sWaiting for pairing LED of the main earphone blinks red/bluePaired LED stops blinking and turns offSwitched OFF LED is red for 1 sCharging LED is red steadilyFully charged LED turns off
LED indication on the case
Red diode of the charging microUSB connector:
Earphones being charged LED slowly blinks redEarphones charged LED turns offCase almost discharged LED blinks redCase charging LED is red steadilyCase fully charged LED turns off
There are also 3 blue LEDs inside the case. The number of LEDs lit indicates the charge remaining in the case.
Voice announcements in the earphones
STATUS Announcement in the earphonesSwitching ON Power OnSwitching OFF Power OffBattery discharged 3x beep every 30 sPairing PairingPaired ConnectedDisconnected Disconnected, pairingMax. volume BeepMin. volume Beep
Warning
- In order to connect the charging pins, it is necessary to first remove the protective film from the earphone pins.
- Fully charge the case together with the earphones prior to first use.
- If you do not use the earphones for a long time, charge them regularly together with the case to avoid damaging the batteries (shortening their service life).
- Keep the set volume at the lowest possible level. Listening to loud volumes for an extended period may damage your hearing irreversibly!
- Children must be supervised by an adult when using the earphones. Risk of swallowing small parts.
- Do not expose the earphones to water for extended periods. The earphones are not designed for swimming, showering, or diving.
- Using the earphones in a very dusty or humid environment may result in damage to the earphones.
- Only use a slightly damp cloth for cleaning.
- Do not use the earphones out of the allowed temperature range of -15 °C to +50 °C.
- Do not charge the case or earphones in places with a temperature lower than 0 °C.
- Do not expose the product to direct sunlight for extended periods.
- Never disassemble or otherwise repair the earphones yourself.
- Keep the earphone grille clean on both earphones in order to avoid sound degradation.
Warranty conditions
The warranty does not cover the following situations:
- Damage caused by tampering with the device.
- Filters clogged by earwax (may not be properly visible) or otherwise dirty. Cleaning must be performed by an authorised service provider and is charged.
- Earphones with the earphone duct filters removed.
- Physical damage to the headphones caused by a fall or impact.
- Damage caused by force majeure.
Read More About This Manual & Download PDF:
References
[xyz-ips snippet=”download-snippet”]