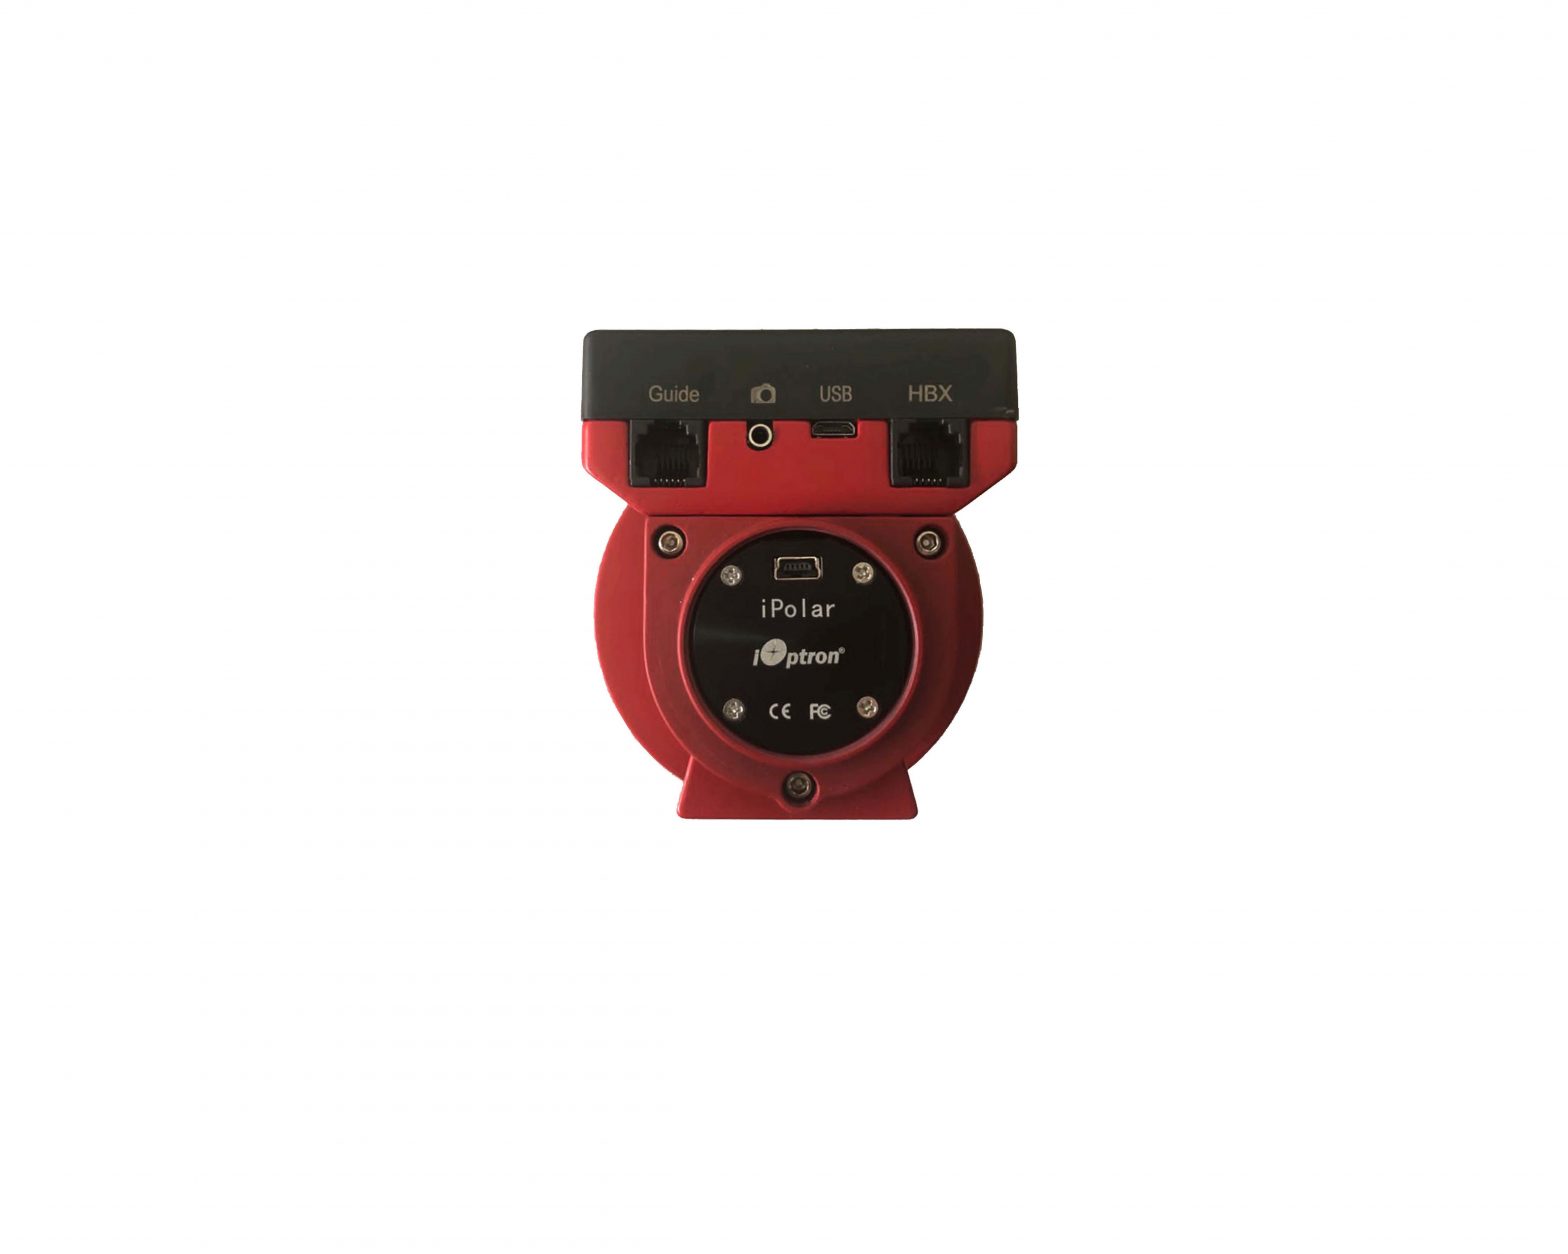
iPolar 3339R-SGP SkyGuider Pro Installation Guide
Tool needed:
A set of metric hex key wrench
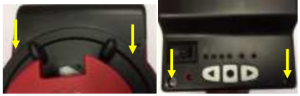
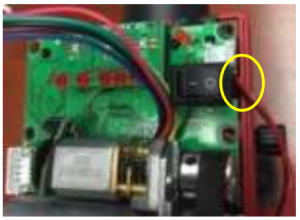
- Loosen two screws at the front of the mount and two others on the top of a SkyGuider Pro main board cover and remove the black cover.

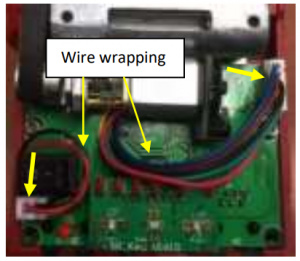
- Unplug the 6-wire motor driver cable and DC power cable. Remember how wires wrapped.
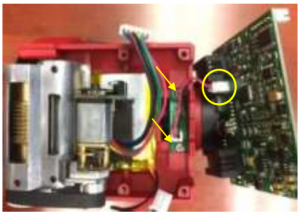
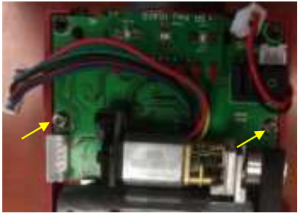
- Remove two mounting screws.
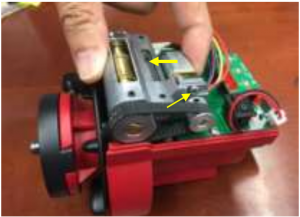
- Gently pull the circuit board with sockets end up and slide the circuit board out. If the board is stuck by the motor, loosen two Phillips screws hold the motor.
- Unscrew and remove the polar scope LED board and disconnect wire harness from the main board.
- Remove polar scope cover and base.
- Rotate the RA axis to find TWO set screws 90 degree apart next to the LED board, which are used to secure the polar scope in place. Use a 1.5mm hex key to release the set screws.
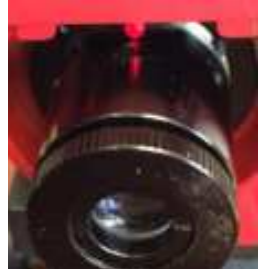
- Pull the polar scope out of the RA axis.
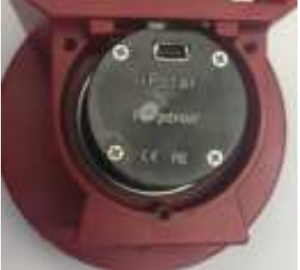
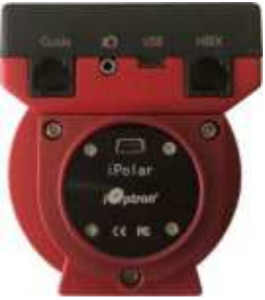
- Insert the iPolar into the RA axis. Rotate it to align the USB port to the DEC bracket. Lock the set screw gently to secure the iPolar.
- Replace the Polar Scope base plate with a new one with larger opening, if your SkyGudier Pro is an earlier version.
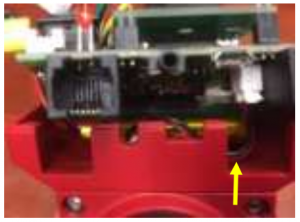
- Sliding the front end of the control board in.
- Gently push the board in when the power cable goes through the small cut on the board.
- If you release the motor to gain more space while remove the board, tighten motor locking screws while push the motor against worm assembly to tension the belt properly.
- When securing the board with two screws, make sure that the battery and wires underneath are properly seated. Fully tighten the screws.
- . Plug in the battery wire and motor cable. Refer to step 2 to wrap the wire properly. Put the cover and screws on.
- Follow iPolar Operation Manual to perform the polar alignment. Use quick slew button to rotate the SkyGuider Pro RA axis during camera center calibration.


[xyz-ips snippet=”download-snippet”]