![]() FG15B-KS USER MANUAL Ver.05/2020
FG15B-KS USER MANUAL Ver.05/2020
![]()
Copyright ©2005-2020 ISPRING WATER SYSTEMS, LLC. All rights reserved.
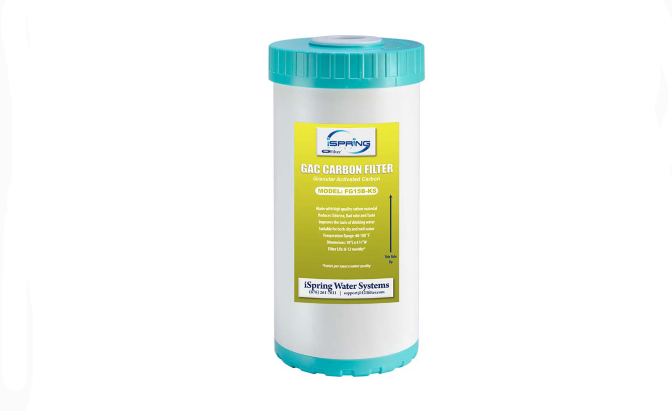
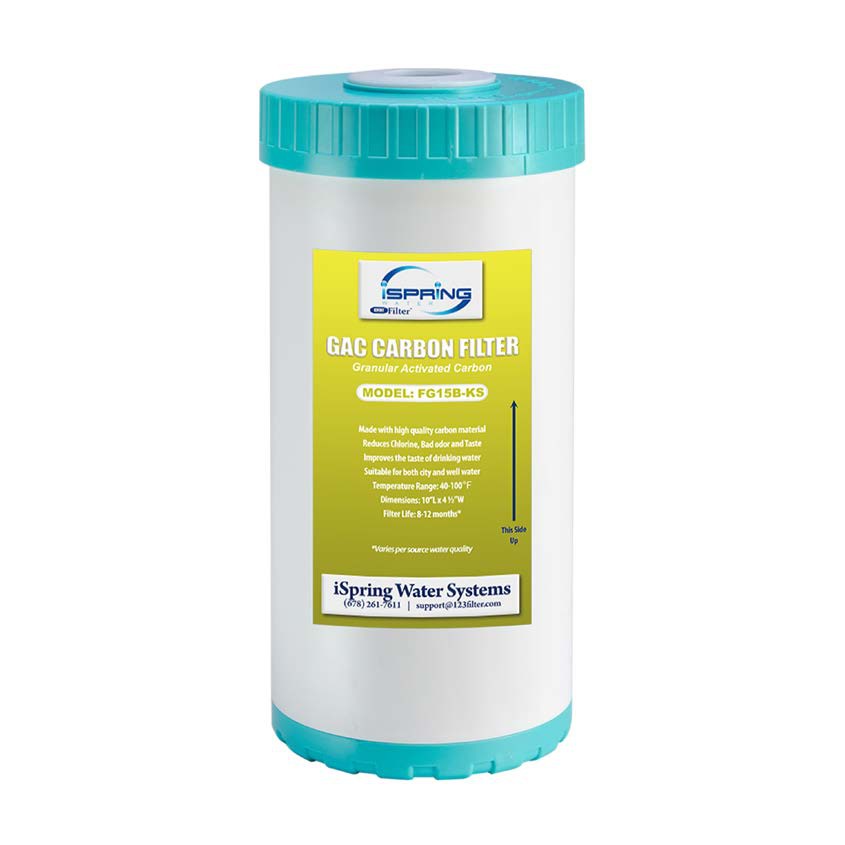
Product Specifications
|
Model |
FG15B-KS |
| Flow Rate | 3 – 15 GPM |
| Peak Flow Rate | 15 GPM |
| Minimum Working Pressure | 25 psi |
| Maximum Working Pressure | 80 psi |
| Operating Temperatures | 40-100 ºF (4 – 38 ºC) |
| pH Range | 6 – 11 |
First-time Use – Install Filters

1. Verify that the O-ring is properly seated inside the groove on top of the filter housing. A light amount of food-grade, silicon jelly may be used to help the O- ring seal better if desired but is not required.2. The filter cartridges are preserved in shrink wrap. Note the direction sign on the sticker prior to removing the wrap.3. When placing the filter cartridge into the housing, make sure it is centered and the protruding knob at the bottom of the housing fits securely in the filter’s central hole.4. Screw the housing, with filters attached, onto the cap, which should also have a center knob that should be inserted into the center hole of the filter cartridge. Turn the housing in a clockwise direction by hand, then use the housing wrench to tighten it another 1/4 – 1/2 of a turn and ensure it is snug. Do not over-tighten. This can cause leaks and make it difficult to unscrew the housing when replacing filters.5. Slowly turn on the water main to fill the housing. After a few minutes, the sound of water entering the system will stop. Check for leaks to verify the system is operating properly. Open the COLD-water faucet and run water for about 10 minutes to expel any carbon fines. Let the unit sit for several minutes, then repeat if necessary.6. Turn off the faucet, and your system is now ready for use.
![]() NOTICE:The water will have a blackish color for the initial flush. This is caused by residual carbon dust and is to be expected. Continue to run water until the color runs clear and all air has been purged. It is not unusual for the water to appear “cloudy” for a day or so following installation. This cloudiness is actually tiny air bubbles being purged from the filters. This is normal and will cease after a few days of operation.
NOTICE:The water will have a blackish color for the initial flush. This is caused by residual carbon dust and is to be expected. Continue to run water until the color runs clear and all air has been purged. It is not unusual for the water to appear “cloudy” for a day or so following installation. This cloudiness is actually tiny air bubbles being purged from the filters. This is normal and will cease after a few days of operation.
![]() NOTICE:After prolonged periods of nonuse (such as a vacation), it is recommended that the system be flushed thoroughly for at least 10 minutes prior to use.
NOTICE:After prolonged periods of nonuse (such as a vacation), it is recommended that the system be flushed thoroughly for at least 10 minutes prior to use.
Filter Change Instructions
Step 1- Remove Old Cartridges1.1 Turn off the water supply to the system. Open a nearby faucet to release the remaining pressure and drain the water.1.2 Unscrew the housings using the filter wrench included (AWR3) with your system, or a commercially available “strap” type wrench.1.3 Locate and remove the large O-ring using a small, clean flat head screwdriver. Avoid removing any of the lubricants, and set it aside in a clean, safe place.1.4 Remove and discard the old filter cartridges.Step 2- Clean the Housings2.1 Scrub the housings and caps with a mixture of warm water and about 2 tablespoons of household bleach using a sponge or soft rag. For your safety, wear rubber gloves. Rinse all parts very thoroughly!2.2 Lubricate the O-ring with clean silicone grease if needed. DO NOT USE PETROLEUM JELLY. Insert the O-ring into the filter groove and press it into place. Verify the O-ring is seated correctly.
![]() CAUTION:This step ensures the proper filter seal. Make sure the O-rings (ORB) are level when seated in the groove. If the O-ring appears damaged, stretched, or crimped, it should be replaced immediately.Step 3- Install the New Cartridge3.1 Remove the new filter packaging and insert the filter cartridges into the housings, making sure they slip over the bottom standpipe.3.2 Align the bottom of the housing with the cap and hand tighten, then use the filter wrench (AWR3) until snug. Do not over-tighten.3.3 Close any open valves. Turn on the water supply slowly to allow the system to fill with water. Inspect carefully for leaks. If a leak is found, remove the housing and inspect the O-ring to ensure that it is seated properly, and then retighten.Step 4- Flush the System4.1 Flush the system by turning on a cold-water faucet. Allow the water to run until the air and carbon has been purged. Water may initially appear cloudy as the filters and system remove trapped air. New activated carbon filter cartridges may contain loose carbon and air bubbles after installation.
CAUTION:This step ensures the proper filter seal. Make sure the O-rings (ORB) are level when seated in the groove. If the O-ring appears damaged, stretched, or crimped, it should be replaced immediately.Step 3- Install the New Cartridge3.1 Remove the new filter packaging and insert the filter cartridges into the housings, making sure they slip over the bottom standpipe.3.2 Align the bottom of the housing with the cap and hand tighten, then use the filter wrench (AWR3) until snug. Do not over-tighten.3.3 Close any open valves. Turn on the water supply slowly to allow the system to fill with water. Inspect carefully for leaks. If a leak is found, remove the housing and inspect the O-ring to ensure that it is seated properly, and then retighten.Step 4- Flush the System4.1 Flush the system by turning on a cold-water faucet. Allow the water to run until the air and carbon has been purged. Water may initially appear cloudy as the filters and system remove trapped air. New activated carbon filter cartridges may contain loose carbon and air bubbles after installation.
Maintenance Instructions
Your water system requires periodical care and cleaning throughout its lifetime. It is recommended that the cartridges be replaced every 12-24 months, depending on the number of contaminants present in the water supply. If the system has been functioning properly and the pressure is slowing, this could indicate that it is time to change the filter cartridges.
Replacement cartridges and parts can be ordered online at www.123filter.com or by calling 678-261-7611.
Warranty Registration
To register your product for its eligible warranty, please visit our website at 123filter.com and go to the “Warranty Registration” tab.
We provide a 30-day money-back guarantee, a 1-year manufacturer warranty, and lifetime tech support for all of our products. However, we do NOT access and store order information from websites other than 123Filter.com (including Amazon, Home Depot, etc.), so be sure to fill in that information upon registration of your system. If you have any questions or concerns about your product, please do not hesitate to call or email us, or submit your feedback in the notes/comments during warranty registration. Your satisfaction is our business!If you are happy with our products and service, please show your support by writing a product review. Even just a quick statement means a lot to us.
Thank you!Contact UsOffice Hours: Mon-Fri, 8:30 am – 5:30 pm ESTPhone: (678)261-7611Email: [email protected]
Warranty Registration Form
Name _________________Order# ________________Email __________________Phone __________________Address _________________City _________State _________Zip Code _________Model#/Serial Number __________
Send to:iSpring Water Systems, LLC2480 Industrial Park Blvd,Cumming, GA 30041678-261-7611
Plumber’s information (Optional)To best serve our customers, we like to recommend good plumbers throughout the USA.If you are happy with your installer, please provide their information so that we can pass it on as a courtesy. Thank you!Name of plumbing company used to installsystem:
Phone #: (______)-_________________ of the plumbing installer.
References
[xyz-ips snippet=”download-snippet”]