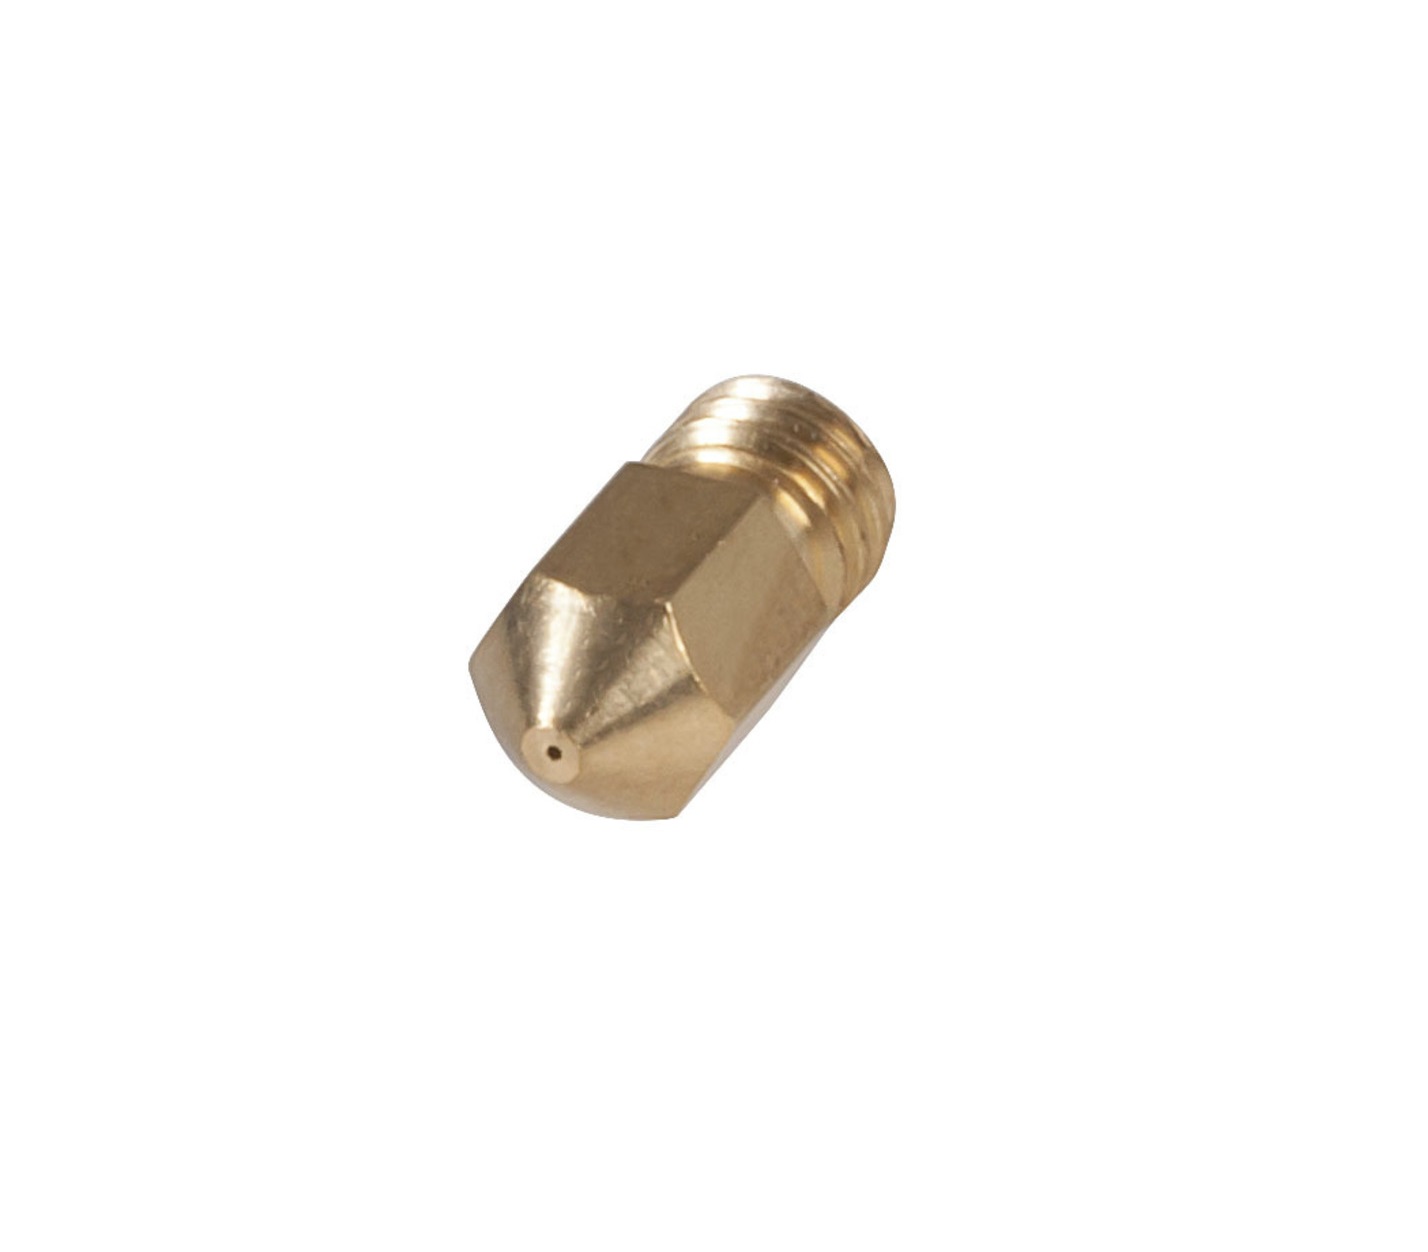
Jaycar TL4402 Spare Nozzle
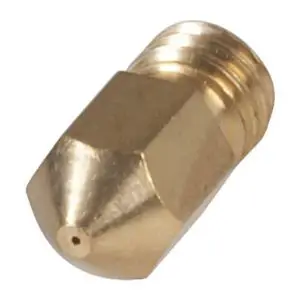
These are instructions on how to replace the nozzle for the TL4400 Snapmaker 3-in-1. With the TL4402 replacement nozzle kit. It will not be applicable for any other models or product numbers. You will need a screwdriver kit with allen keys and a small zip-tie, for instance TD2114 and HP1200.
Remove side covers and snip zip ties
Use phillips head to remove the side covers on both side. You will find the side with the fan will have the cables leading to the heater and thermocouple for the unit, with a zip-tie to tie them together. Unsnip these so that they are separated, and pull the white thermocouple out of the metal hot end.
Unclip and remove thermocouple
Rotate the entire assembly to access the other side, you will find that many of the wire connections are here; unclip the white connector and pull the end of the thermocouple through the assembly. You should find that you can remove the entire thermocouple at this point.
Unclip and de-case red thermocouple wire
The red thermocouple wire has a clipped head that is too big to slide through the assembly. However it can be done via unclipping the two pins from the housing and sliding them out individually. To unclip, gently press down on the small metal tab that is exposed in the connector, then pull the red wire to remove it from the housing. Do not push too hard as you can permanently bend the pin and make it difficult to clip back into the housing again.
Remove heat block
Once the red thermocouples are loose, you can use a small allen key to loosen the heat assembly from the motor assembly, then pull the heat block and thermocouple out.
Removing heater from heat block
To remove the heat block, if you are unable to do them both in one go as above, is to loosen the small Allen key under the heat block. This holds onto the heater, but can be difficult to remove if it is filled with plastic.
Place new heat block
Place the new heat block in place with the heater placement towards the back of the assembly, as shown. Tighten the allen key to secure it in place with the motor assembly.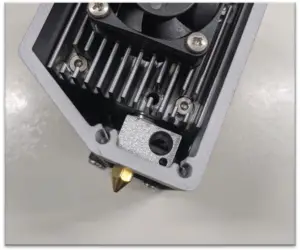
Prepare new heater
Similar to step 3, prepare the new heater to be inserted into place by temporarily unclipping it from the plastic housing. Be sure to keep the head, you will need it.
Place new heater
Then place the new heater into the gap provided in step 5 and tighten the small allen key to secure it in place.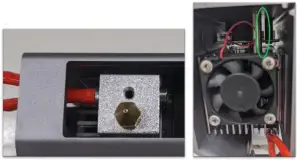 Next you will have to run the red wires up through the top of the circuit board and out the other side, similar to what was in the disassembly phase.The best location to place wires is through the gap shown in the green oval.
Connect heater
Now you can place the head of the heater back on, there is no polarity with wires, and connect to the circuit board connector that suitably matches the style of the thermocouple connector.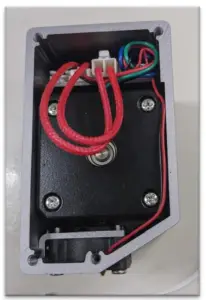
Connect Thermocouple
A new thermocouple can now be connected to the circuit board and run through in a similar fashion. Given the small size of the thermocouple head, it is best to first connect it to the circuit board, then thread it through the assembly so that it comes out the other side.
Align thermocouple position
It is important that the thermocouple is as close to center on the nozzle as possible. this can be done by first marking out where on the thermocouple lead is the correct depth to get centred position on the head of the thermocouple.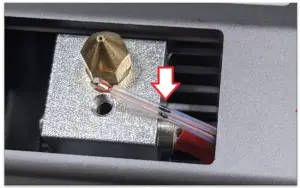
This tells us how deep the thermocouple must be to be close to the centre.
Place in thermocouple and zip tie together
Place in the thermocouple and use your marked measure to get it right, then zip tie thermocouple lead to the heater lead to keep it secure in place. Keep in mind that through bending the lead, the positions will change, so try to get the best position with the zip tie loose before finally tightening and snipping the end.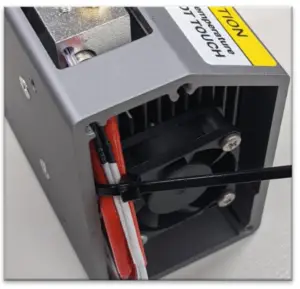
Finished!
Tidy up the zip tie and ensure that all leads are in the housing when putting both side panels back onto the unit.
Australiawww.jaycar.com.au[email protected]1800 022 888
New Zealandwww.jaycar.co.nz[email protected]0800 452 922
 report this ad
References
Spare Print Head Parts Kit for Snapmaker 3D Printer | Jaycar Electronics
Snapmaker 3-in-1 Printer with 3D Printer/Laser Etching/CNC Carving Interchanging Modules | Jaycar Electronics
📧[email protected]
Jaycar Electronics | Components, connectors, switches, power, and more
22 Piece Long Bit Screwdriver Set with Case | Jaycar Electronics
100mm Black Cable Ties – Pk.20 | Jaycar Electronics
📧[email protected]
Jaycar Electronics New Zealand | Components, connectors, switches, power, and more
[xyz-ips snippet=”download-snippet”]