![]()
JBL MTC-CS-Teth1 Ceiling Speaker Grille Installation Guide
Specifications and Installation Instructions
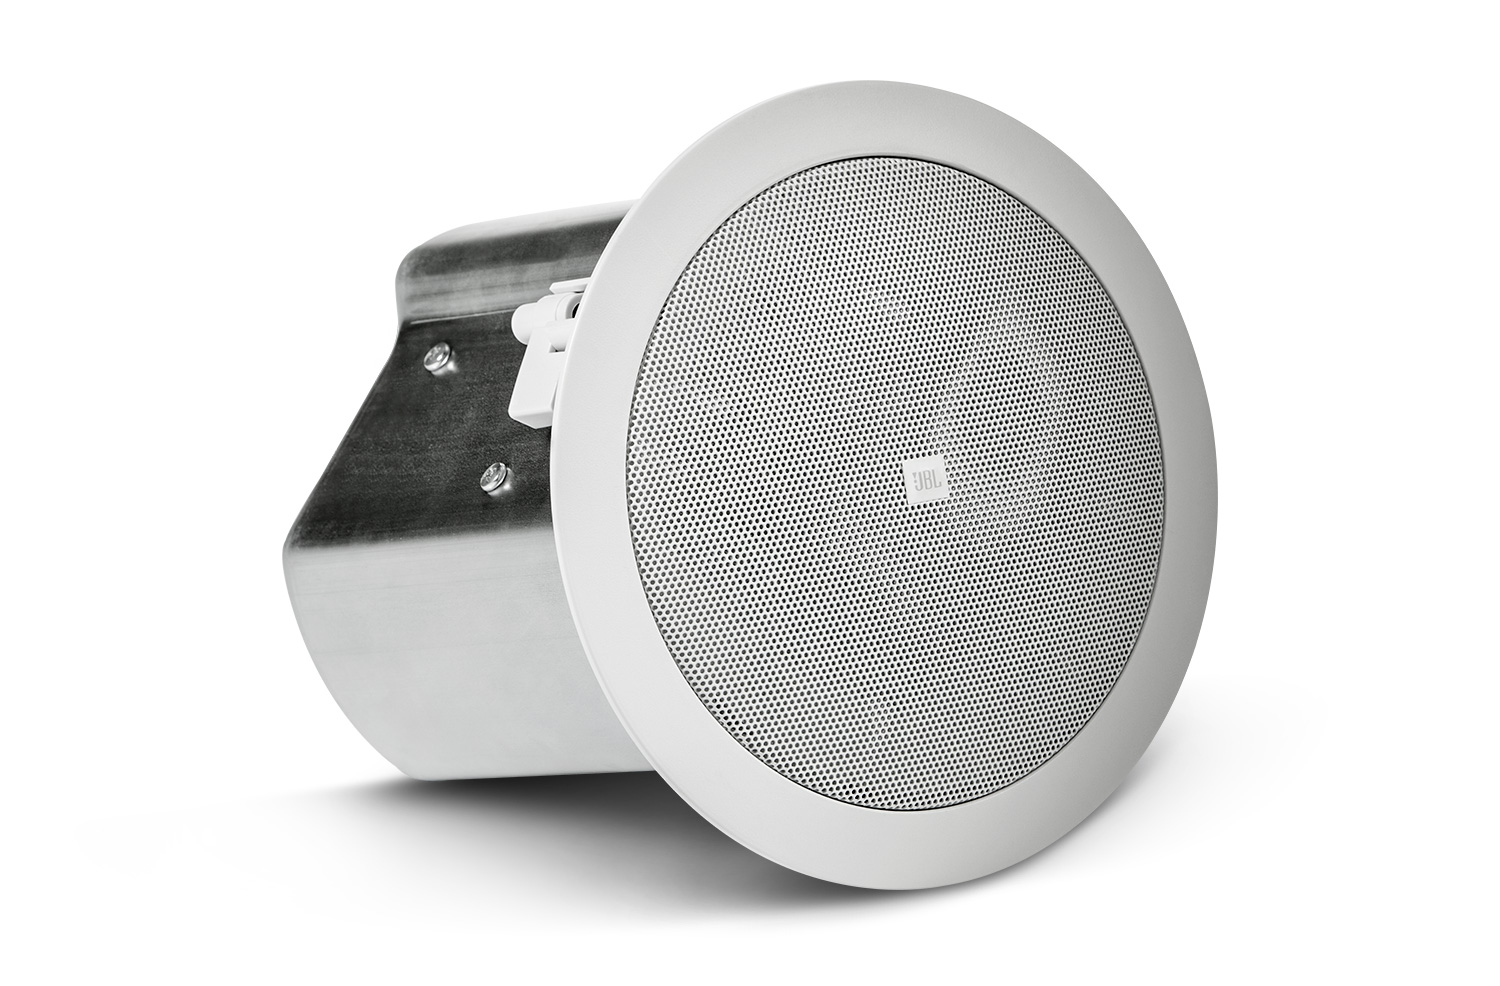
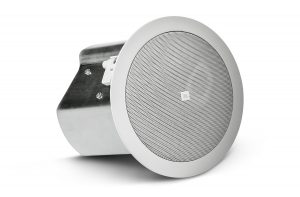
JBL’s MTC-CS-Teth1 is a retrofit safety tether that works with JBL press-in-grille type ceiling loudspeakers (Control 10 Series, 20 Series, 40 Series, and 226). If a grille were to work its way loose, the tether is intended to catch it and keep it from falling to the ground where it could otherwise cause damage or harm. The tether consists of a short length of flammability-rated aramid tether cord and an adhesive tab. The thread end attaches through the perf holes on the press-in grille, and the tab has a peel-off adhesive, making it easy for the installer to stick it onto the speaker baffle. The cord is a rattle-free material. RoHS.
HIGHLIGHTS
- Tether Cord: Stranded Aramid Fiber; High Temperature: 204°C; Low Temperature: -196°C
- Tab: Phenolic Resin FR-1 with 3M 5611A VHB pressure sensitive adhesive (full adhesion in 24 hours)
- Flammability: Tether Cord ASTM D6413, non-igniting & self-extinguishing; Baffle Tab UL94-V0
- Pull Rating: 3 kg (min. 10:1 safety factor on all JBL Pro press-in grille)
- Length: 220 mm (8.6 inches)
- SKU: JBL-MTC-CS-Teth1
- Quantities: Order of 1 pc. MTC-CS-Teth1 equals a kit containing 10 tethers (for 10 ceiling speakers), plus one Grille Backing Tool. Tethers not orderable individually.
INSTALLATION QUICK-START SUMMARY
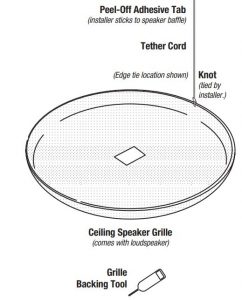
- The thread end of the tether gets tied to the grille through perf holes in the grille.
- The peel-off adhesive tab gets adhered onto the baffle of the speaker.
- The ceiling speaker gets installed into the ceiling.
- The speaker’s press-in grilles gets installed to the speaker.
PREPARATION
Selecting Attachment Tie Location on the Grille (IMPORTANT): The tether can be tied either to a point at the edge of the grille or to the front-face of the grille. Tying to a side point of the grille is preferred because it ensures that none of the tether thread shows on the front of the grille. However, for models where the side of the grille slides into a channel, or where there is not much grille material on the side, or if tying the tether to a side point would interfere with the proper fit of the grille into its channel, then the tether can be attached to the front face of the grille instead (instructions below).
For Black Grilles: If the speaker grille is black and if the tether must be tied to the front of the grille, the section of the tether thread that will show on the front of the grille can be painted black using a permanent black marker.
INSTALLATION STEPS
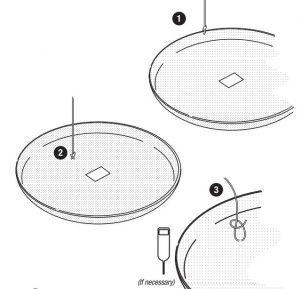
- When Tying Tether to Edge of Grille – This is preferred method when possible (if attaching to front surface of grille instead, go to Step 2) – Feed tether cord end through hole by the edge of the grille. Make sure it’s a location that will not interfere with the proper seating of the grille. Jump to Step 3.
- When Tying Tether to Front Surface of Grille – Use this method whenit’s not possible to attach to edge of grille.2a: Clearing the Way through Grille Backing Material – Some ceiling speaker grilles come with a backing which visually masks the speaker so that the components are not visible by the room occupants. Use the included Grille Backing Tool to punch an access hole through the backing at two adjacent perf-holes.2b: Feed Tether Thread through the Grille (from Inside to Outside of the Grille) – Feed the tether cord end through a hole in the grille perf – from the inside to the outside of the grille.2c: Feed Thread Back (from Outside to Inside) – Return the thread end of the tether back to the inside of the grille through an adjacent hole in the grille perforation. Go to Step 3.
- Tie a Knot (on Inside of Grille) – Tie a secure permanent knot on the inside of the grille. Cut off any excess thread so that it can’t rattle against the grille or contact the components of the speaker.
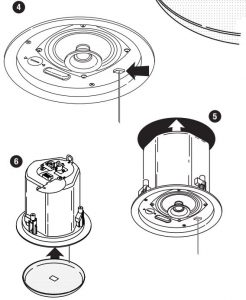
- Stick Adhesive Tab to Baffle – Choose a location on the speaker’s baffle which will be underneath the grille after the grille gets installed. Make sure the location is away from the drivers. Be sure the location is clean and grease-free (if in doubt, the location can be cleaned with rubbing alcohol and then it must be allowed to fully dry). Remove the peel off covering from the tab and stick the tab to the speaker baffle. Put pressure on the tab for 20 seconds (to activate the pressure-sensitive adhesive). It will not be possible to reposition the tab after it is stuck in place. The tab will establish full holding strength within 24 hours.
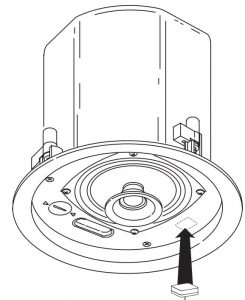
- Install Loudspeaker into Ceiling – per instructions that come with the loudspeaker.
- Install Grille onto Speaker – Install the grille into place on the speaker per the instructions for the loudspeaker.
![]()
HARMAN Professional 8500 Balboa Blvd. Northridge, CA 91329 USA
© 2021 HARMAN International Industries, Incorporated. All rights reserved.Features, specifications and appearance are subject to change without notice.
Read More About This Manual & Download PDF:
References
[xyz-ips snippet=”download-snippet”]