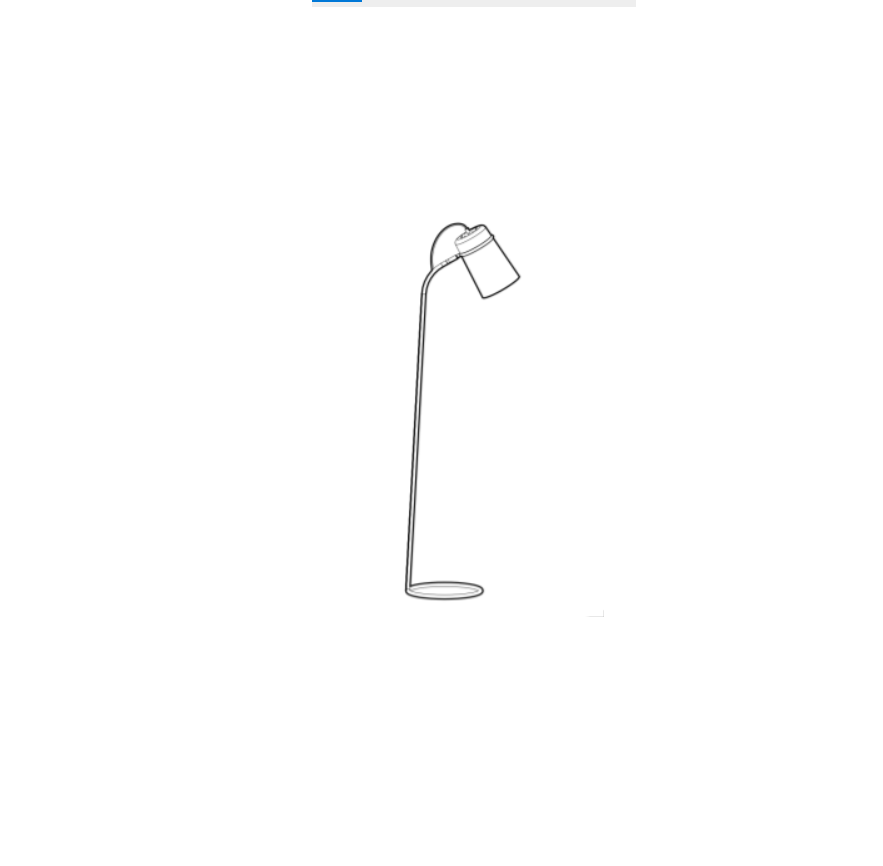
Johan Lewis Keegan Retro Floor Lamp User Manual

Thank you for purchasing this Keegan retro floor lamp. Please read the instructions carefully before use to ensure safe and satisfactory operation of this product.
Warnings!
- Always use the correct bulb type with the correct wattage as indicated in the specification table. Never exceed the Max. power rating. When changing a bulb always switch off at the mains first and allow the bulb to cool down before handling. Dispose of used bulbs carefully. The bulb and surrounding parts can become extremely hot during use.
- The supply cable runs through the inside of this product. Take care not to place undue stress on the cable whilst unpacking to prevent the possibility of a poor connection.
- If you are in any doubt consult a person competent to give advice on the assembly of electrical equipment.
- If the external flexible cable of the lamp is damaged it shall be exclusively replaced by the manufacturer or his service agent or a similar qualified person in order to avoid ahazard.
- To prevent electrocution switch off at the mains supply before assembling or maintaining this fitting. Ensure the plug is not connected to any power supply and readin structions before assembly.
- If moving the floor lamp always carry it from the base. Do not lift the floor lamp by the stem only as damage may occur
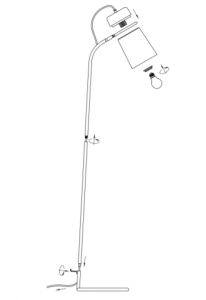
Assembly
Unpack the lamp and remove all packaging. Be careful not to scratch surfaces of the product whilst unpacking. Follow the diagram above for fixing detail.
- Lay the product out on the floor. If the floor is not carpeted please cover it with a soft cloth to avoid damage to the flooring and surface of the product. Assembly should take place with the product lying flat.
- Use the hex key provided to firstly loosen the grub screw at the base.
- Remove the shade ring already attached to the lamp holder.
- Screw the lower pole onto the upper head pole of the item ensuring that the head is kept still and that the pole is threaded on ensuring that the cable does not twist.
- Gently pull any excess supply cable through the small hole in the back of the base section until the lower pole meets the base section.
- Insert the lower pole into the base section and use the hex key provided to tighten the grub screws to secure in place.
- Insert the front section of the lamp holder through the circular metal frame at the top of the floor lamp as shown in the diagram.
- Place the metal shade over the top of the lamp holder already situated inside the frame and secure in place with the shade ring removed earlier. Ensure that the head rotational component is in the correct position so that the shade tilts both up and down. If the shades only tilts downwards then the rotation position was incorrect prior to fitting the shade, adjust rotation and perform steps 6 & 7 again.
- Stand the floor lamp upright and ensure all the assembled parts are fully tightened.
- Fit the bulb, type and wattage as indicated on the fitting (bulb not supplied). The wattage indicated must not be exceeded.
- Floor lamp is now ready for use.
Wipe clean with a clean dry cloth, when product is switched off and has cooled down.
Recommended bulb1 x 28W E27 (ES) eco halogen GLS bulbOr1 x 9W energy saving spiral bulb
Specifications
Max. Power: 40WVoltage: 230V, 50Hz
Read More About This Manual & Download PDF:
References
[xyz-ips snippet=”download-snippet”]