Johan Lewis Meena Pendant Fitting User Manual
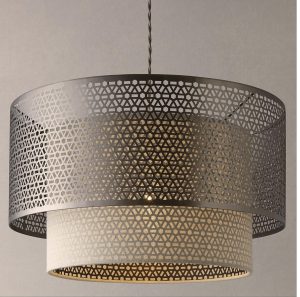
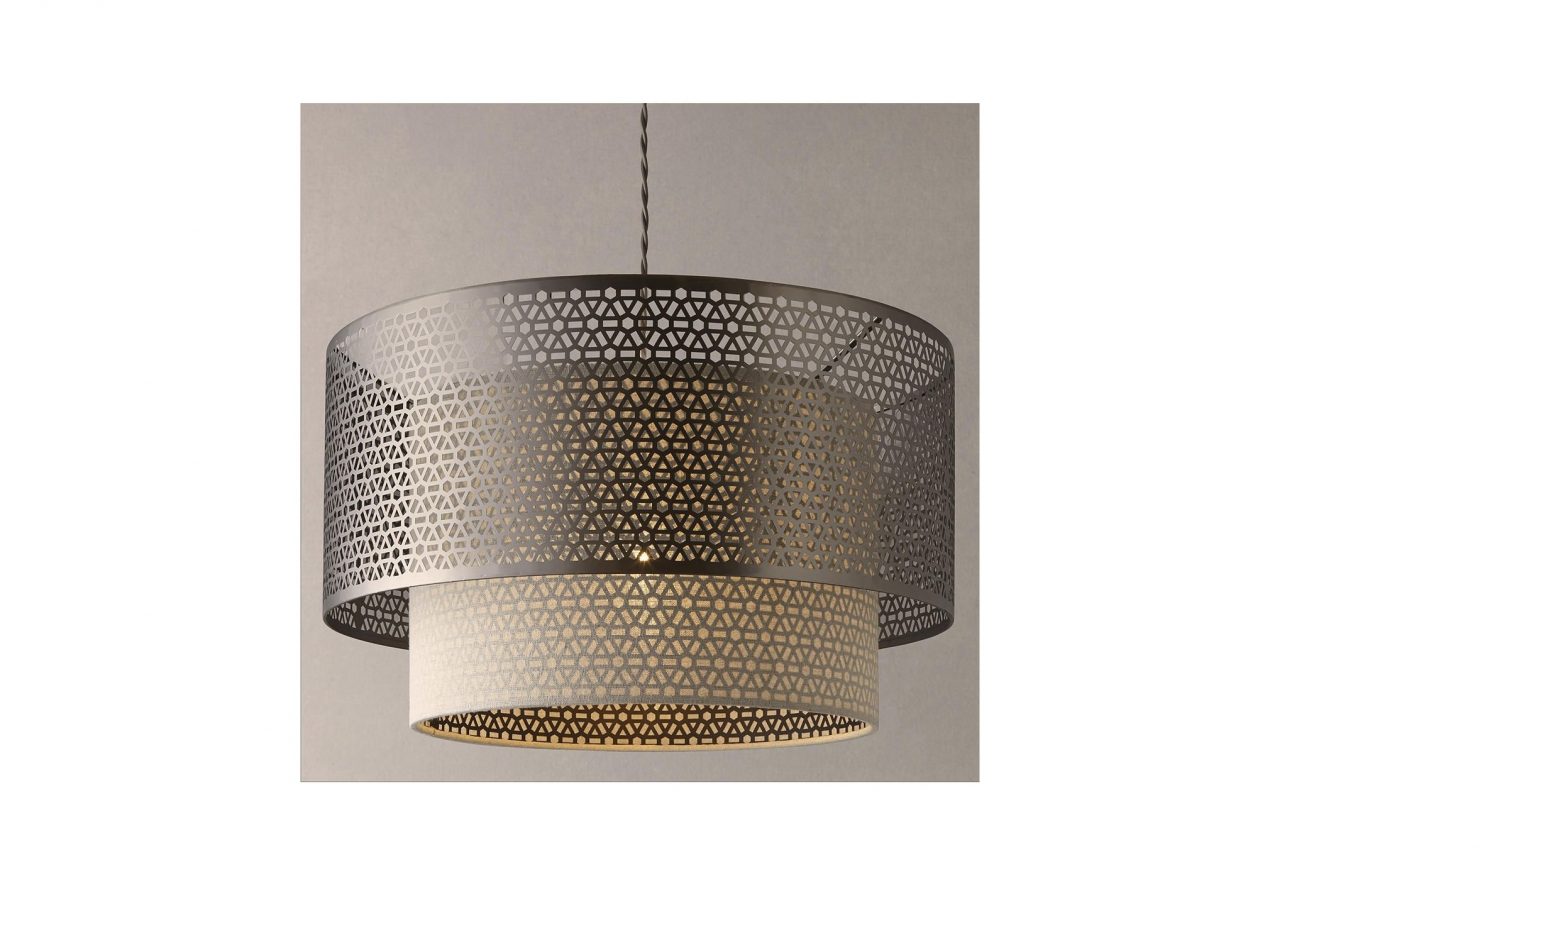
MEENA PENDANT FITTING
Thank you for buying this Meena pendant fitting. Please read the instructions and warnings carefully before use to ensure safe and satisfactory operation of this product.
This product is Class II
Warnings
- It is recommended that this fitting is installed by a qualified electrician.
- This fitting should be fitted in accordance with IEE Wiring Regulations and the Building Regulations.
- To prevent electrocution switch off at the mains supply before installing or maintaining this fitting. Ensure other persons cannot restore the electricity supply without your knowledge
- If you are in doubt please consult a qualified electrician.
- To avoid damage to concealed wiring during installation, establish the direction of the supply cable before drilling fixing holes
- This fitting should be fitted to a lighting supply with protected 5 amp fuse or equivalent circuit breaker.
 Indicates that the fitting is suitable for mounting on normally flammable surfaces.
- Always be sure to use the correct type and wattage of bulbs as indicated on the fitting. Never exceed the wattage stated.
- When changing the bulb, always switch off at the mains and allow the old bulb to cool down before handling. Dispose of used bulbs carefully.
Instructions for use
- Ensure the house electricity supply is off at the fuse board.
- Before removing the existing rose, carefully note the position of each set of cables. If there are loop in cables then these must be terminated separately and not connected to the fitting.
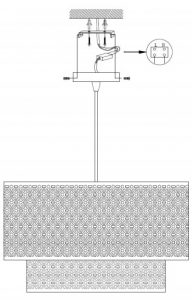
- Remove mounting bracket from fitting by undoing the screws located on the ceiling cup.
- Using the bracket as a template, mark and then drill the fixing holes in the ceiling (ensure that the holes are drilled into a secure joist).
- Attach mounting bracket to the mounting surface using suitable fixings. Do not attach fitting to mounting bracket at this stage. Take care not to damage wiring. This fitting is height adjustable at point of installation only. No attempt must be made to adjust the height once it has been attached to the ceiling. If adjustment is required at a later date the fitting must be isolated from the mains and removed from the ceiling first
- Lay the fitting on a clear covered surface. Using a suitably sized flat bladed screwdriver loosen the plastic screw clampunder the ceiling cup, also undo the screws in the clamp located in the ceiling cup. Carefully pull the cable through the ceiling cup to the desired height and then retighten all screws to ensure that clamps are fully secured.
- Lever open the connector block using a small flat bladed screwdriver. Lift the fitting close to supply cable and then make the electrical connections as follows: Connect supply live (normally brown or red) to fitting live (marked “L”) on the terminal block. Connect supply neutral (normally blue or black) to fitting neutral (marked “N”) on the terminal block. NO EARTH must be connected to any part of this fitting. If there are any earth wires present in the ceiling these must be terminated into a separate terminal block (not supplied) to ensure continuity of the earth circuit is maintained. Ensure electrical connections are tight and no loose strands of wire are left out of the connector block and the rubber sleeve is seated correctly.
- Excess cable must be carefully located inside ceiling cup or within the ceiling void. Fit the ceiling cup over the mounting bracket and secure in position using the screws removed earlier.
- Fit the bulbs, type and wattage as indicated on the fitting. The wattage indicated must not be exceeded.
- Switch on the electricity supply at the fuse board.
Please retain this information leaflet for future reference
GENERAL INFORMATION
This fitting is designed for internal use onlyDo not use polish or abrasive cleaner just a soft dry cloth.
MEENA PENDANT FITTING
[xyz-ips snippet=”download-snippet”]