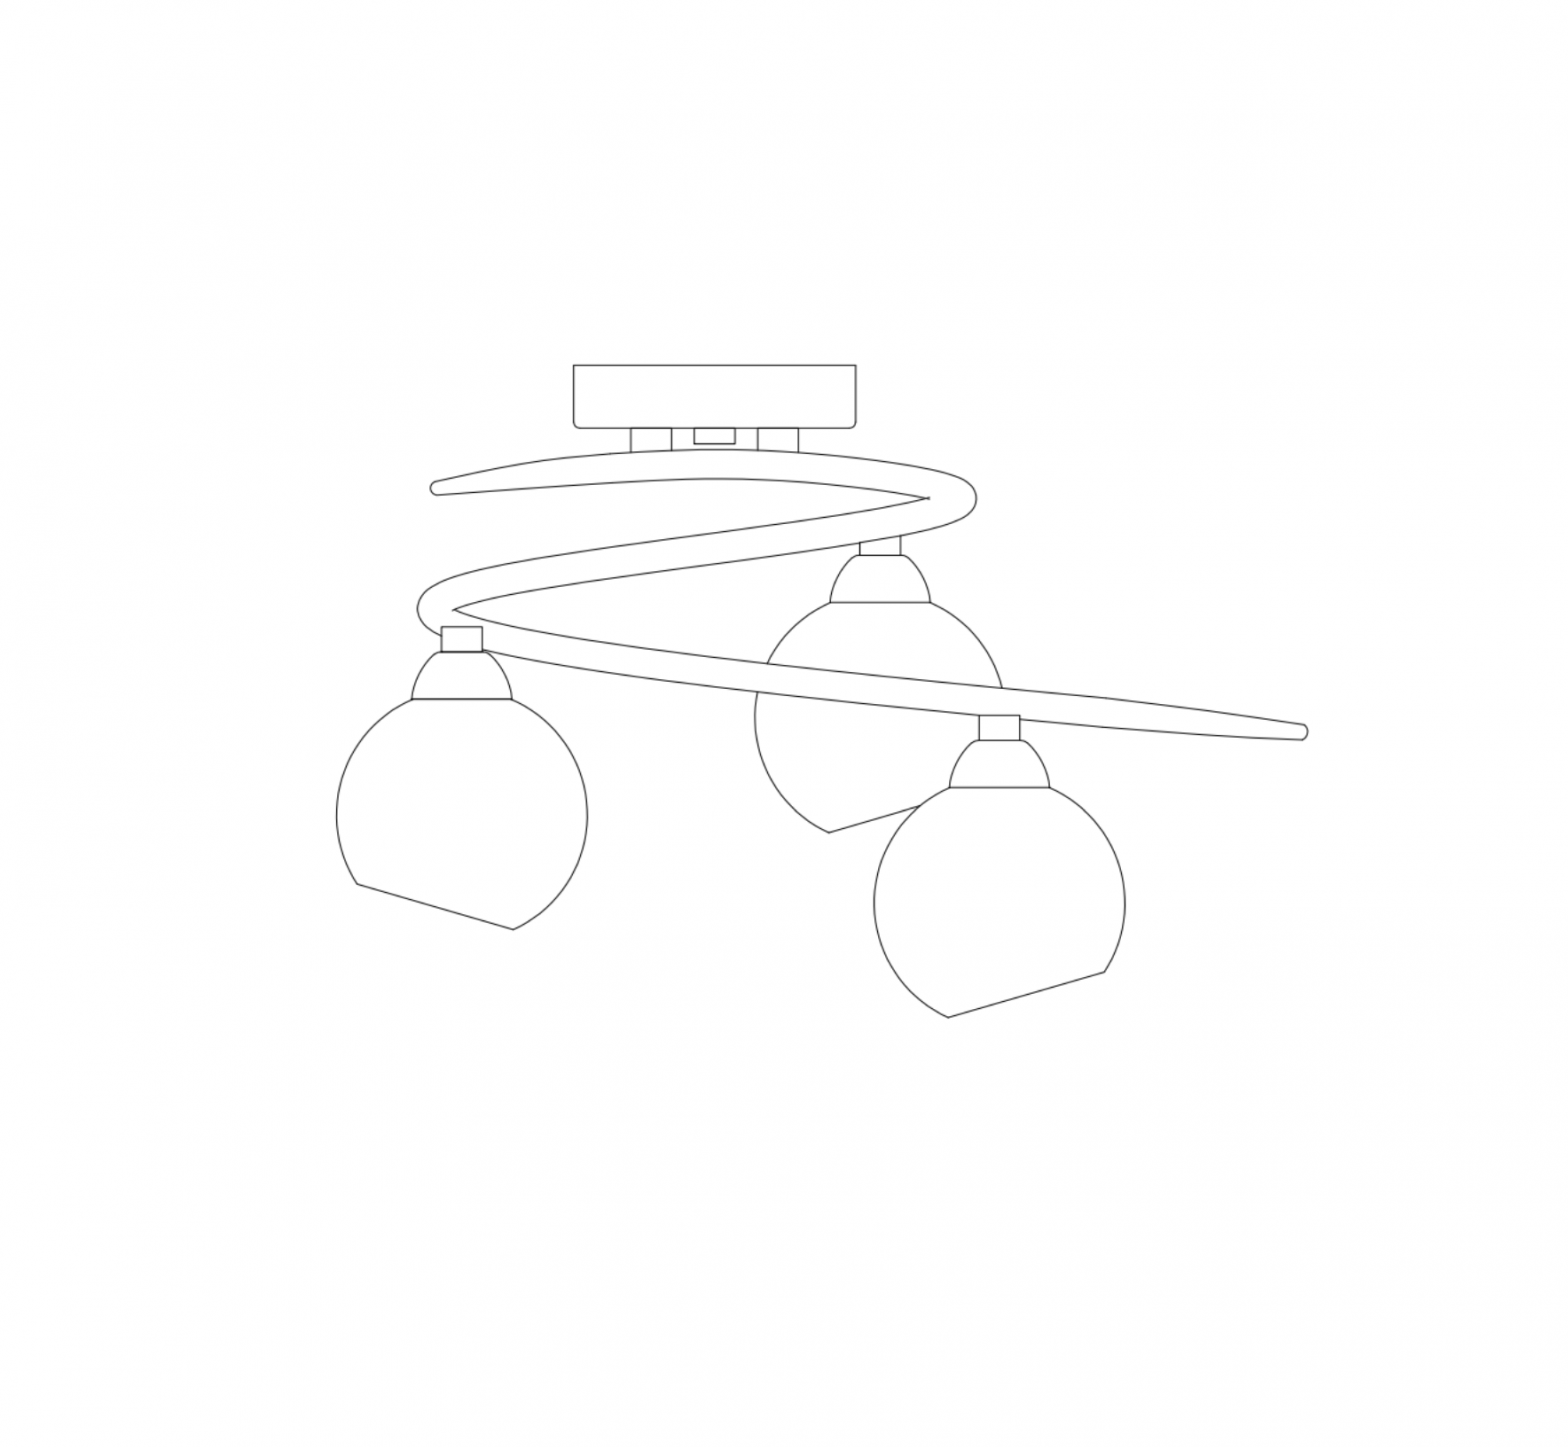
Johan Lewis Ribbon Smoked Glass 3 Light
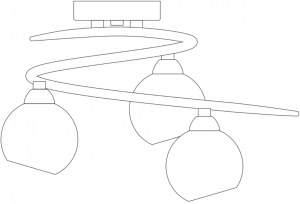
Thank you for purchasing this RIBBON SMOKED GLASS 3 LIGHT. Please read the instructions carefully before use to ensure safe and satisfactory operation of this product.
Warnings!
This product is Class I and must be earthed.
- It is recommended that this fitting is installed by a qualified electrician.
- This fitting should be fitted in accordance with IEE Wiring Regulations and the Building Regulations.
- To prevent electrocution switch off at the mains supply before installing or maintaining this fitting. Ensure other persons cannot restore the electricity supply without your knowledge.
- If you are in doubt please consult a qualified electrician.
- To avoid damage to concealed wiring during installation, establish the direction of the supply cable before drilling fixing holes.
- This product is Class
 and should be fitted to a lighting Supply (with earth) protected by a 5 amp fuse or equivalent circuit breaker.
 - Indicates that the fitting is suitable for mounting on normally flammable surfaces.
- Always be sure to use the correct type and wattage of bulbs as indicated on the fitting. Never exceed the wattage stated.
- When changing the bulb, always switch off at the mains and allow the old bulb to cool down before handling. Dispose of used bulbs carefully.
Assembly
Never install your appliance on a wet, freshly painted or plastered surface.Ensure the house electricity supply is switched off at the fuse box.If removing an existing fitting, note down all wiring connections.Follow the diagram for fixing detail.
Check the fixings will not touch any existing wiring before drilling and attaching the light to the wall.Ensure you thread the ceiling wires through the black insulating tube fixed to the appliance.
- Ensure the house electricity supply is off at the fuse board.
- If removing an existing fitting, first note down all wiring connections.
- Remove mounting bracket from fitting by removing the retaining screws and washers, retain for later.
- Using the mounting bracket as a template, mark and then drill the fixing holes in the ceiling (ensure holes are drilled into a secure joist). Take care not to damage wiring.
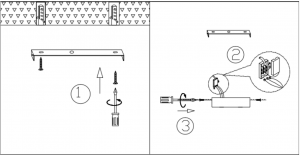
- Attach mounting bracket to the mounting surface using suitable fixings. Do not attach fitting to mounting bracket at this stage. Make sure no wires are trapped in the process. ➀
- Lever The weight of the fitting must be supported whilst you make the electrical connections. Lever open the connector block cover with a screwdriver then make the electrical connections as follows, you may require assistance.➁• Connect the supply live (normally brown or red) to fitting live (embossed “L”) on the terminal block housing.• Connect the supply neutral (normally blue or black) to fitting neutral (embossed “N”) on the terminal block housing.• Connect the supply earth (normally green/yellow or unsheathed) to earth (embossed “”) on terminal block housing.NOTE: Ensure electrical connections are tight and no loose strands of wire are left out of the connector block. Ensure terminals and rubber sleeve are correctly seated then close connector block housing.
- Excess cable must be carefully located inside ceiling cup or within the ceiling void.Carefully offer fitting over mounting bracket then secure in place with the screws and washers removed earlier. ➂
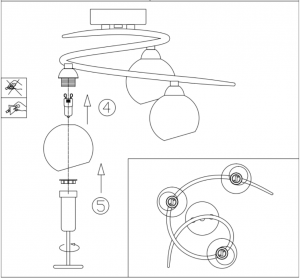
- Fit the bulb: type and wattage as displayed on the fitting. The stated wattage must not be exceeded. If using tungsten halogen lamps = these must be self-shielding. Take care not to touch the capsule directly with fingers as this will leave a residue of grease on the glass surface. This will reduce the life of the capsule. ➃
- Fit the shade: Carefully remove the metal shade ring already attached to the lamp holder section and retain for later. Place the shade glass over the lamp holder section. Insert the metal shade ring removed earlier into the plastic shade ring tool and screw down over the lamp holder to secure the shade glass in place. Take care not to overtighten as this may cause damage to the fitting. ➄
- Once installation is complete, the household electricity may be restored at the fuse box.
Care instructions
Wipe clean with a clean dry cloth, when product is switched off and has cooled down.
Recommended bulb
3 x 33W G9 tungsten halogen lamps which must be self-shielding.
Specifications
- Max. Power: 33W
- Voltage: 220-240V, 50Hz
![]() Please retain these instructions for future reference.
Please retain these instructions for future reference.
John Lewis Partnership171 Victoria StreetLondon SW1E 5NNjohnlewis.com
References
[xyz-ips snippet=”download-snippet”]