kogan KAACAM4KDSA 4K Dual Screen Action Camera
SAFETY & WARNINGS
- Do not allow this product to fall or suffer impact. Observe its limitations at all times.
- Keep the camera and any Micro SD cards away from radio waves and strong magnetic objects such as magnets and motors, as they may cause product failure or destroy images and sound.
- Keep the camera out of high temperatures and direct sunlight.
- Choose a reputable SD card to ensure proper recording performance. · If the product or its power supply experiences any malfunction or damage, stop using it immediately and contact Kogan.com to arrange a repair.
- Keep out of children’s reach while charging as the power cord can pose a risk of accidental suffocation or shock · Store in a cool, dry place which is well-ventilated and free of dust.
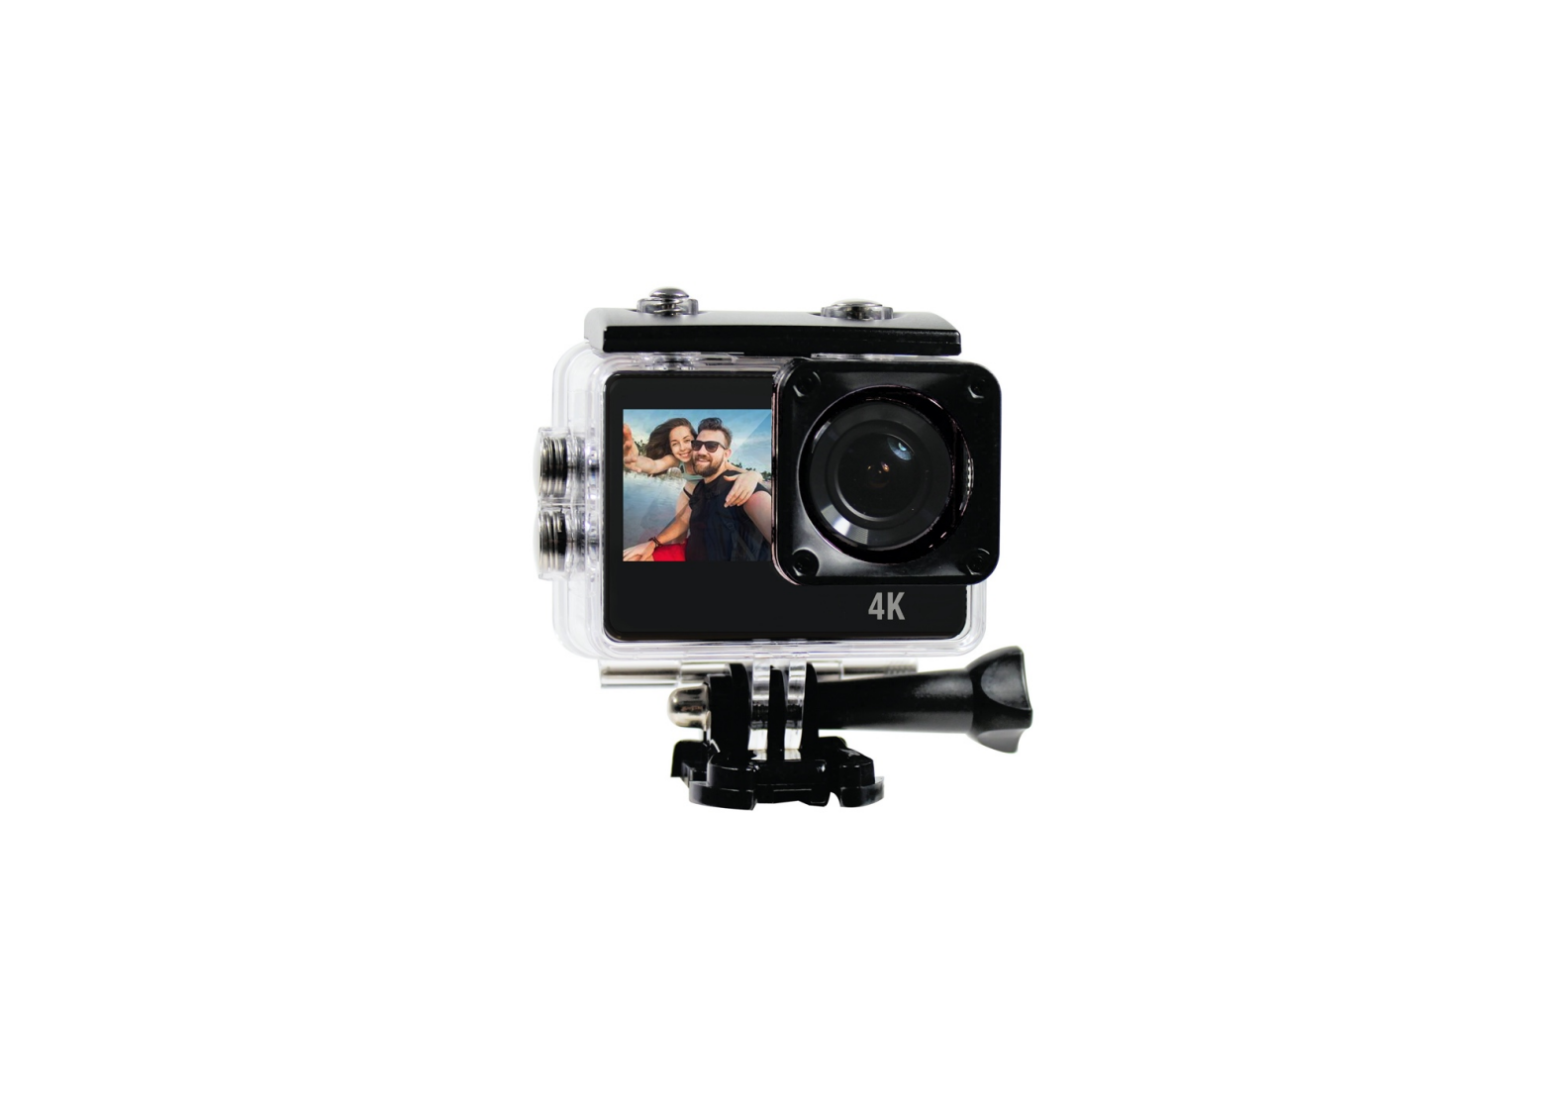
OVERVIEW
Function Introduction

Waterproof Case
 ASSEMBLY
OPERATION
1. Insert microSD card
- Ensure microSD card is of a reputable brand rated for 4K video recording.
2. Install and remove the battery
- Remove the battery cover. The battery can now be removed.
- Install the battery into the camera according to the positive and negative polarity indicators.
3. Battery charging
- Connect the camera to a USB port or wall charger with a USB cable.
- The camera can charge while recording or while turned off.
4. Turn camera on/off
- Press and hold the mode button for 3-5 seconds.
- Open the screen to power on and close the screen to power off.
5. Switch mode
- When turned on, press the mode button to switch between video and photo modes.
- Press and hold the OK button to enter the setting mode.
6. Indicator LEDs
- The blue indicator indicates operation.
- A red indicator indicates charging. It will switch off when the camera is fully charged.
7. Screen switching
- Press and hold the down button to switch between the large and small screens: the other screen will switch off.
8. Setting video and photography options
A. Press the mode button to select video mode and press the OK button to start recording. Options: normal, loop recording (2min/3min/5min.), time lapse (0.5s/1s/2s/5s/10s/30s/60s).
B. Taking photo and camera settings Press the mode button to select camera mode and press the OK button to capture photos. Options: ordinary, timer (3s/5s/10s/20s), auto (3s/10s/15s/20s/30s), Burst (3P/s, 5P/s, 10P/s)
C. Slow motion setting Press the mode button to select slow photography mode and press the OK button to start recording. Options: 1080P 4x/2x, 720P 8x/4x
9. Recording storage, playback and deletion
- Connect the camera to a computer via USB cable or remove the micro SD card and use a card reader to view or modify recording contents.
- To delete a file, enter file playback interface, and press and hold the OK button for 3-5 seconds.
10. Remote control
- The remote control will already be paired to the camera.
- The remote features two buttons: oo 1 – Video: starts and stops video recording oo 2 – Camera: captures a photo
SPECIFICATIONS
| LED display screen | 2.0′ IPS LCD+1.3′ LCD |
| Lens | 5G+IR,FNO2.4,FOV150 |
| Languages | English / Traditional Chinese / Simplified Chinese / Japanese / French / German / Spanish / Italian / Portuguese / Thai / Russian / Korean |
| Video encoding resolution | 4K/60FPS/30PFS (3840×2106)2.7K/30FPS (2688×1520)1080P/120FPS/60FPS/30FPS (1920×1080)720P/240FPS/120FPS/60FPS/30FPS (1280×720) |
| Video format | MP4 |
| Encoding format | H.264 |
| Photo resolution | 16M, 8M, 13M |
| Storage | microSD (TF) up to 128GB above CLASS 6 |
| Picture mode | Normal, auto, burst, timer |
| Video mode | Normal, looping, slow motion, lapse |
| Slow photography | 1080P 4x/2x, 720P 8x/4x |
| Light source frequency | Automatic, 50Hz, 60Hz |
| USB | USB 2.0 |
| Video output | HD over HDMI |
| Power | 5V 1A |
| Battery | 1050mAh |
| Recording time | 1080P / 90 minutes |
| Charging time | 2 hours |
| Operating system | Windows XP/7/8 Vista and Mac 10.5 or above |
| Outline dimension | 59 x 41 x 29mm |
| Weight | 44g (w/o battery), 58g (w. battery) |
| Working temperature | -10°C ~ +55°C |
| Storage temperature | -20°C ~ +70°C |
NOTES
_______________________________________________________________________________________________________________________________________________________________________________________________________________________________________________________________________________________________________________________________________________________________________________________________________________________________________________________________________________________________________________________________________________________________________________________________________________________________________________________________________________________________
Need more information?We hope that this user guide has given you the assistance needed for a simple set-up. For the most up-to-date guide for your product, as well as any additional assistance you may require,head online to www.help.kogan.com
report this ad
[xyz-ips snippet=”download-snippet”]