kogan KAFMSDSCANA FILM & SLIDE SCANNER
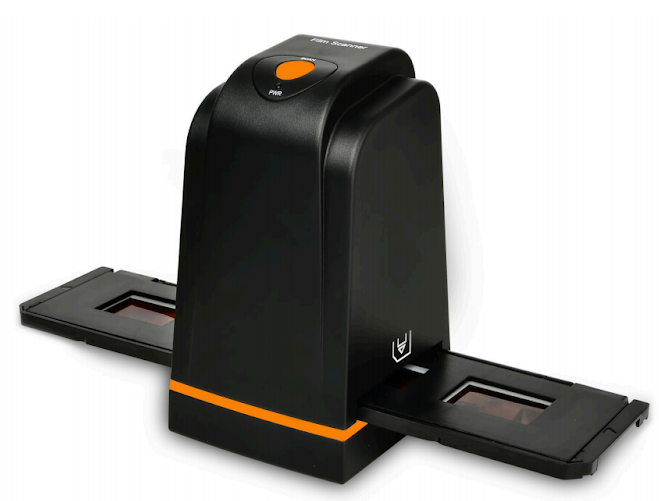
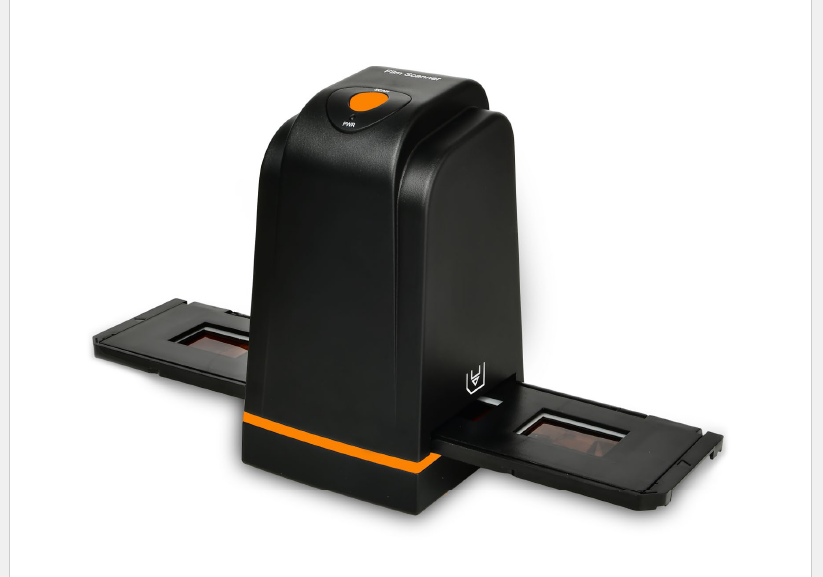
COMPONENTS

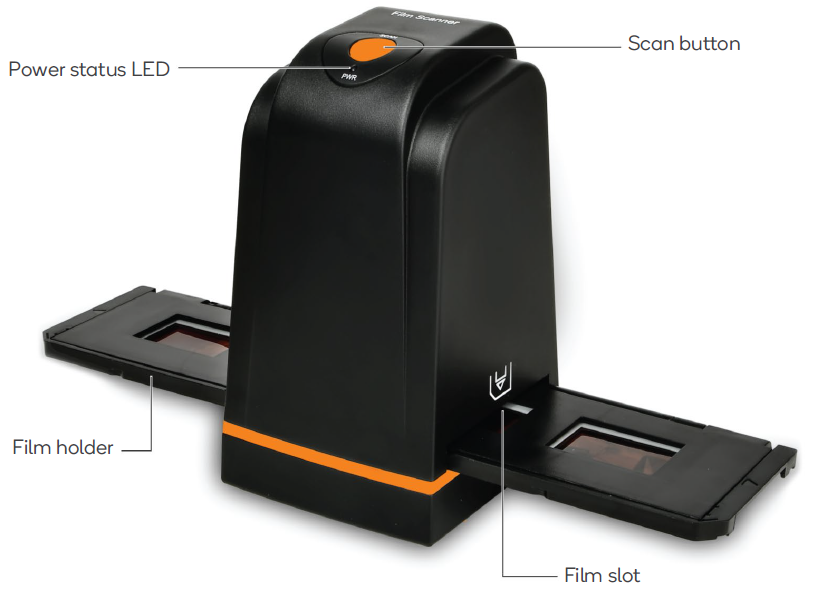
OVERVIEW
PREPARATION
Before you start:
- Ensure all negatives, slides, and holders are free of dust and debris before inserting into the device as this may affect the image quality when scanning.
- Refer to the Cleaning & Care section of this user guide for cleaning advice.
- We do not recommend using old films with this device as this may lead to damage of the film. Seek advice from a professional photography specialist if you decide to use these films in the device.
Film slides:
- Open the slide holder.

- Place film slides into the positive slide slot.
- Close the slide holder. It is now ready for use.
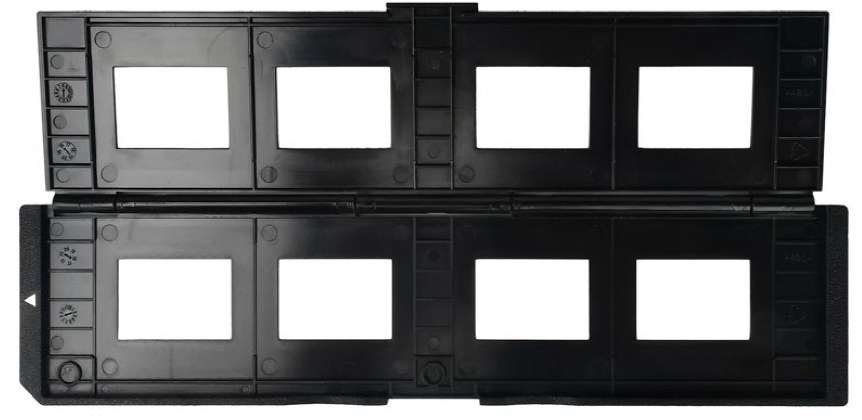
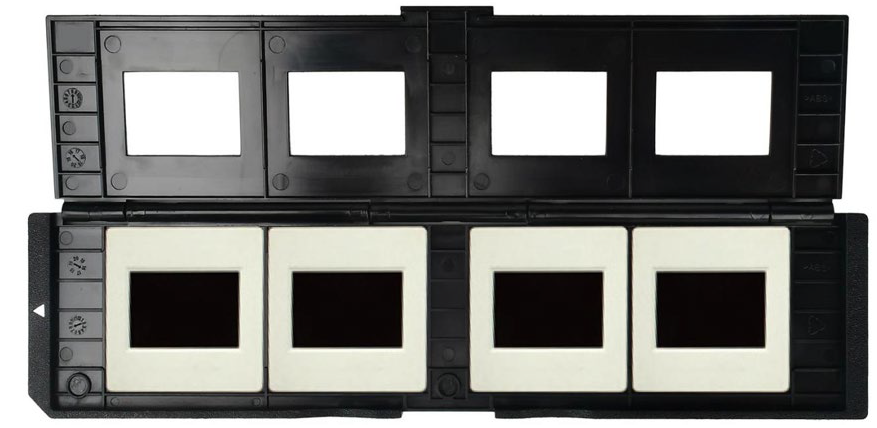
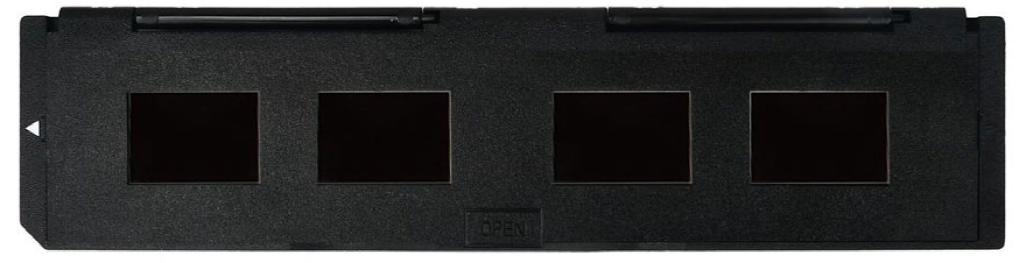
Film negatives:
- Open the negative holder.
- Place the film into the negative film slot.
- Close the film holder. It is now ready for use.
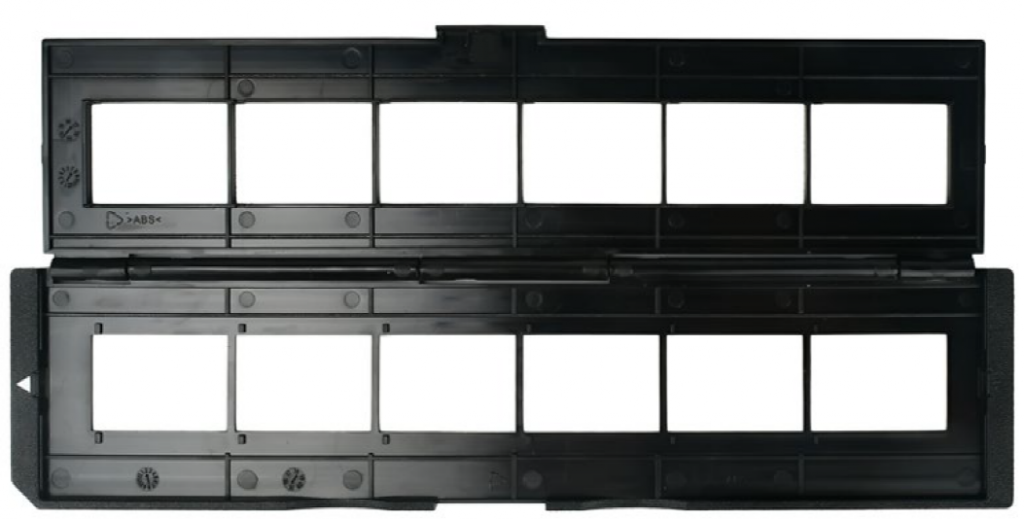
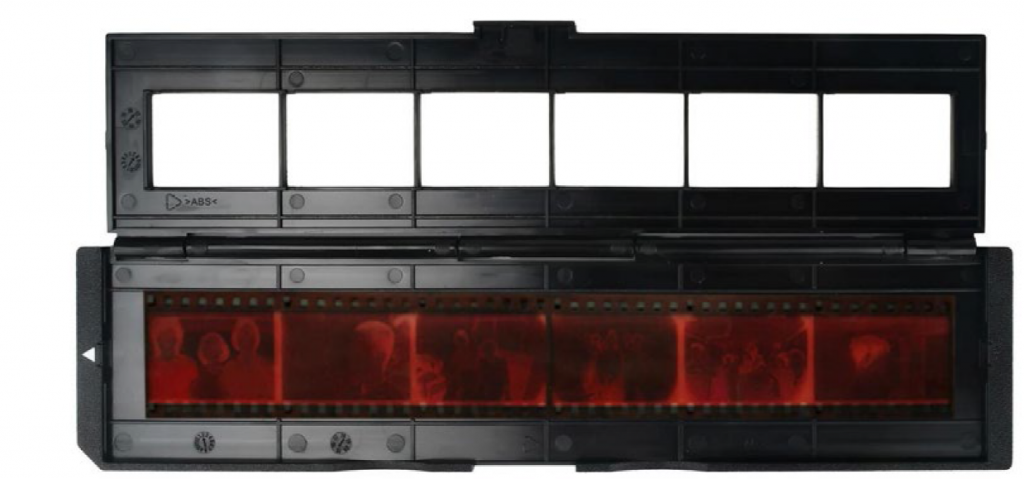
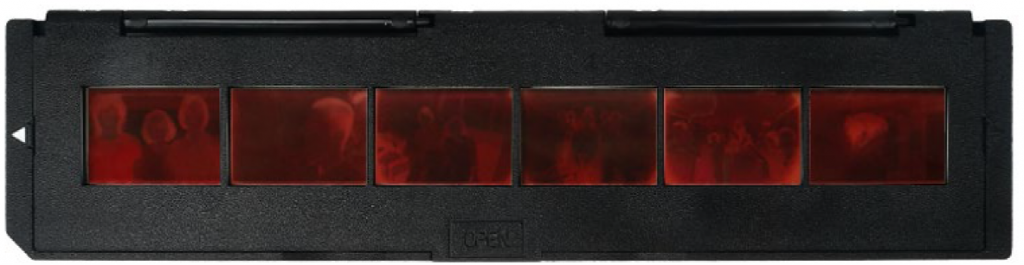
Note: To avoid mirror imaging, insert the negative film by following the serial numbers (ascending from left to right) located on the top of the film.
OPERATION
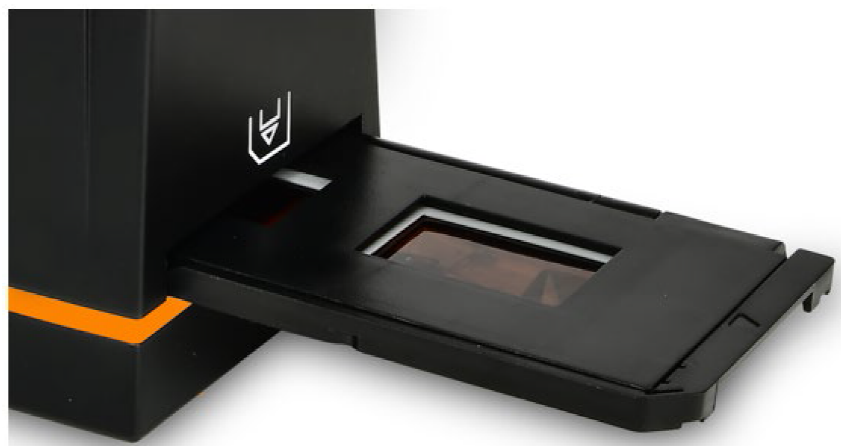
- Ensure the USB cable is connected to the scanner and your computer device.
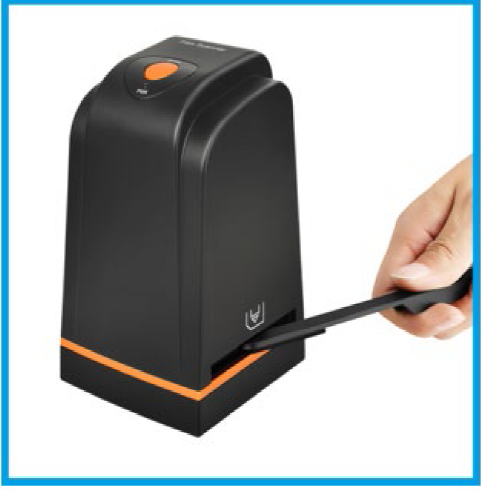
- After placing the film into the film holder as stated in the ‘Preparation’ section, insert the holder into the device.
Installation for Windows
- Go to Kogan.com and locate this product’s Manuals & Support page. This can be found from both the product listing and the Kogan Help Centre
- Download the files attached in the manual and open them. You will need access to unzipping file software as the file will be compressed.
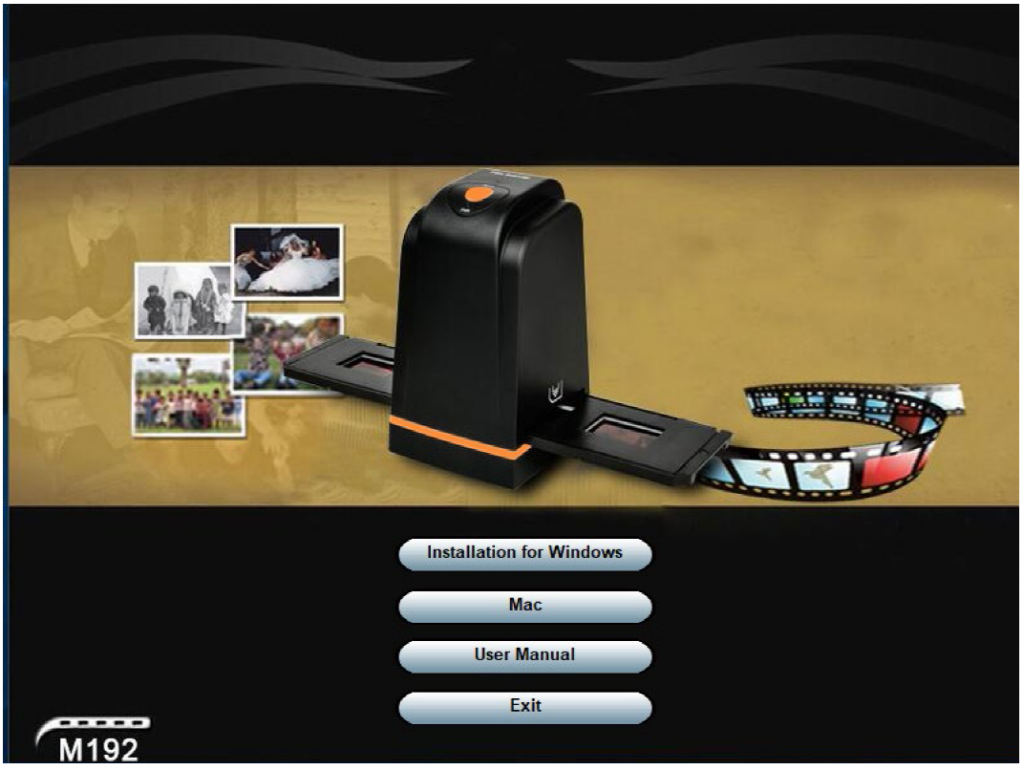
- After unzipping, a set of the unzipped files will appear. Click on the Soft folder > Win > DIGITNOW! App.
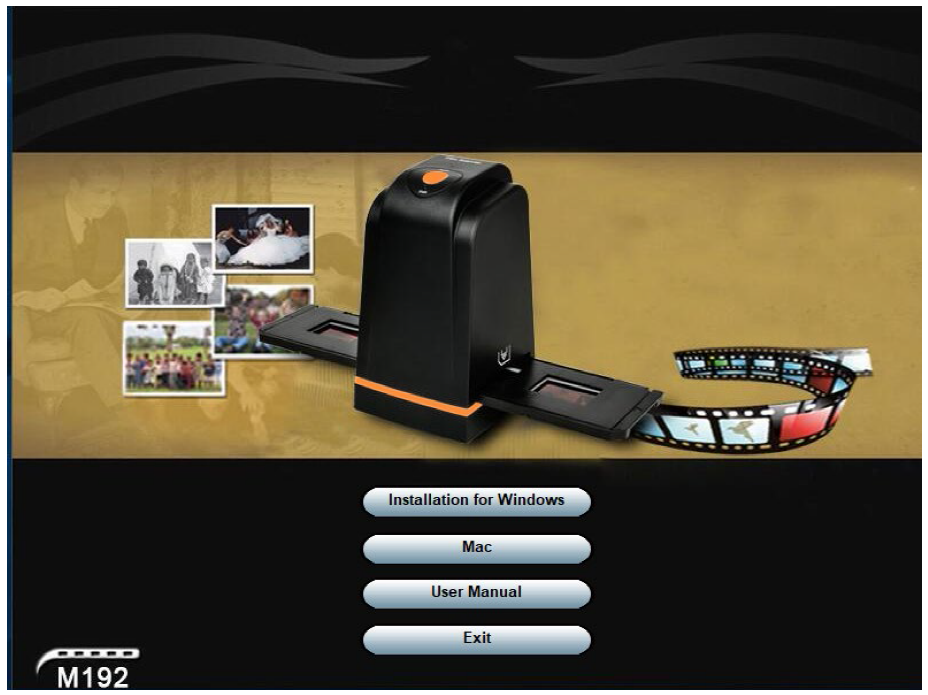
- The app will open to the screen seen below. Click ‘Installation for Windows’ to commence the installation.
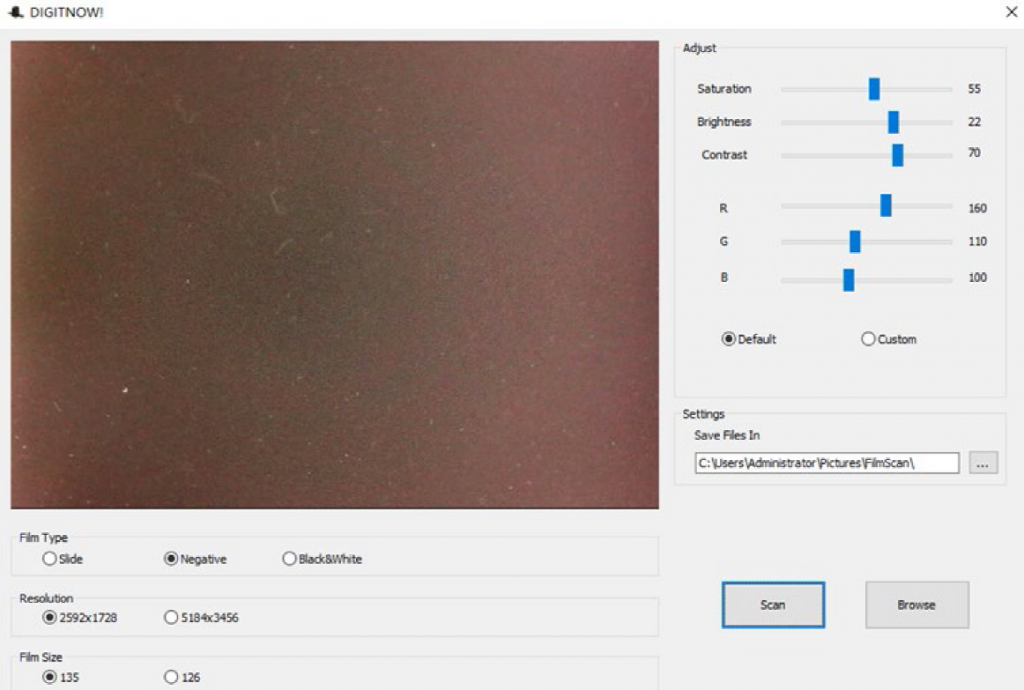
Interface for Windows
This is the main interface of the app as it appears on a Windows computer, allowing you to scan the film images and make adjustments to the scan settings.
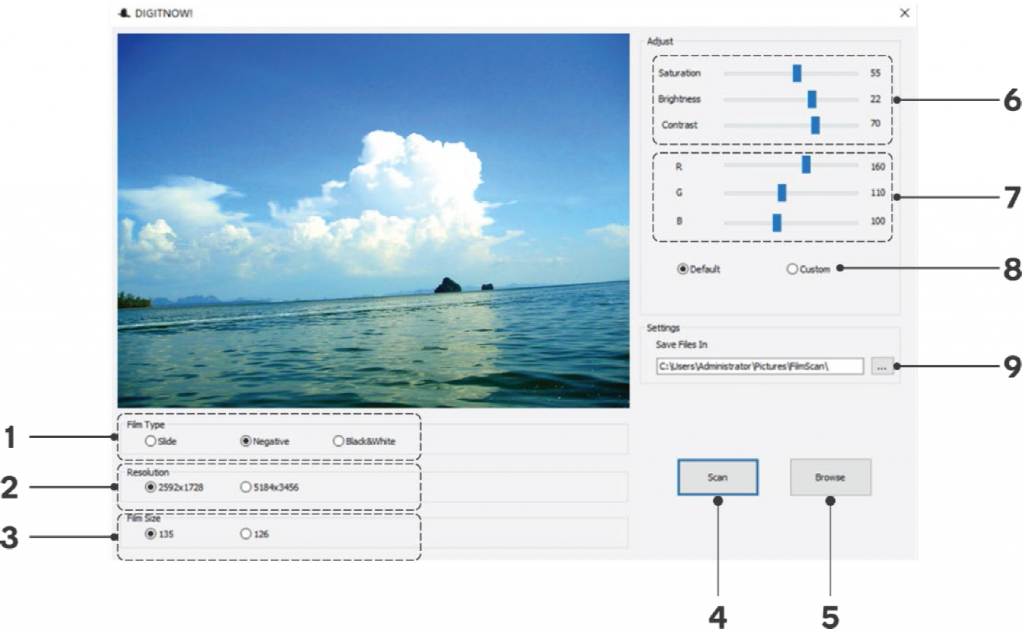
- Film type
- Resolution
- Film size
- Scan
- Browse
- Saturation, Brightness and Contrast adjustments
- RGB colour adjustments
- Default / Custom
- File save location
Operating the app in Windows
- Select the film type (1). There are 3 options: slide, negative or black and white.
- Select the desired resolution (2). There are two options choose from: 2592*1728 or 5184*3456. The larger the resolution, the larger the output file will be.
- Ensure your film size is set to 135 (24*36mm).
- Click ‘Scan’ to scan and save the film image. Images can also be scanned by pressing the physical scan button located on the top of the device.
- This will save the image in your selected save location (9). You can change the save location by clicking on the three dots icon beside the current displayed save location. To open this file location, click ‘Browse’ (5).
- If you are unsatisfied with the result, click ‘Custom’ (8) to make adjustments to the image. You can adjust the saturation, brightness, and contrast settings (6), and make changes to the colour using the RGB settings (7).
- Lowering saturation will reduce the colour, allowing for black and white or greyscale scans of colour images. Increasing the saturation will make the image more vibrant.
- Adjusting the brightness can brighten or dim the image.
- Changes to contrast change the variability between the darkness of shadows, and brightness of highlights in the image. Lowering the contrast will make an image more grey, while increasing will make the colour difference more striking.
- The RGB (Red, Green and Blue) settings allow you to adjust the colour balance of the output image. For example, increasing the Red level will introduce more red to the image, while lowering it will increase the appearance of the blue and green tone, comparatively.
- Once edits have been made, scan the image again to save it as stated in step 4. You can rescan the image as many times as you like until you are satisfied with the image output.
Installation for Mac OS
- Go to the Kogan Help Centre and search for the Manual and Support for this device.
- Download the files attached in the manual and open them. You will need access to unzipping file software as the file will be compressed.
- Open the Soft folder > Mac > DIGITNOW. dmg.
- Drag and drop DIGITNOW file into ‘Applications’ folder to install.

Interface for Mac OSThis is the main interface of the app as it appears on a Mac computer, allowing you to scan the film images and make adjustments to the scan settings.
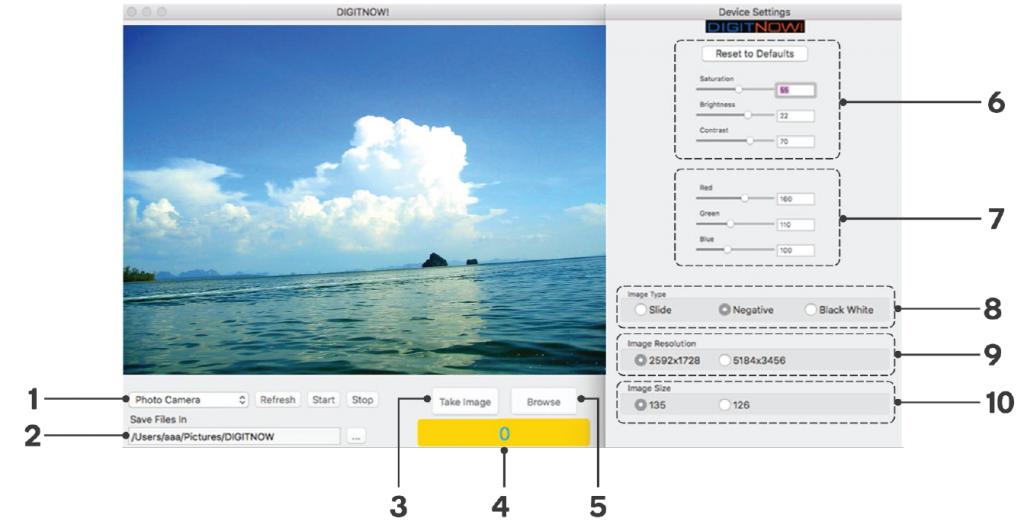
- Source
- File save location
- Take image
- Scan counter
- Browse
- Saturation, Brightness and Contrast adjustments
- RGB colour adjustments
- Image type
- Image resolution
- Image size
Operating the app on Mac OS
- Select the film type (1). There are 3 options: slide, negative or black and white.
- Select the desired resolution (2). There are two options choose from: 2592*1728 or 5184*3456. The larger the resolution, the larger the output file will be.
- Ensure your film size is set to 135 (24*36mm).
- Click ‘Take Image’ to scan and save the film image. Images can also be saved by pressing the physical ‘Scan’ button located on the top of the device.
- This will save the image in your selected save location (2). You can change the save location by clicking on the three dots beside the current displayed save location. To open this file location, click ‘Browse’ (5).
- If you are unsatisfied with the result, you can adjust the saturation, brightness, and contrast settings (6), and make changes to the colour using the RGB settings (7).
- Lowering saturation will reduce the colour, allowing for black and white or greyscale scans of colour images. Increasing the saturation will make the image more vibrant.
- Adjusting the brightness can brighten or dim the image.
- Changes to contrast changes the variability between the darkness of shadows, and brightness of highlights in the image. Lowering the contrast will make an image more grey, while increasing will make the colour difference more striking.
- The RGB (Red, Green and Blue) settings allow you to adjust the colour balance of the output image. For example, increasing the Red level will introduce more red to the image, while lowering it will increase the appearance of the blue and green tone, comparatively.
- Once edits have been made, click ‘Take Image’ image again to save it as stated in step 4. You can save the image as many times as you like until you are satisfied with the image output.
CLEANING & CARE
Dust may accumulate on the film holder after repeated use. This can be found by looking at the live feed of an empty film holder through the app. Dust can be removed by brushing it off using the bundled cleaning brush.We recommend inserting a clean, dry, non-alcohol cotton swab into the film slot to clean the glass surface. This will result in maintaining clearly scanned images when the device is used in the future.
SPECIFICATIONS
Image Sensor 5 megapixel CMOS sensor
Lens PrecisionTM Glass Element Fixed Focus
Dimensions 82 x 86 x 152mm
Weight 0.35kg
Compatibility Slides, negatives, black and white film
Focus Range Fixed focus
Exposure Control Automatic, with manual adjustment available
Colour Balance: Automatic, with manual adjustment available
Scan Quality Standard & Interpolated (1,800 & 3,600 dpi)
Data Conversion 10 bits per colour channel
Scan Method Single pass
Light Source Back light (3 white LEDs)
Connecting port USB 2.0
Operating Systems Mac: OS 10.14 and later
Windows: 7 and later
Need more information?We hope that this user guide has given you the assistance needed for a simple set-up.For the most up-to-date guide for your product, as well as any additional assistance you may require, head online to help.kogan.com
![]()
[xyz-ips snippet=”download-snippet”]