![]()
USER GUIDE
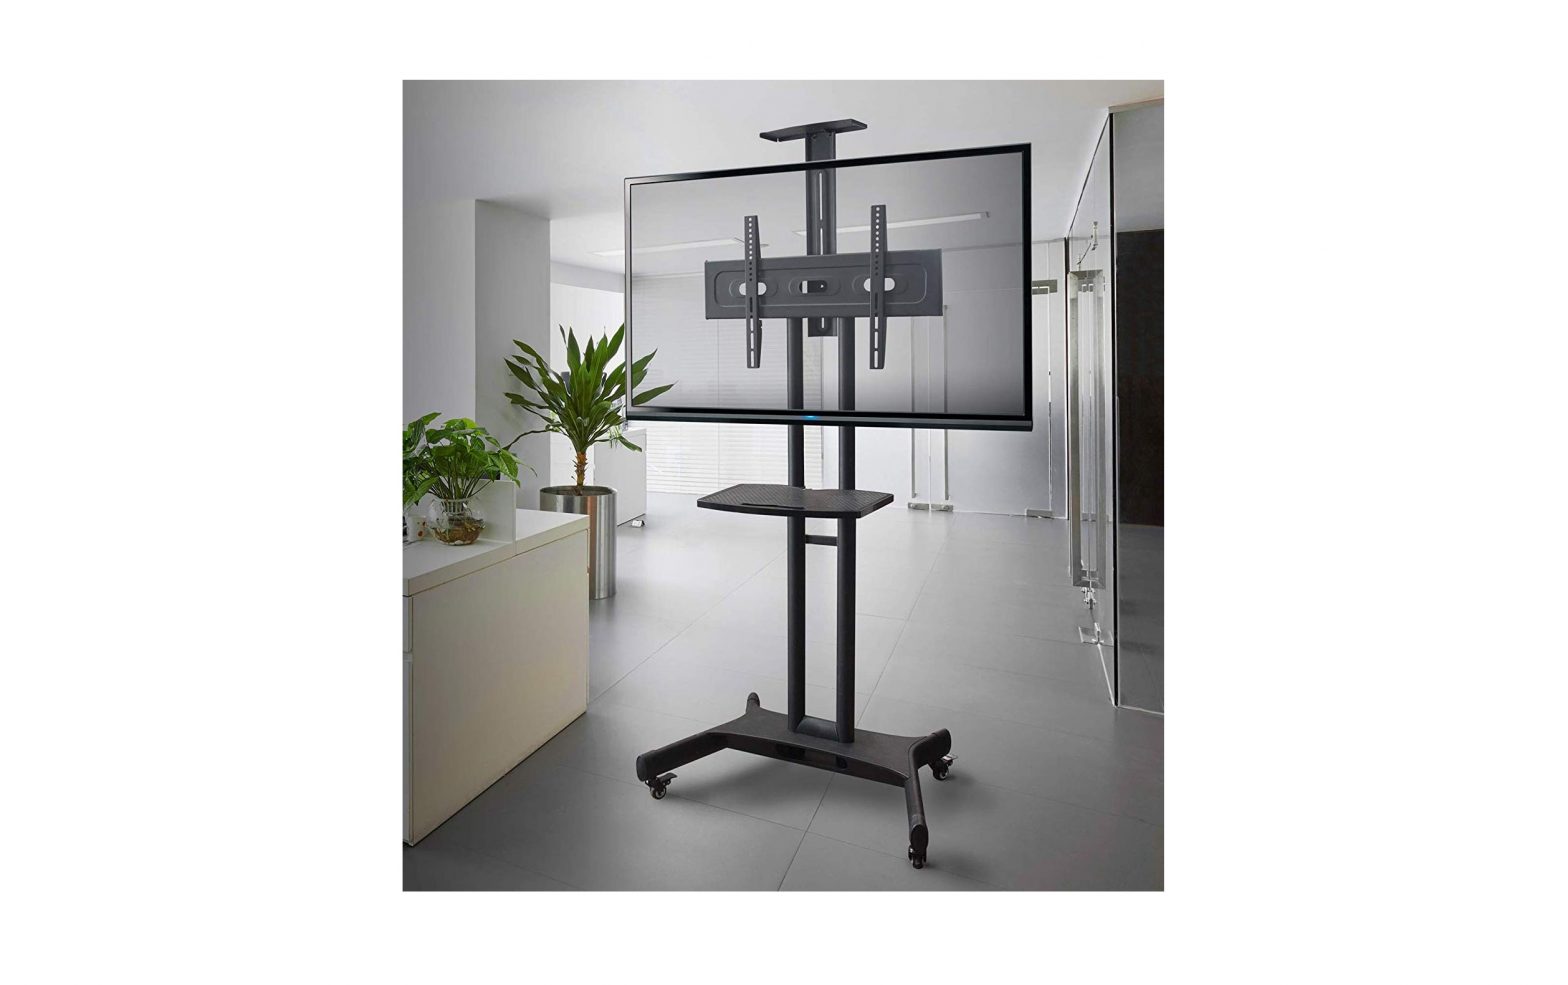
PORTABLE TV MOUNT STAND CART
(37″ – 70″)KASTTVPB70A
SAFETY & WARNINGS
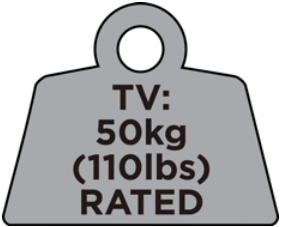
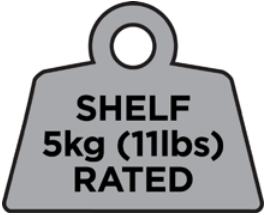
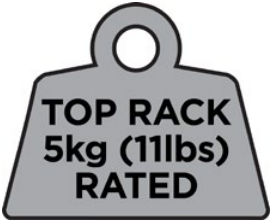
![]() CAUTION:Rated weight for the TV stand is 50kg (110 lbs). The rated weights for the storage shelf and top rack are 5kg (11 lbs) each.Use with products heavier than the rated weights indicated may result in instability causing possible injury.
CAUTION:Rated weight for the TV stand is 50kg (110 lbs). The rated weights for the storage shelf and top rack are 5kg (11 lbs) each.Use with products heavier than the rated weights indicated may result in instability causing possible injury.
- Please closely follow the assembly instructions. Improper installation may result in damage or serious personal injury.
- Safety gear and quality tools must be used.
- When in use, make sure the stand is on a flat level surface and the caster wheels are locked.
- Do not allow children to play near this stand.
- This product contains small items that could be a choking hazard if swallowed. Keep these items away from children.
- This product is intended for indoor use only. Using this product outdoors could lead to product failure and personal injury.
- A minimum of two people are recommended for this installation. Failure to use safety gear and safe working methods may result in property damage, serious injury or death.
IMPORTANT: Ensure that you have received all parts according to the component checklist prior to installation. If any parts are missing or faulty, contact your place of purchase for a replacement.MAINTENANCE: Check that the product is secure and safe to use at regular intervals (at least every three months).
 Suitable for TVs 37″ - 70″ maximum
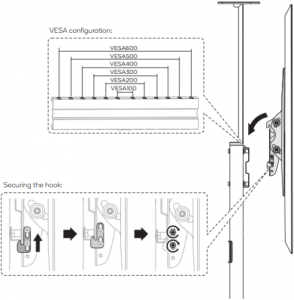
VESA compatibility:100×100, 200×100, 200×200, 300×200, 300×300, 400×200, 400×300, 400×400, 600×400
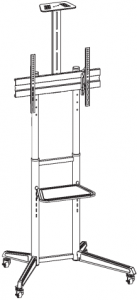
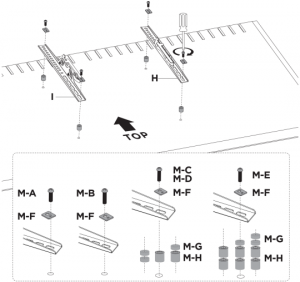
COMPONENTS
Stand assembly:

![]()
![]()
A (x1) B (x1) C (x1)
![]()


D (x2) E (x2) F (x2) G (x1)

![]()
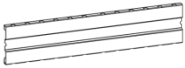
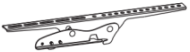
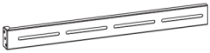
H (x1) I (x1) J Rack stand (x1) K Top rack (x1)


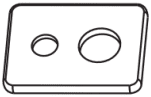
L Shelf (x1) M Hole covers (x6) N (x2) O M10x35mm (x2)
![]()
![]()


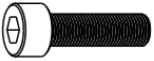
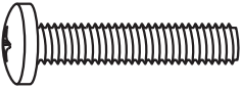
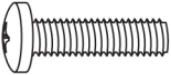
P M6x35mm (x2) Q M8x60mm (x4) R M8x12mm (x2) S M5x8mm (x2)


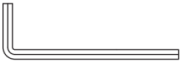
T Washer (x4) U (x1) V 5mm (x1) W 8mm (x1)
Adapters (Depends on TV):
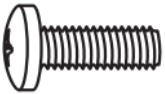
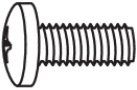
M-A M5x14mm (x4) M-B M6x14mm (x4) M-C M6x30mm (x4) M-D M8x30mm (x4)


M-E M8x50mm (x4) M-F (x4) M-G (x8) M-H (x8)
ASSEMBLY
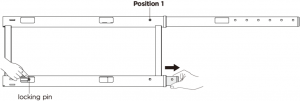
Step 1:
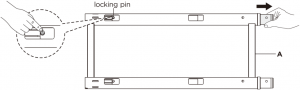
Press the locking pin inwards to adjust the mount frame’s (A) adjustable height to Position 1 (as shown below). Repeat this step for both legs of the mount frame, then insert the hole covers (M) into place.

Step 2:
Clip the front leg attachments (B, C) to the mount frame as shown below. Once clipped into place, use the 8mm Allen key (W) to secure the M10x35mm screw (O) into place underneath the frame.
Leave a gap of at least 10mm between the screw and the base of each leg attachment.
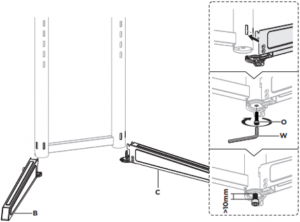
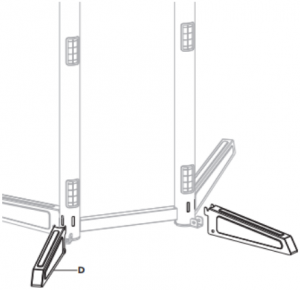
Step 3:
Clip the rear leg attachments (D) to the mount frame. Use the 5mm Allen key (V) to secure the M6x35mm screw (P) at the side of each leg attachment, then use the 8mm Allen key (W) to finish tightening the M10x35mm screws (O) underneath. Now than both front and rear leg attachments are in position, the O screws can be secured tightly.

Step 4:
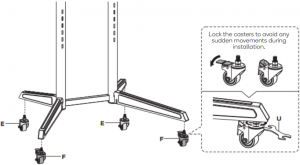
Use the spanner (U) to attach the caster wheels to the end of each leg attachment.
Note the difference between the F (locking) and E (non-locking) casters, and ensure the locking casters (F) are installed on the front leg attachments (B, C).
Once installed, lock the F casters to avoid any sudden movements during the remainder of the assembly.
Step 5:
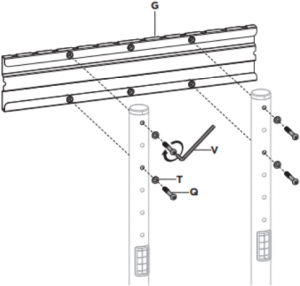
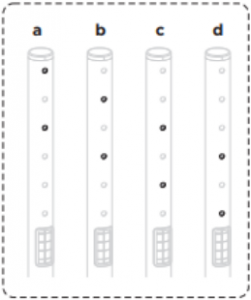
Using the 5mm Allen key (V), secure the mounting plate (G) to the frame with the M8x60mm screws (Q) and washers (T).
Refer to the image below for height options. There are four levels to select from (a, b, c, or d).
Step 6:
Secure the top rack (K) to the rack stand (J) with the M5x8mm screws (S). A screwdriver will be required for this step (not supplied).
Attach the rack stand to the mounting plate, using the 5mm Allen key (V) to secure the two M8x12mm screws (R).
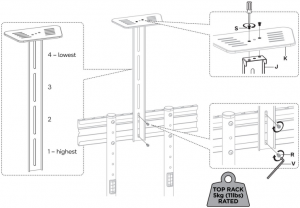
The rack stand may be installed at different heights, simply by using different slots. There are four slots to select from. Do not mix and match different sets of slots, as this may lead to the rack stand slipping, which may cause damage to your TV and any items on the top rack.
Step 7:
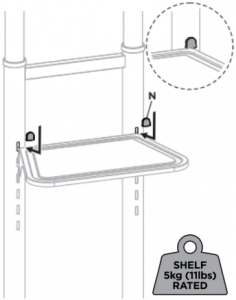
Clip the shelf (L) into position as shown below, ensuring the height grooves are matching. To secure in place, fit the hole covers (N). Do not use the shelf without the hole covers in place.
The shelf is suitable for use with laptops, DVD and Blu-ray players, hard drives, gaming consoles, or anything else as long as the weight limit (5 kg) is not exceeded.

Step 8:
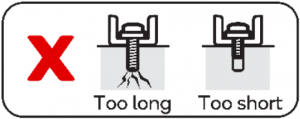
Attach the mounting brackets to your TV. Depending on your TV, a combination of spacers (M-G, M-H) may be required to help create the correct amount of space for the brackets. Ensure the screws are fitted correctly into your TV’s VESA mount holes, and are not too long or too short in the back of the TV.

Step 9:
Attaching the TV to the stand.NOTE: Ensure the locking caster wheels (F) are locked before attempting to mount the TV.
With two people, lift the TV up and above the mounting plate and gently lower down into place, ensuring the TV is positioned into the correct slots as per the VESA size.
Secure the bottom of the mounting brackets by clipping the hook into position (see images below) and securing the screws to lock. Repeat for both brackets.

A minimum of two people are recommended for this installation. Failure to use safety gear and safe working methods may result in property damage, serious injury, or death.
OPERATION
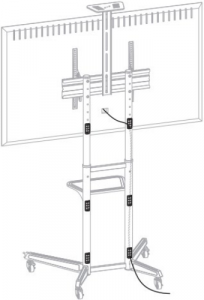
Cable Management:
The stand features built-in cable management functionality, as per the below image:
Adjusting/Tilting:
To tilt the screen at an angle, ensure the locking casters (F) are secure, then adjust the TV to the desired angle.
The height of the stand can be adjusted at any time, although a minimum of two people are recommended while adjusting the height after the TV is in place.

Need more information?
We hope that this user guide has given you the assistance needed for a simple set-up.For the most up-to-date guide for your product, as well as any additional assistance you may require, head online to help.kogan.com
![]()
[xyz-ips snippet=”download-snippet”]