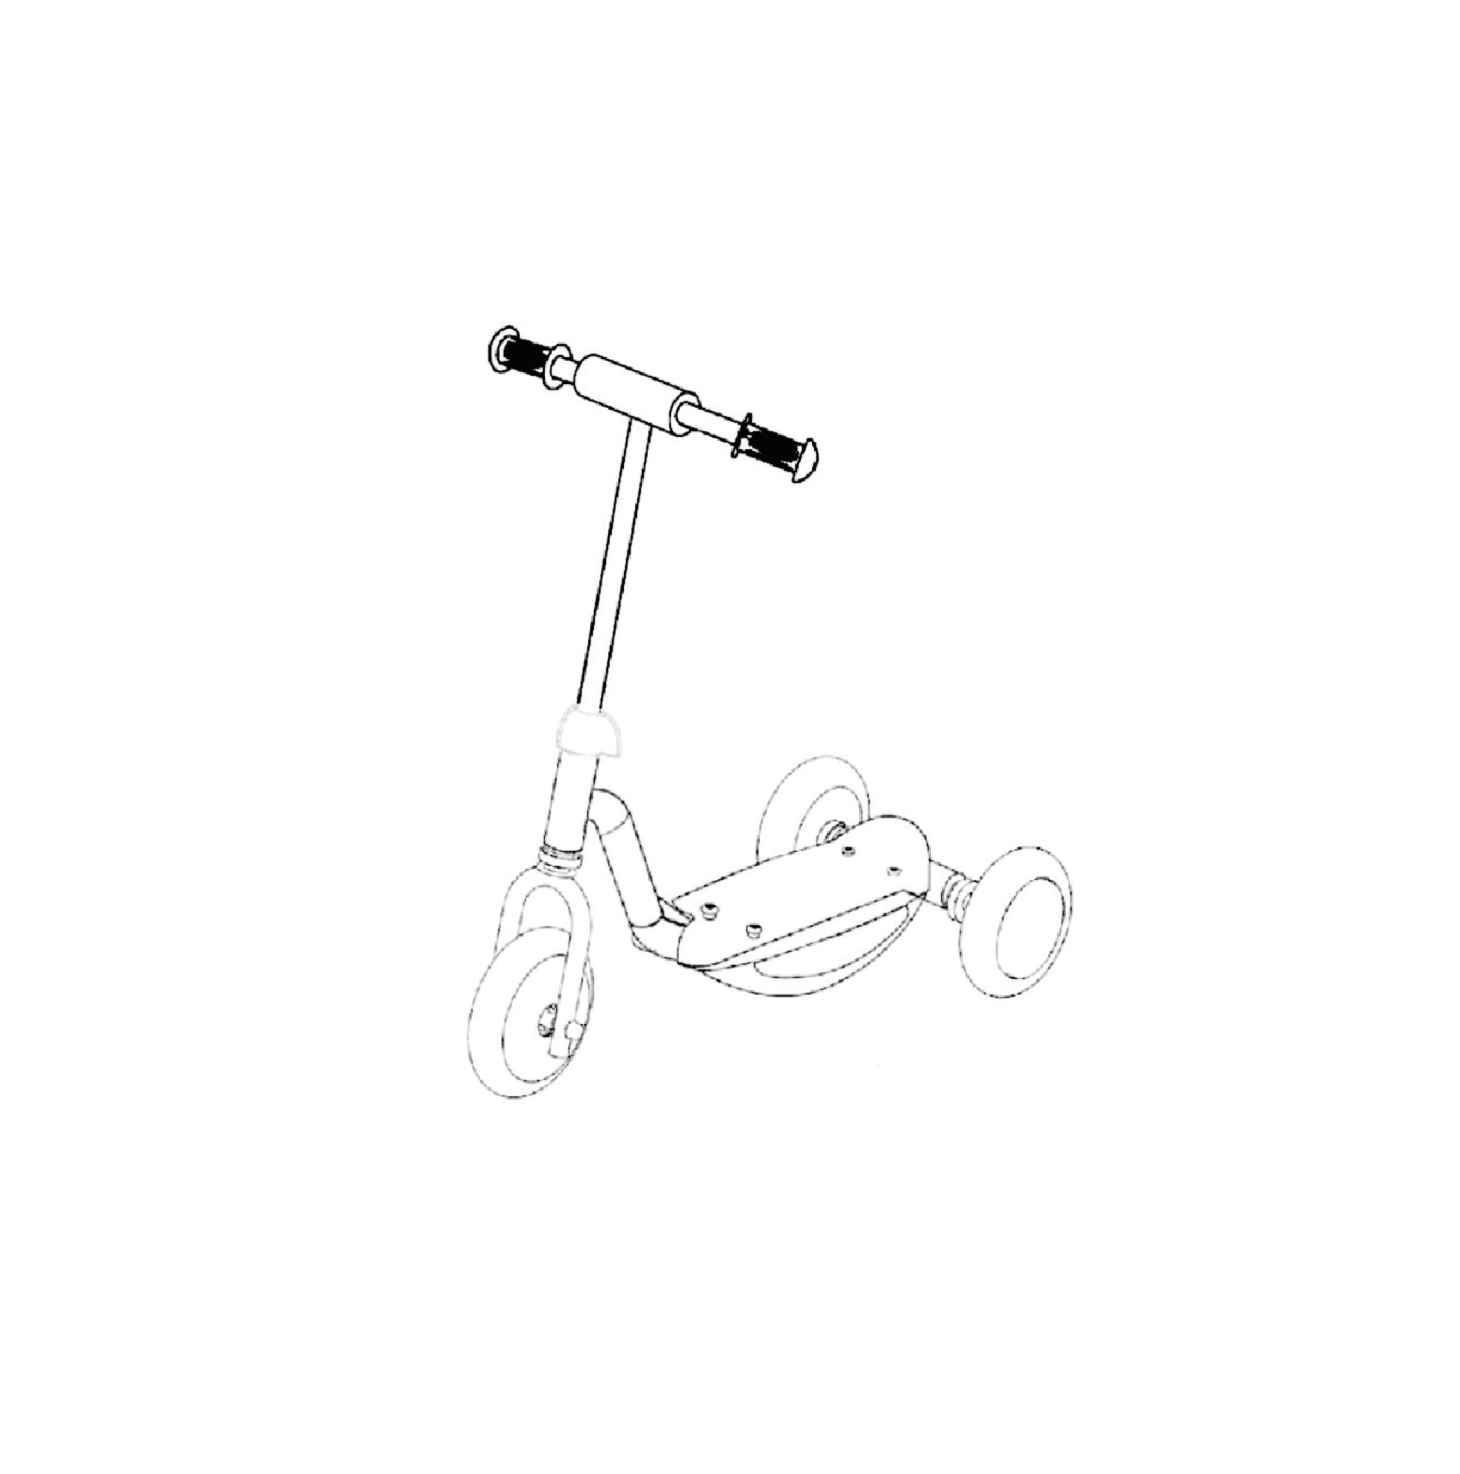
Leisure Mini Tri Scooter

Safety and Warning
- Be sure to read all the instructions carefully and assemble the scooter according to this instruction manual before you allow your child to ride.
- The maximum user weight limit for this product is 20kgs
- This scooter requires assembly by an adult
- Special care should be taken to instruct children in safe riding
- Children should always be supervised while riding tins scooter
- Always wear a helmet and protective pads
- Don’t use the scooter at night
- Don’t use on wet, uneven or unpaved roads
- Check the scooter before each use to determine if there are any potential hazardous parts or conditions.
- Use of the scooter requires skill and therefore great care should be taken to avoid any falls of collisions which would injure the user or third parties.
- Be sure the rider is wearing appropriate footwear when riding the scooter.
- Allows follow traffic laws
- This scooter is not designed for off road use and not recommended for stunt riding Do not ride on public roads or near any motor vehiclesThe toy shall be used with caution, since it requires great skill, so as to avoid falls or -collisions causing injury to the user and third parties.
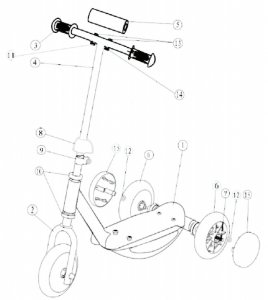
Part List
| No . | Description |
Qty |
| I | Frame |
1 |
| 2 | Front wheel with fork |
1 |
| 3 | Handle bar with grip |
1 |
| 4 | Handle bar stem |
1 |
| 5 | Handle bar pad |
1 |
| 6 | Rear wheel |
2 |
| 7 | Rear axle |
1 |
| 8 | Clamp cover |
1 |
| 9 | Clamp |
1 |
| 10 | Plastic head bush washer |
2 |
| 11 | Gasket |
2 |
| 12 | M8nut |
2 |
| 13 | M6x27 bolt |
2 |
| 14 | M6nut |
2 |
| 15 | Rear wheel cover |
2 |
Exploded Diagram/Part Description

Assembly Instructions
- Rear Wheels:a. Insert the rear axle (7) with MB nut pre-installed through the first rear wheel.b. Then insert the axle through the hole in the first extruded bush until it comes through the second bush.c. Insert the axle through the second rear wheel.d. Attach a M8 nut (12) onto axle, secured both nuts tightly.e. Push the rear wheel cover (15) into the hub of wheel.
- Handle Bars:a. Align the holes on the handlebar (3) and the handlebar stem (4).Insert two M6 bolts ( 13) through the too of handlebar and through stem.install one M6 nut (14) with gasket (11) onto each bolt and tighten securely.b. Place the handlebar pad (5) over the handlebar and secure tightly with the Velcro straps.
- Front Fork and Handle Bar Stem:a. slide clamp (9) onto top of fork tube, ensure the nut and bolt face towards the footplate.b. Slide clamp cover (8) onto the middle of the handlebar stem (4).c. Insert handle stem (4) into the head tube on main the frame, ensure the handlebars are aligned at right angles with the front wheel.d. Tighten clamp (9) securely with spanner or adjustable wrench. Slide clamp cover down to cover clamp assembly.

[xyz-ips snippet=”download-snippet”]

