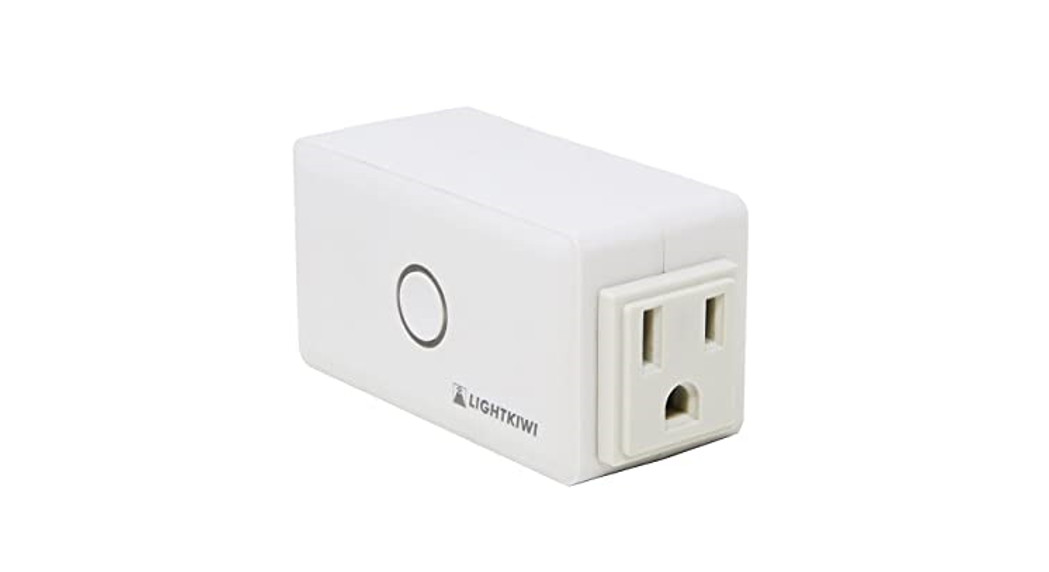
![]() Wi-Fi Smart PlugUser Manual
Wi-Fi Smart PlugUser Manual
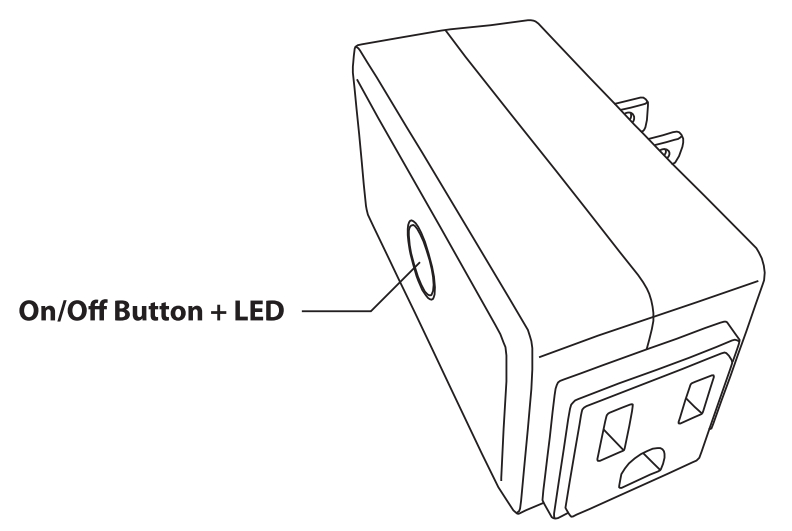
- Short press the On/Off Button to turn on/off the power manually.
- Press and hold the On/Off button for 5s to restore to the factory setting.
LED Indicators
Solid Blue: The device is on.
Solid Red: The device is disconnected and requires setup.Red Slow/Rapid Blinking: The device is ready for setup. OFF: The device is off.
Specifications
| Input Voltage | 125V 50/60Hz |
| Max Power Rating | 15A Resistive I 8A Tungsten I 1/3 HP |
| Wireless Type | 2.4GHz I IEEE 802.11 b/g/n |
| Wi-Fi Range | 25M (82ft) |
Note: Wi-Fi smart plug configuration only supports a 2.4GHz Wi-Fi network. A 5GHz router supports both 2.4GHz and 5GHz networks at the same time, please make sure the names of the network are different, and then connect to the 2.4GHz network.
Sofftware Installation
 https://smartapp.tuya.com/smartlife https://smartapp.tuya.com/smartlife |
Scan the QR Code or search “Smart Life” in Google Play or App Store to download and install the App. |
![]()
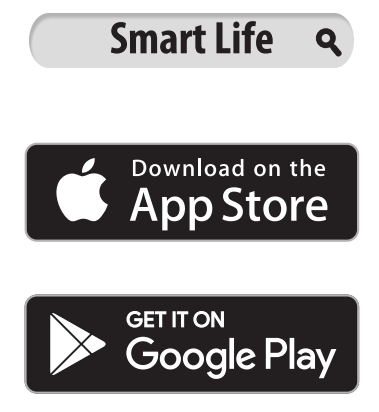
App Store, iCloud, and iTunes Store are service marks of Apple Inc. Google Play and the Google Play logo are trademarks of Google LLC.
Note: Please follow the instructions on the App as there may be differences from the guide due to App updates.
Register
If you don’t have an App account, register an account as following steps:
- Open the installed Smart Life App, tap “Sign Up” to create an account, or”Try now’:
Add Device
- Plug your Wi-Fi Smart Plug into a power socket.
- After login, tap the “Add Device” or”0″ button on the top right corner of the app.
- Wi-Fi- Smart Plug can be added using “Add Manually” or “Auto Scan’:
Add Manually
- Choose “Electrician” and tap the “Socket (Wi-Fi)” icon.

- Follow the App instructions to connect the Wi-Fi Smart Plug to your network.
Note: If the Wi-Fl signal is weak or cannot connect with the device using “EZ Mode”, please tap the”EZ Mode” on the top right corner and tap “AP Mode” to enter the AP mode to add the device and follow the App instructions to connect the Wi-Fi Smart Plug to your network.
Auto Scan
- Tap “Auto Scan”and follow the App instructions to connect the Wi-Fi Smart Plug to your network.
Quick Guide of Using Smart Life App
Smart Life App can use Program, Countdown, Random and Repeat functions.
- ProgramYou can set the on/off time for a 7-day period with a 1-minute interval according to your needs. Every program you set repeats weekly.
- CountdownThe smart plug will remain in its current state (on or off) until the set countdown is over. When the set countdown is over, it will turn it off if it was on, and turn it on if it was off. When manually switched on or off during the countdown mode operation, the countdown mode is automatically terminated.
- RandomYou can set the start and end time to randomly control the installed lights or other devices within the set time when you are away from home, make it appear as if someone is at home to deter intruders.
- RepeatYou can set the duration of each on and off time, the start and end time according to your needs. The on/off schedule will repeat between the start and end times. For example, you set a period from 9:00 Am to 6:00 PM, turn on your electric fan for one hour, and off for two hours. The outlet will repeat on/off from 9:00 AM to 6:00 PM.
Note: If you want to delete the schedule you set, please press and hold the schedule. When the dialog box appears, tap “Confirm” to delete the schedule.
Quick Guide of Using Google Home
Preparation
- A Google Home device, or a phone with Google Assistant.
- Latest Google Home App and a Google account.
- The device display language must be set to English US.
- Smart Life App and a related account.
- Wi-Fi Smart Plug
Note: Sign in to the Smart Life Account, add the device, then change the name to an easily recognized word or phrase, like “bedroom light” or “landscape light’:
Add Device to Google Home App
- Open Google Home App.
- In the Google Home App, locate and tap “Set up device”.
- Find or search and tap”Smart Life” on the list.
- Enter your Smart Life account and password, then tap “Link Now”.
- After you assign a room for a device, it will be listed on the Google Home App.
Control Your DeviceNow you can control the added device through Google Home. For example, if the device name is “bedroom light” of-landscape light” the supported voice commands are: Ok Google, turn on/off “bedroom light’: Ok Google, turn on/off “landscape light”.
Quick Guide of Using Amazon Echo/Alexa
Preparation
- An Echo device, or a phone with Amazon Alexa.
- Latest Amazon Alexa App and an Amazon account.
- Smart Life App and a related account.
- Wi-Fi Smart Plug
Note: Sign in to the Smart Life Account, add the device, then change the name to an easily recognized word or phrase, like “bedroom light” or landscape light”.
Add Skill to Alexa App
- Open Amazon Alexa App.
- In the Amazon Alexa App, locate and tap “Browse Skills’:
- Find or search and tap “Smart Life” on the list, then tap “Enable To Use”
- Enter your Smart Life account and password, then tap “Link Now”to link your Smart Life account.
- If “Alexa successfully connected to smart life” is displayed, the Alexa account is linked with the Smart Life account.
Discover Device
- An Echo device or a phone with Amazon Alexa needs to discover your Wi-Fi smart plug before the control. You can say”Alexa, discover device” to Echo, or you can also search “Discover Device on App to discover the Wi-Fi smart plug. Discovered devices will be shown in the list.
Note: Every time you change the name of devices on the Smart Life App, Echo much re-discover devices before the control.
Control Your DeviceNow you can control the added device through the Echo device or a phone with Amazon Alexa. For example, if the device name is “bedroom light” or–landscape light” the supported voice commands are:
Alexa, turn on/off “bedroom light’:Alexa, turn on/off “landscape light’:
[xyz-ips snippet=”download-snippet”]