logitech Zone 900 Receiver Over Ear Wireless Bluetooth Headset Installation Guide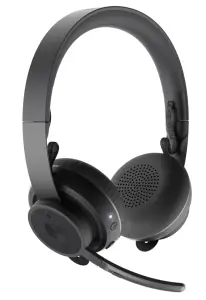
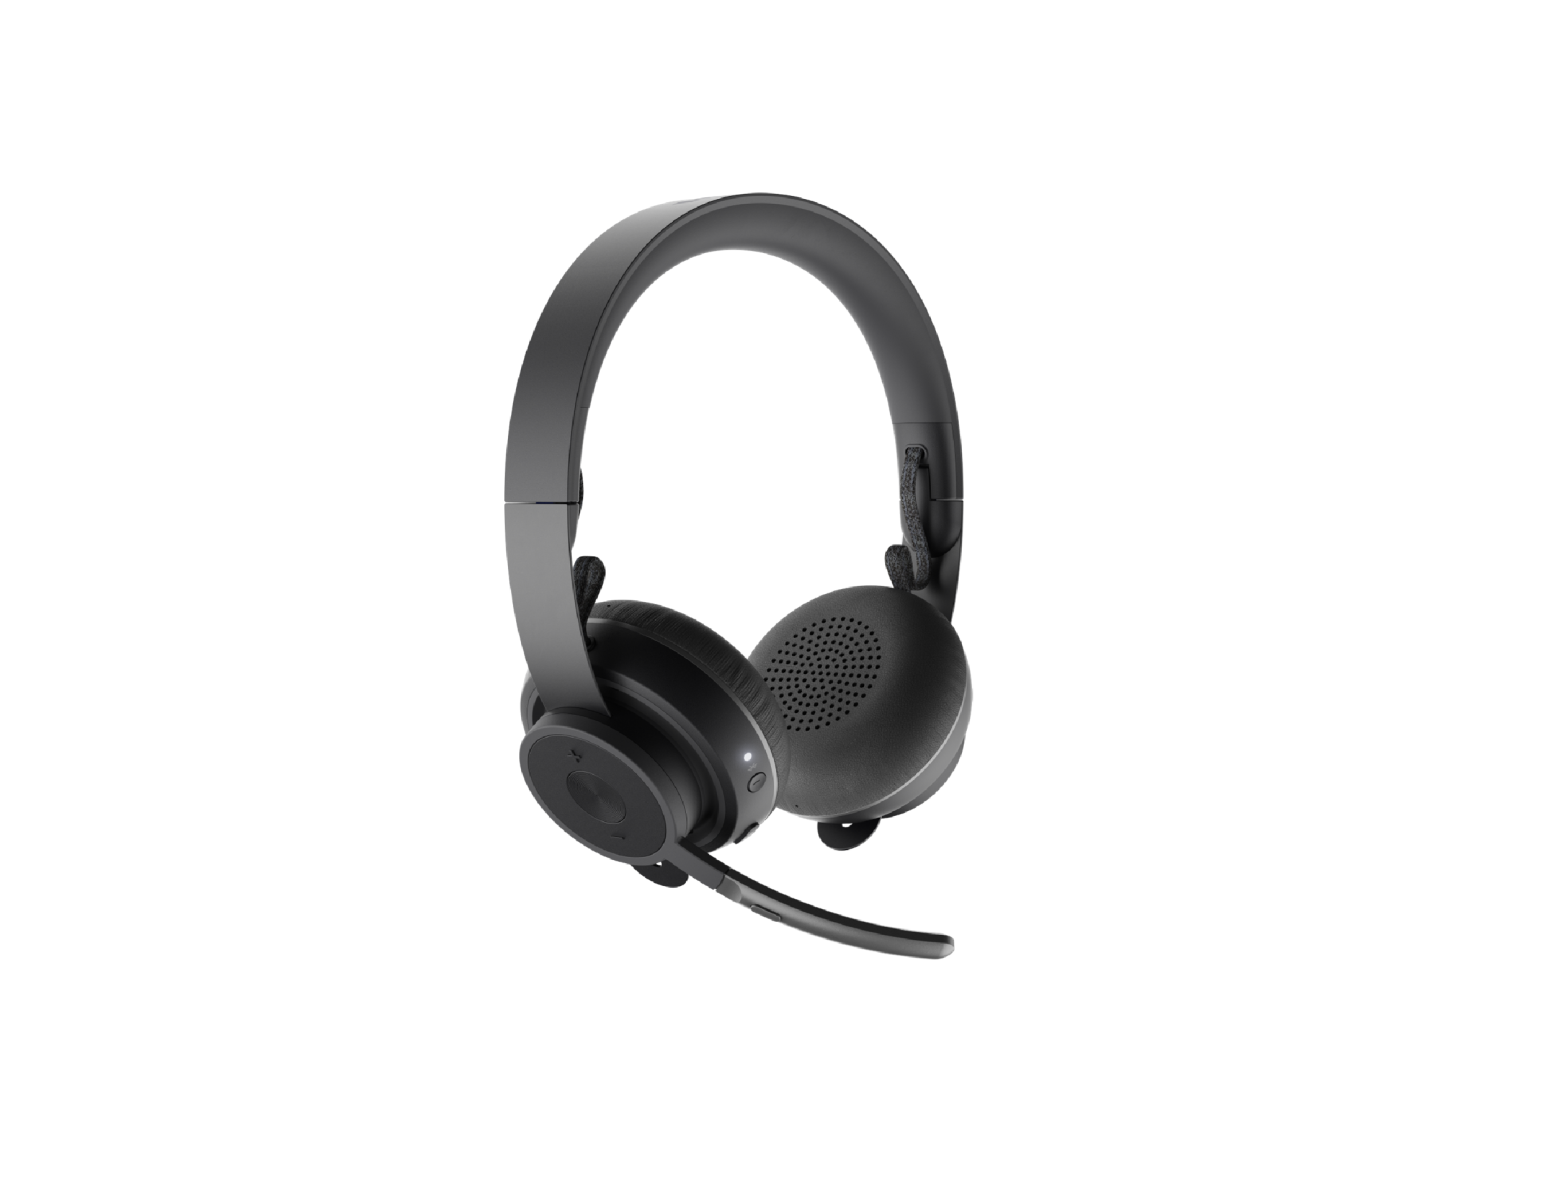
KNOW YOUR PRODUCT
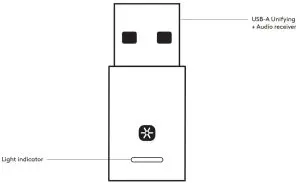
WHAT’S IN THE BOX
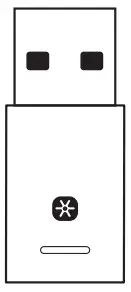
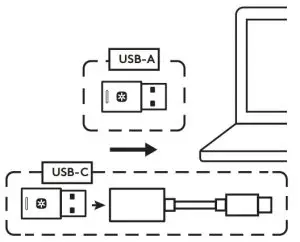
USB-A Unifying + Audio receiver
CONNECTING THE RECEIVER TO THE HEADSET
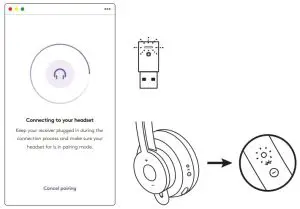
- Insert your Zone 900 receiver into the computer USB-A port. Or to connect it via USB-C, insert the receiver into USB-C adapter first. Then plug in the USB-C adapter into the computer USB-C port.

- Install and open Logi Tune Desktop. Download it from www.logitech.com/tune
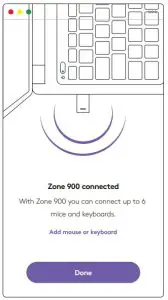
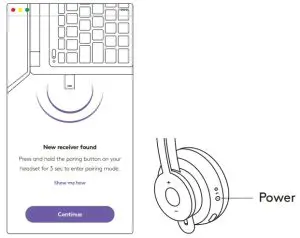
- Logi Tune Desktop will confirm that a new receiver is found. Click Done to start connecting to the headset.
- Enter pairing mode on headset by pressing the power button for 3 seconds. Click Continue.
- If pairing mode is successful, light indicators on the receiver and headset will flash white.
- Once you see this screen, the receiver is now paired with the headset. Light indicators on the receiver and headset will turn solid white.
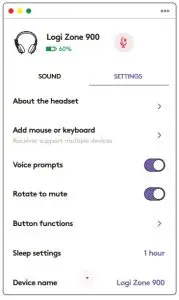
- With Zone 900 receiver, you can pair up to 6 Logitech Unifying peripherals.
- On Logi Tune Desktop, go to Settings and click Add mouse or keyboard.
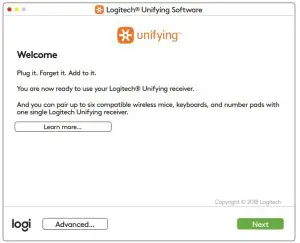
- If you already have the Unifying Software installed on your computer, it should open. If not, it will be downloaded and installed automatically.
- Follow the Unifying Software prompts to complete adding your mouse and keyboard.
- To add more devices, follow steps 2 and 3 and follow the steps in the Unifying Software.

DIMENSIONS
RECEIVER:Height x Width x Depth: 35.5 mm x 16.2 mm x 5.3 mm
www.logitech.com/support/zone900
 report this ad
© 2021 Logitech, Logi and the Logitech Logo are trademarks or registered trademarks of Logitech Europe S.A. and/or its affiliates in the U.S. and other countries. Logitech assumes no responsibility for any errors that may appear in this manual. Information contained herein is subject to change without notice.
References
[xyz-ips snippet=”download-snippet”]